Grandma’s Strawberry Jam Recipe
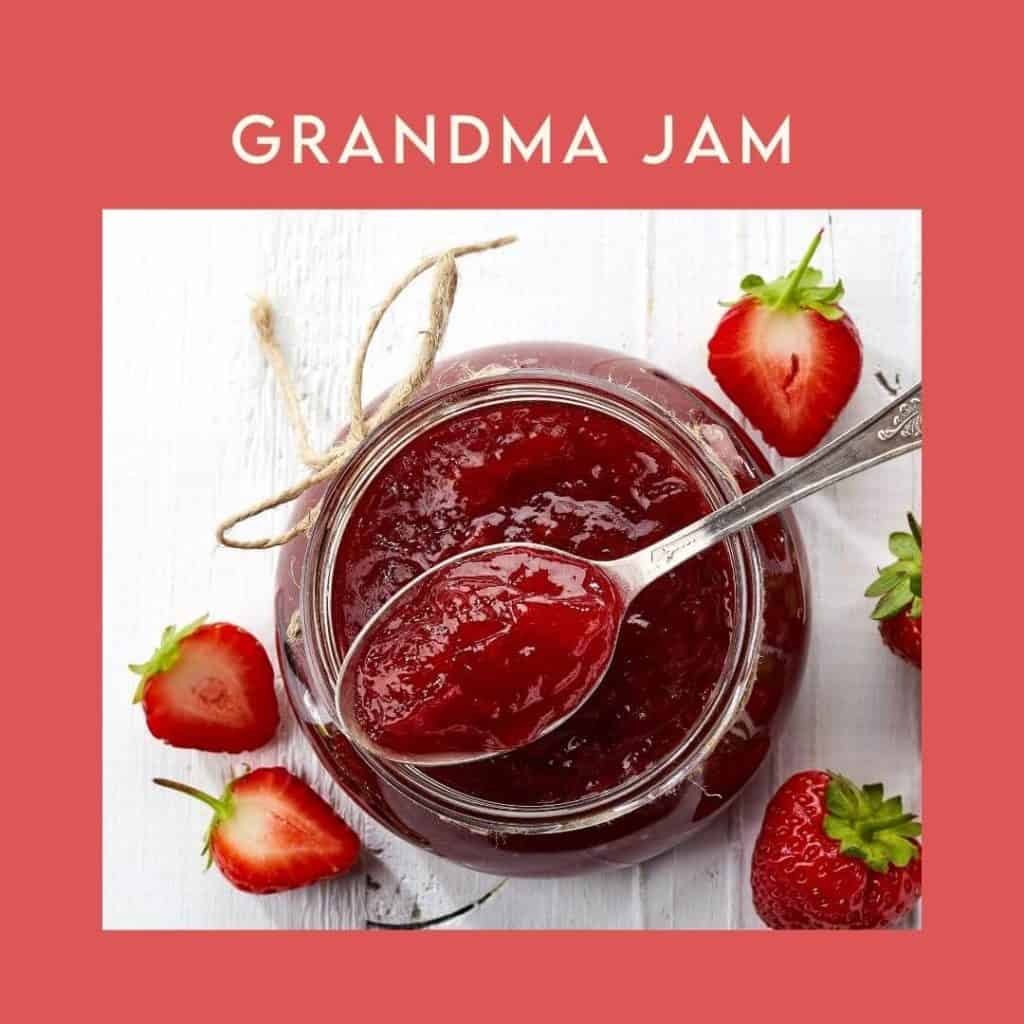
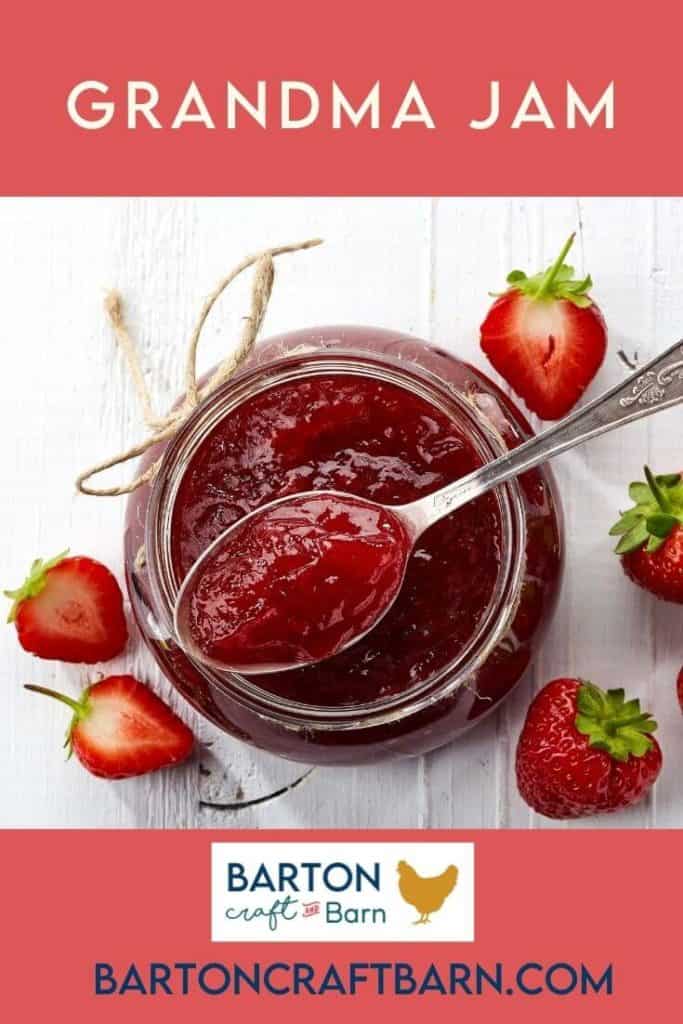
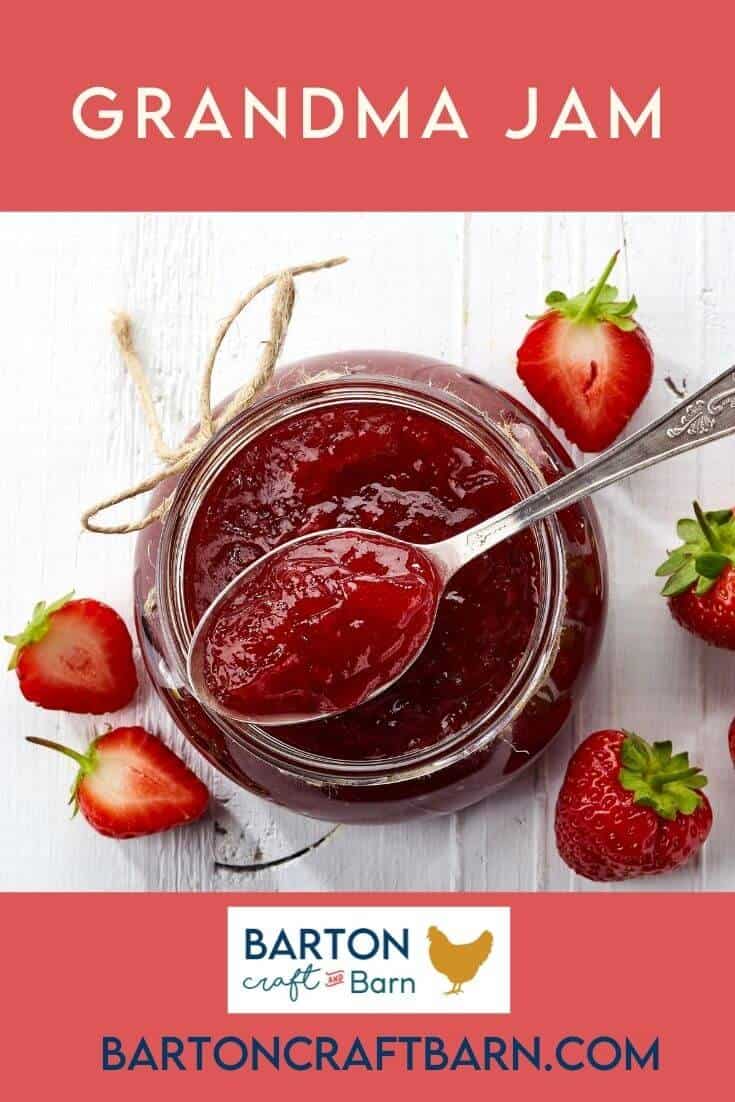
Pick strawberries; make jam. These two just go together! Here’s how Grandma makes her famous strawberry jam. I’ll tell you the secret, it’s homemade with love (& lots of sugar!)
This page contains affiliate links. Using these links, I earn a small commission at no additional cost to you.
Grandma’s strawberry jam can be made to enjoy daily or it also makes a great gift! I have found homemade jam to be such a treat for teachers, neighbors, or to save for Christmas gifts for friends and family. We once had a teacher come out all the way out to the house to collect her gift of jam, and we don’t live close to anybody!
This doesn’t really qualify as sharing a recipe, but here it goes: buy SureJell and follow instructions. I’ll try to share some helpful tricks and tools that help me successfully make delicious jam, but my best advice is to follow the SureJell instructions to a T. Any variance in the ingredients or directions could result in the jam not jelling.
So let’s talk about the 7 cups of sugar in this recipe for a minute. Is anyone else appalled at the amount of sugar that jam requires? Just me? Turns out altering the amount of sugar in the SureJell recipe is a quick recipe for disaster.
I did try to use natural sugars and less sure using Pomona’s Pectin, and while this did technically work it did not hold its vibrant strawberry red color or taste as good. Turns out sugar taste good.
How to Make Grandma’s Strawberry Jam
The directions call for sterilizing jars in a canner, but I just wash my jars in the dishwasher and rinse them off when they come out just in case. I take the clean jars and fill them with water and place them in a saucepan full of water. Also put the lids and ring sets in another saucepan of water.
As I start to make the jam I turn these saucepans with my jars and lids up to high so they will be boiling by the time I am ready with the cooked jam. If you have a water-bath canning pot it would probably be best to use it, as they usually have a wire insert to protect the glass jars from breaking, but I just usually use a saucepan because its quick and handy.
So sterilze the jars as you wish, then keep them in the hot water until you are ready to use them. Just be sure to drain well before filling with cooked jam.
On to the strawberries….stem and crush the berries thoroughly. I typically pulse the berries in my food processor and then measure them to exactly 5 cups of fruit. Put the prepared and measure berries into 6- or 8-qt. saucepot and stir pectin into this saucepot.
If you are using butter to reduce foaming, now would be the time to add it to the pot. The use of butter is optional, but I do find that it does indeed help with reducing the foaming of the cooked jam.
Bring this mixture to a full rolling boil (a boil that doesn’t stop bubbling when stirred) on high heat. Be sure to stir constantly. Once the rolling boil is achieved stir in the 7 cups of sugar.
Allow the jam mixture to return to a full rolling boil and boil for exactly 1 min. Carefully stir the boiling mixture constantly for the full minute then remove it from heat.
On to the canning, my process here is lift the hot water-filled jar with canning jar lifter tongs, then pour the hot water into the next empty jar to use, and then drop the next jar now filled with hot water into the boiling saucepan. This gives the next jar a second to adapt to the hot water and makes it less likely to break due to the temperature change before placing it in to the boiling saucepan.
Back to the cooked jam we just removed from heat…now skim off any foam with a metal spoon. Ladle the hot cooked jam immediately into prepared jars. Filling the jar to within 1/4 inch of the top.
Then wipe the jar rims and threads clean and cover with two-piece lids that we have sterilized in a saucepan. I typically just used kitchen tongs to retrieve my bands and lids, but I saw this canning lid lifter that looks pretty handy.
Finally, screw the bands on tightly. You may need to cover the band with a dishtowel as it will be hot. The leave the jars spread out upright as they seal. Then you just listen for the sweet sound of lids popping that tells you the jar is completely sealed.
Note that the actual recipe tells you to can the jars in a water bath, but as long as your jars seal you’re good to go. So when I advised to follow the directions to a T, I guess I changed a few to fit my basic supply needs. But I am guessing most of my readers don’t have a water bath canner sitting in their pantry to pull out on a whim.
After jars cool, check seals by pressing the middle of lids with a finger. (If lids spring back, the lids are not sealed and refrigeration is necessary.)
Grandma’s Strawberry Jam Printable Recipe
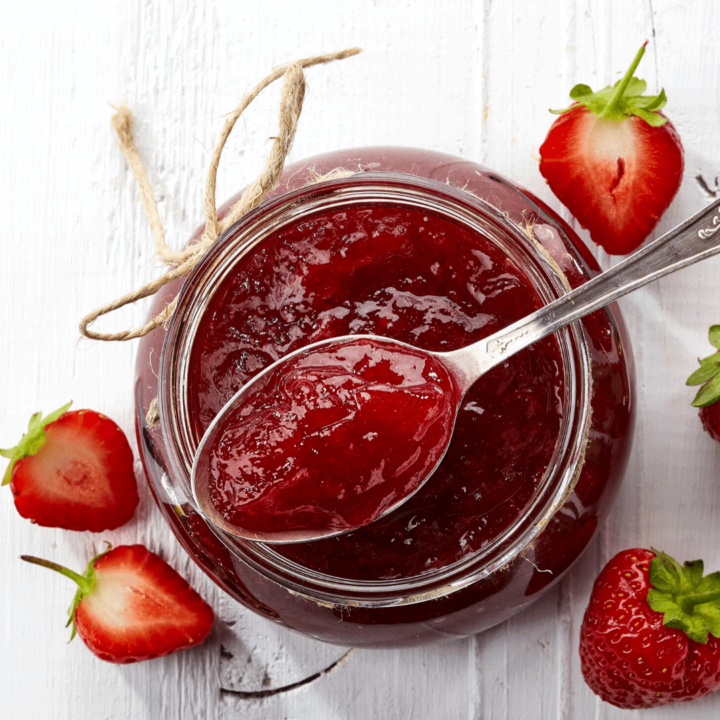
Grandma Jam
It's just Strawberry Jam. This doesn't really qualify as sharing a recipe, but here it goes: buy Sure Jell and follow instructions. Really that’s it, no mystery. I have made both the Freezer Jam and the Cooked Jam and both are great. I prefer the Cooked Jam, but only because it doesn’t take up space in my precious freezer space.
Ingredients
- 5 cups prepared fruit, buy about 2 qt. fully ripe strawberries
- 1 box SURE-JELL Fruit Pectin
- 1/2 tsp. butter or margarine
- 7 cups sugar, measured into separate bowl
Instructions
- Bring boiling-water canner, half full with water, to simmer. Wash jars and screw bands in hot soapy water; rinse with warm water. Pour boiling water over flat lids in saucepan off the heat. Let stand in hot water until ready to use. Drain well before filling.
- Stem and crush strawberries thoroughly, one layer at a time. Measure exactly 5 cups prepared fruit into 6- or 8-qt. saucepot.
- Stir pectin into fruit in saucepot. Add butter to reduce foaming. Bring mixture to full rolling boil (a boil that doesn't stop bubbling when stirred) on high heat, stirring constantly. Stir in sugar. Return to full rolling boil and boil exactly 1 min., stirring constantly. Remove from heat. Skim off any foam with metal spoon.
- Ladle immediately into prepared jars, filling to within 1/4 inch of tops. Wipe jar rims and threads. Cover with two-piece lids. Screw bands tightly. Place jars on elevated rack in canner. Lower rack into canner. (Water must cover jars by 1 to 2 inches. Add boiling water, if needed.) Cover; bring water to gentle boil. Process 10 min. Remove jars and place upright on a towel to cool completely. After jars cool, check seals by pressing middle of lids with finger. (If lids spring back, lids are not sealed and refrigeration is necessary.)
Notes
The "Grandma Jam" title of this strawberry jam, and that is literally written on the jar lids, came from the amount of sugar in this recipe. It’s insane, I had no idea how much sugar went into making jam! For 5 cups of crushed strawberries it calls for 7 cups of sugar! Yikes. Our grandma loves in quality time and sugar, and that's where we got the name "Grandma Jam".
When I realized how much sugar went into the recipe, I researched a lower sugar recipe. Because as it turns out if you use less sugar with Sure Jell it will not turn out. What I found was fake sugar that I wasn’t really interested in, and Pomona’s Universal Pectin. At first I tried to use Pomona’s with no sugar, choosing to sweeten with honey or agave. These were good tasting, but after sitting on our shelf the color turned an unappealing brown. If you didn’t see the color it wasn’t a problem, but that was not desirable, especially since I like to gift jam from time to time. So my preference for a lower sugar jam is to use the Pomona’s with about half the amount of sugar from the Sure Jell recipe. It tastes great, preserves well, and makes you feel better about not putting so much sugar in your jam. I will however note, if I ever gift jam, I use the Sure Jell recipe because, well, sugar tastes good!
Find other jam recipes on the Sure Jell site.
More Recipes you will love:
For the entire library of recipes check out the Vittles Page.
Backyard Strawberry Patch
To learn more about how we started our own backyard strawberry patch head to the Farm to Fork Strawberry Page.
