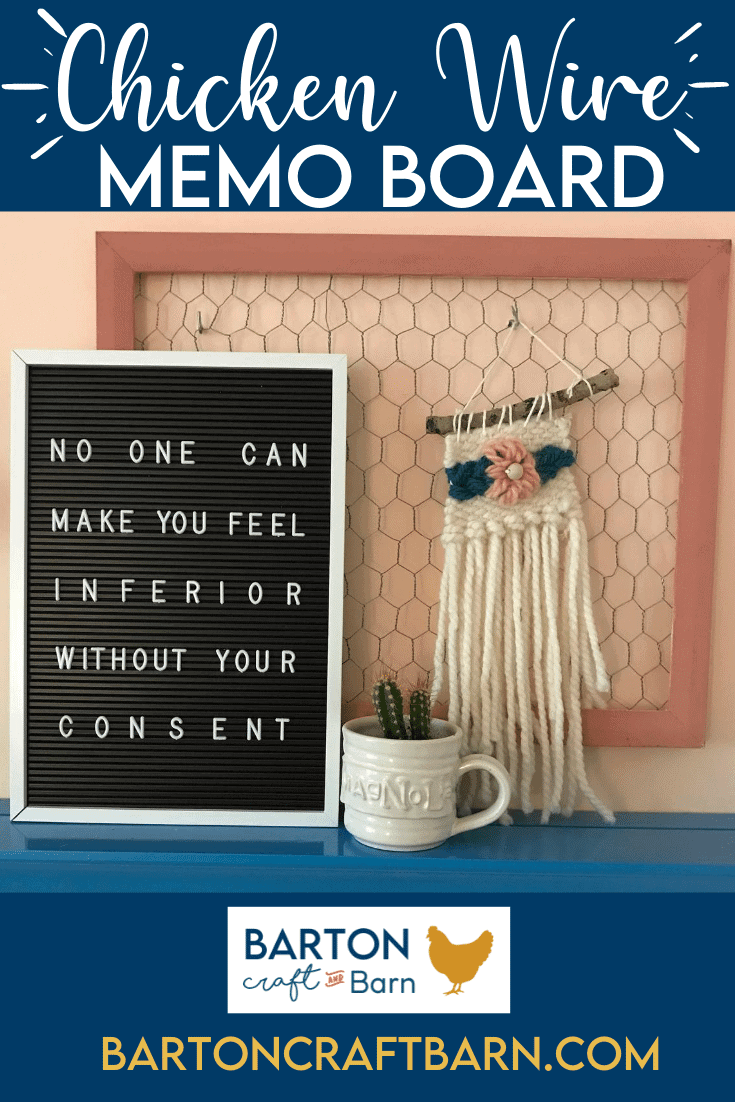
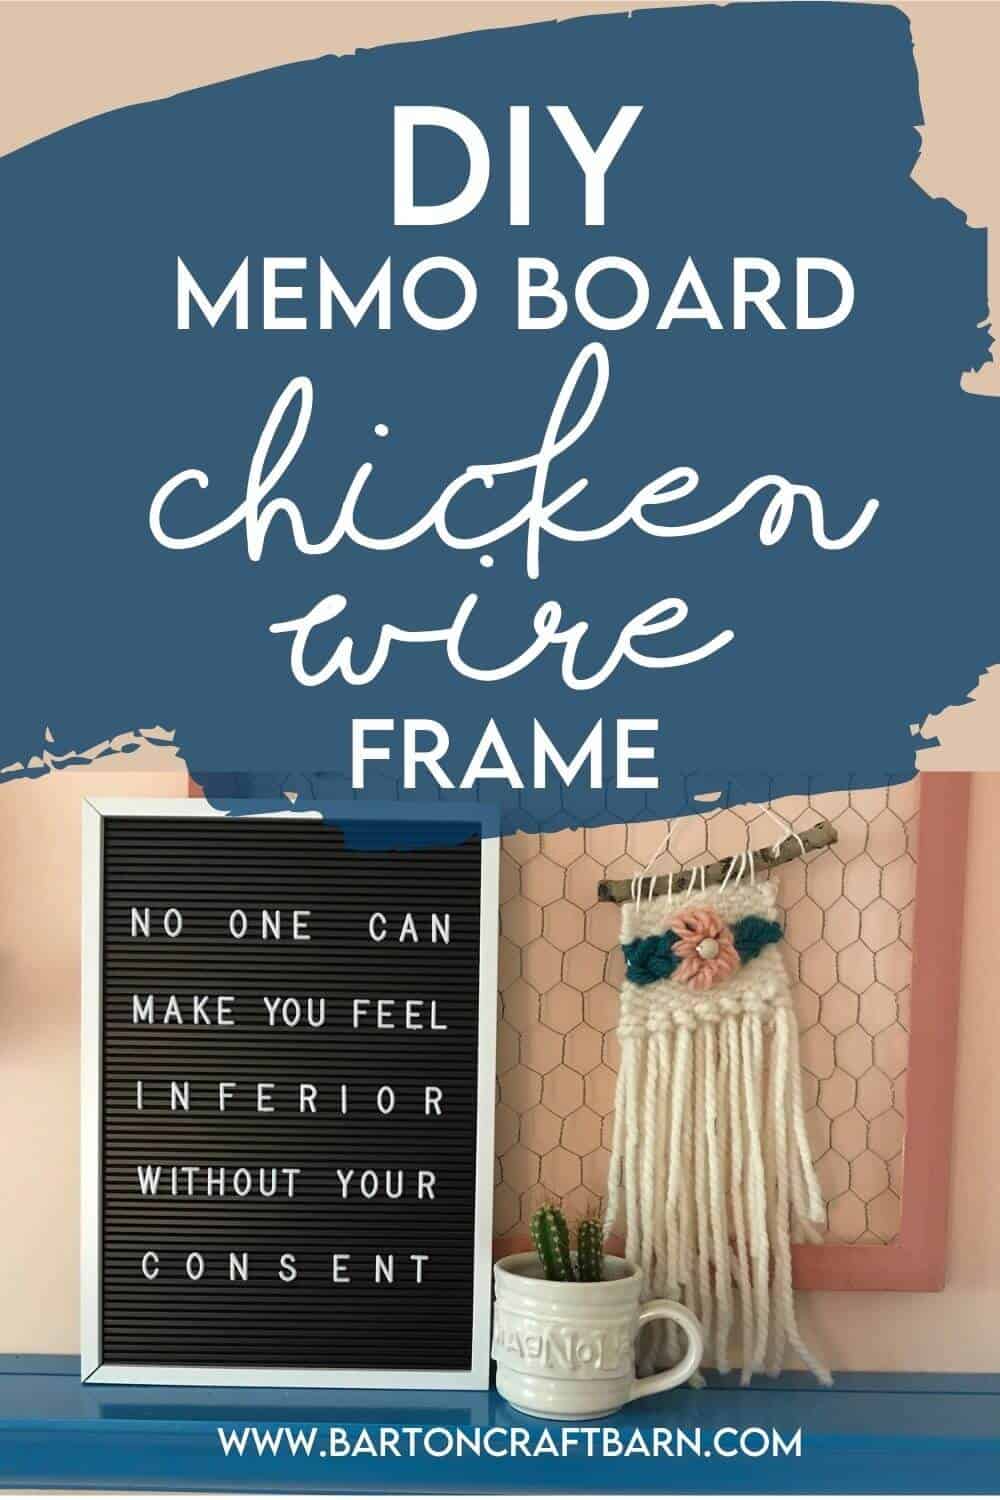
DIY Chicken Wire Frame

FOLLOW ALONG WITH MY CAMP CRAFT TO MAKE A CHICKEN WIRE MEMO BOARD
For this project I was looking for a memo board of sorts to hang notes and pictures, maybe even earrings or hair accessories, and I came up with this tutorial that explains how to make a chicken wire memo board. I made these boards with a group of teens & tweens at our church’s creative camp one summer. I have heard from many of the mothers and campers that they still had their memo boards hanging in their bedrooms a year later. Success! Even one of the leaders chose to make one of these and tell me nearly every time I see her that she loves hanging her earrings on it.
The chicken wire that is most common is thin (usually 18 or 20 gauge) flexible wire that is woven into a hexagonal pattern. Did you know there was a right and wrong direction of chicken wire? I didn’t! I checked with my chickens and took the pic below of the orientation they prefer, and the one I also prefer for crafts. This direction allows for easy hanging of earrings and clothespins when functionally using your finished memo board.

Check out a quick summary of this chicken wire frame DIY tutorial below or if you prefer a step-by-step photo tutorial keep scrolling.
There are affiliate links in this post. I earn a small commission from qualifying purchases at no extra cost to you.
For this chicken wire frame you will need the following materials:
- Frame
- Paint – this is the specific brand I used for great coverage in one coat
- Chicken wire (also known as poultry netting)
- Wire cutters
- Paint sticks (the extras make great garden markers!)
- Staple gun
- Pliers
- Command strips
HOW TO CREATE A CHICKEN WIRE MEMO BOARD
Chicken Wire Memo Boards
This tutorial walks through the process of updating an old black plastic mailbox that had horribly weathered stickers with cute and farm-appropriate vinyl decals. Find the circle & swirls in the free resource library.
Materials
- Frame
- Paint - this is the specific brand I used for great coverage in one coat
- Chicken wire (also known as poultry netting)
- Paint sticks (the extras make great garden markers!
- Command strips
Tools
Instructions
Prep work:
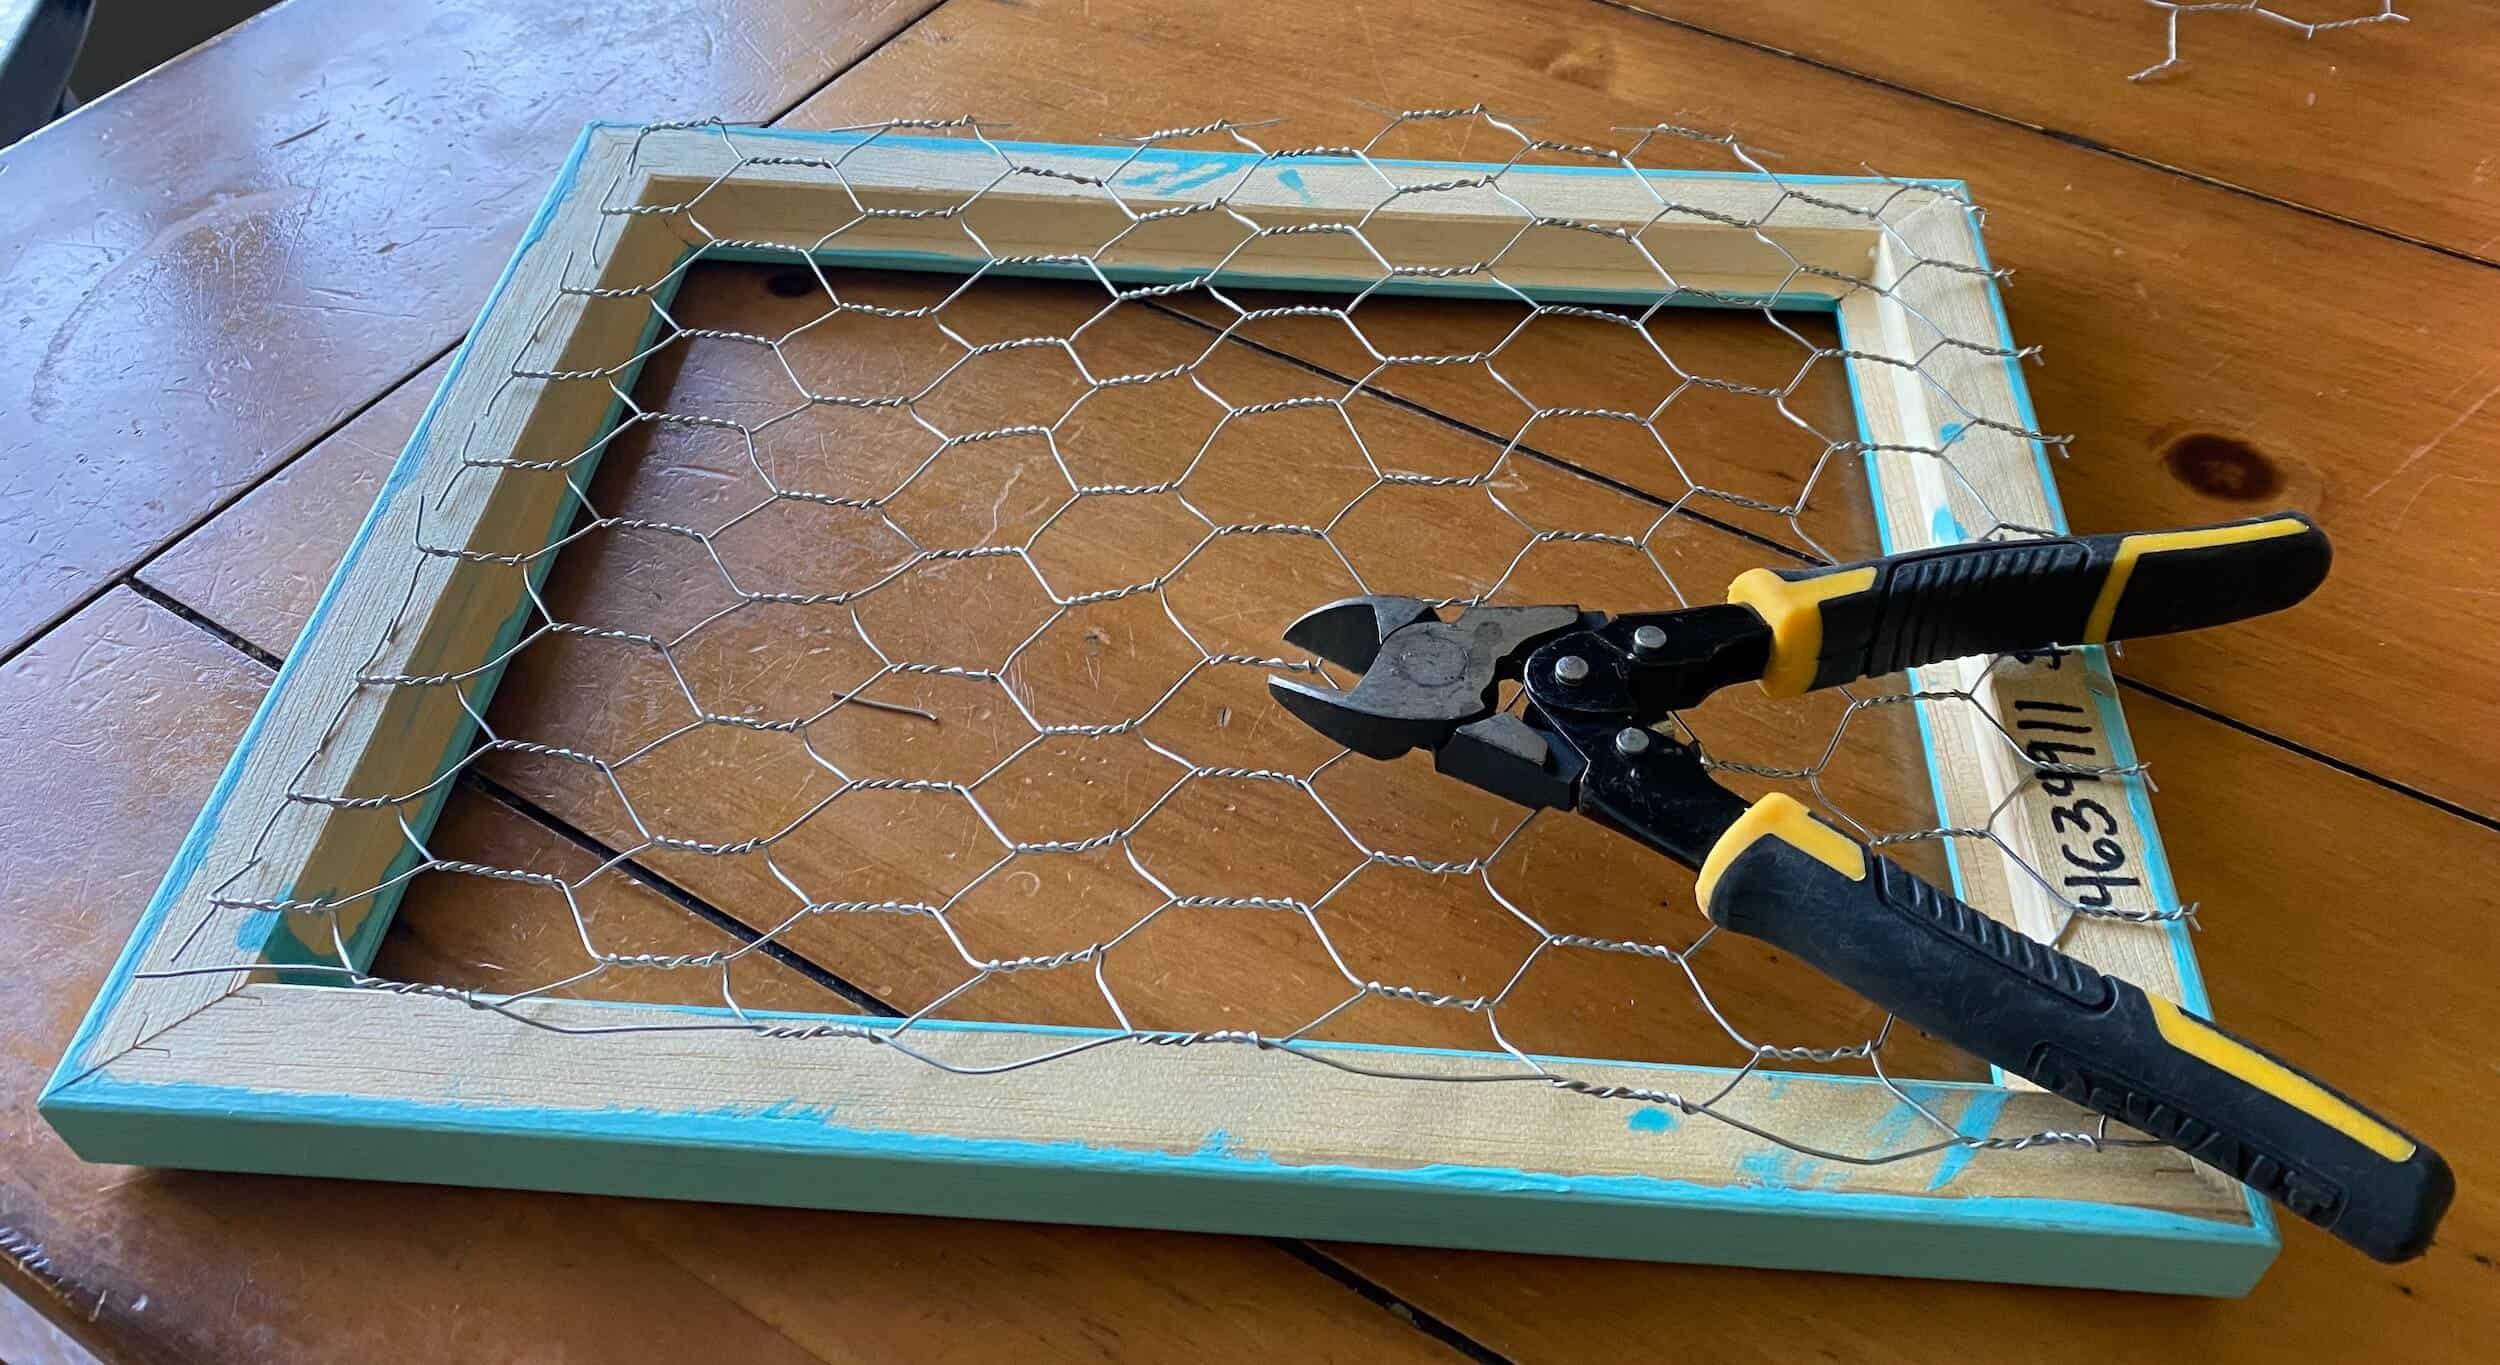
Cut the chicken wire down to a size relative to the frame. If you have quality wire cutters, it will be quick and easy to cut, just awkward as you roll the wire out of a tightly wound new roll. It should completely cover the backside of the frame (not just the opening). Make sure to have the chicken wire in the right orientation; see the above notes if unsure. I transported these flat to camp to speed up the assembly process.
STEP 1: FRAME SELECTION
Choose a wood frame. Make sure it is at least as thick as the paint stick, as you will be stapling the sticks to the back of it. I had several different frames that were given to me over the years, but you may find some inexpensive ones in thrift stores that can be disassembled to use just the frame.
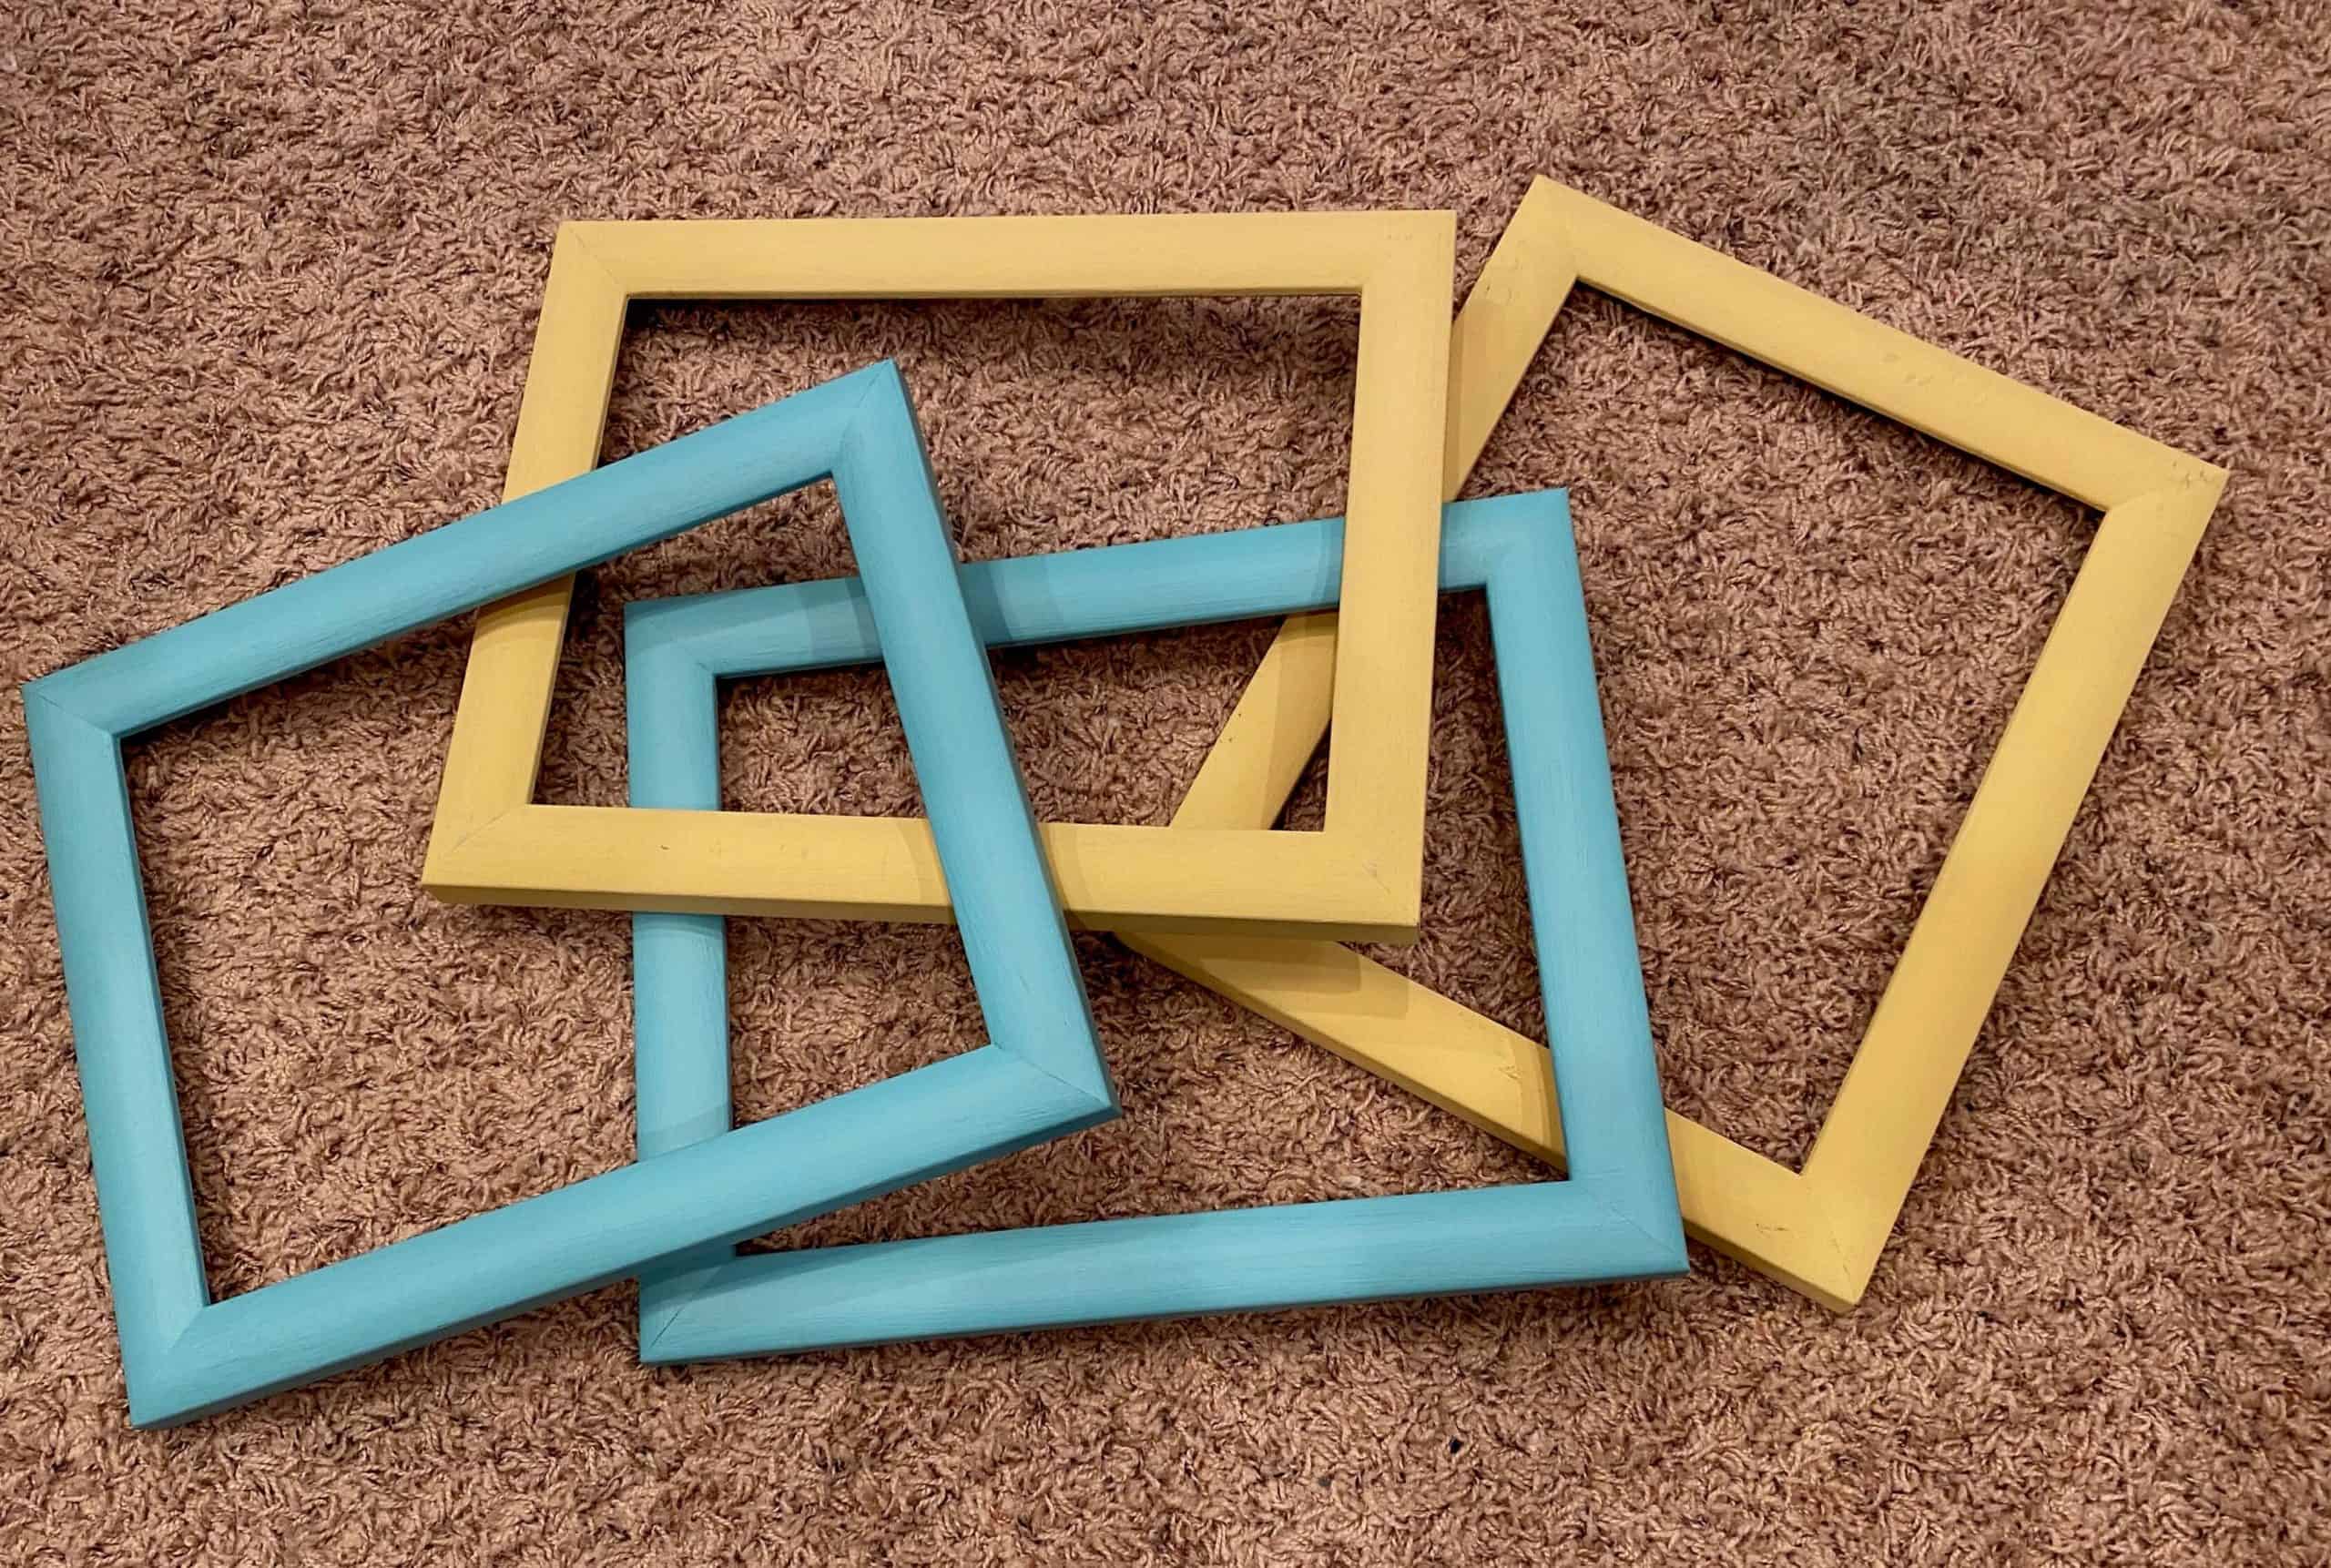
STEP 2: PAINT THE FRAME
I used quality chalk-like paint here made by Laura at Rethunk Junk so that I had very little prep work without the need to sand or prime and could adequately cover the frame in just one coat. I had several color options & glazes that hopefully captured the favorite colors or bedroom colors for the girls.
STEP 3: ACCESSORIES
Wait for the frame to completely dry before the next step. During this time I allowed the girls time to make accessories for their memo boards. I gave several options here including a small hot mess canvas, leather earrings, felt flowers, pinned charms, and clothespins to hold pics or notes. I did not anticipate the girls choosing ALL the options! Maybe next time I will limit these choices so we could comfortably finish in our allocated 2 hr time slot with time to breathe. Also thought a cute mini banner would be cute draped over a corner, but of course, that's another option! Choose wisely.
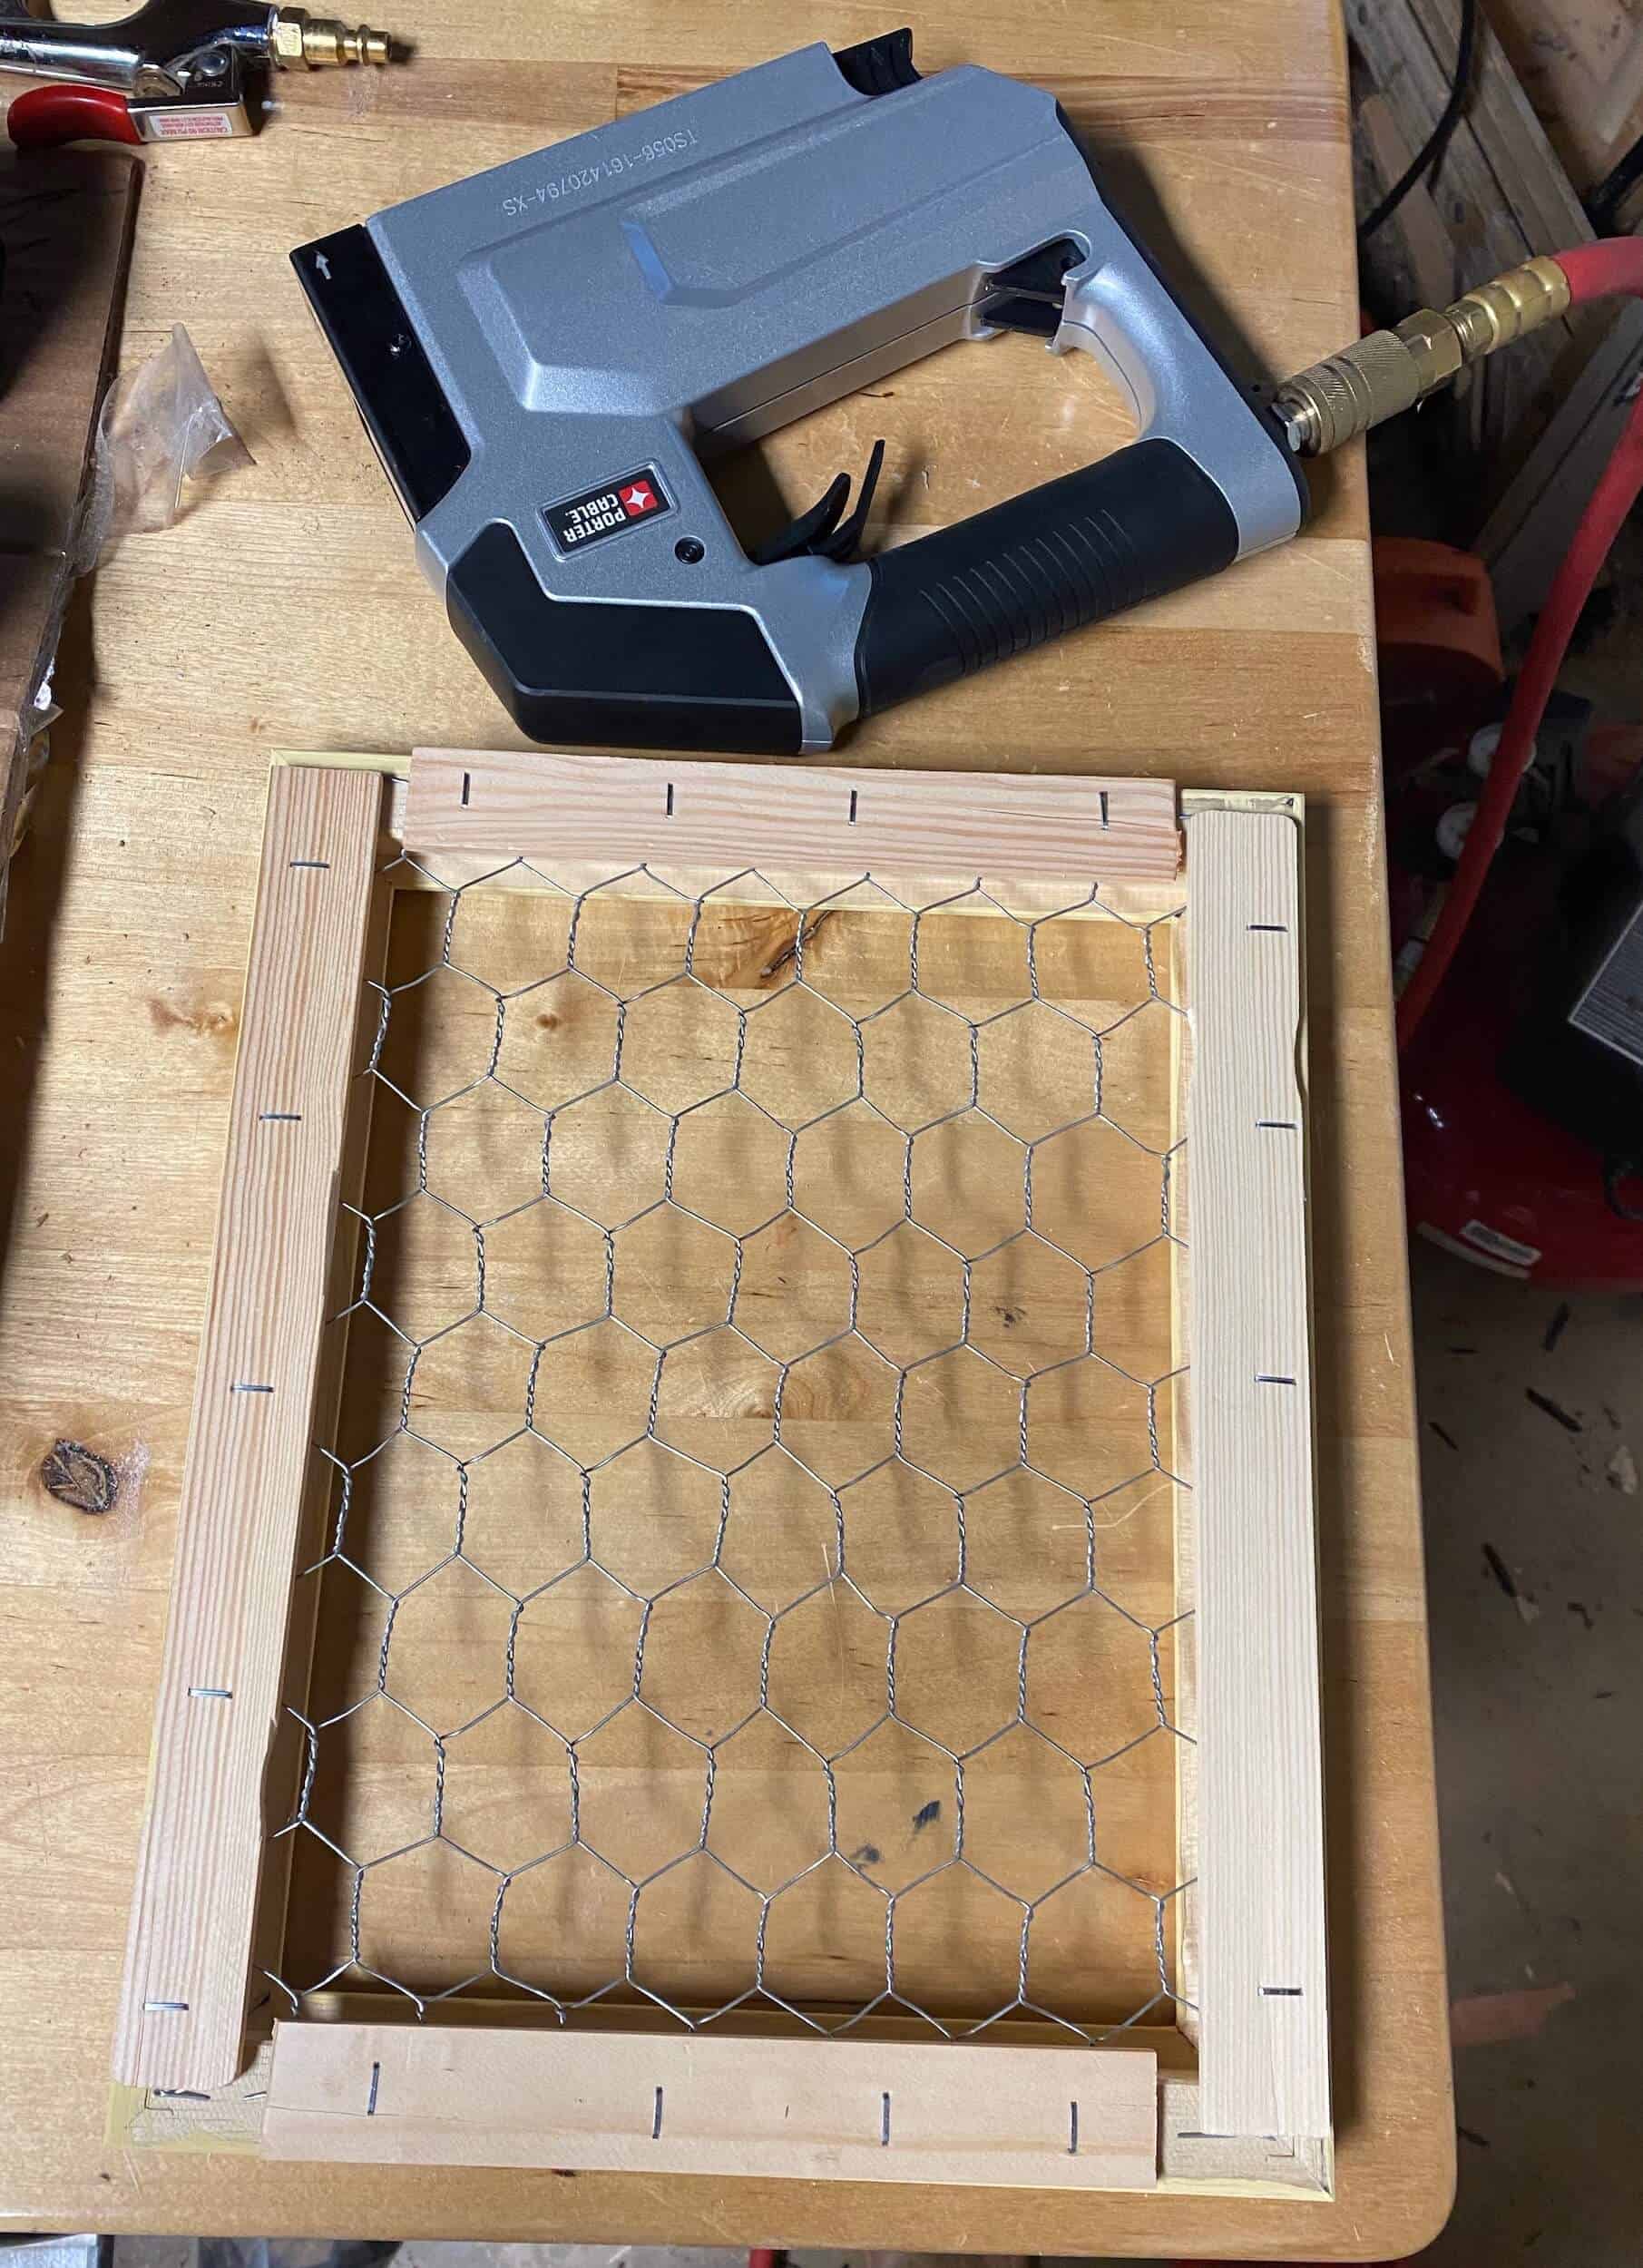
STEP 4: SECURE ONE SIDE OF WIRE
Lay the painted frame flat on its front face so the backside faces up towards you. Lay the chicken wire (in the correct orientation) on the frame, and stretch it into place over the frame. Make sure the lines in the wire are parallel with the frame. (You may want to have a helper for these next two steps). Hold the wire in place on one edge, place a paint stick over the wire, and use a staple gun to secure the wire to the frame, while creating a smooth surface that will not scratch the wall when hanging the memo board. You may need to trim the paint sticks to completely cover the edge of the frame and wire; these can usually be snapped by hand or cut with a utility knife. It doesn't have to be exact but covers enough of the wire so that it will not scratch or poke.

STEP 5: STRETCH & STAPLE WIRE
Stretch the wire so that it does not have any sagging and maintains the parallel lines with the frame. Staple the wire opposite the first secured edge between the frame and the paint sticks. Follow this process for the top and bottom edges.
STEP 6: CLEAN UP WIRE
Use pliers to twist any stray wires under the paint stick or around itself so that no bare wire can scratch hands or mounting surfaces.
STEP 7: FINAL TOUCHES
Finish the back of the chicken wire frame by attaching command strips to each side, these make it quick to mount and dismount if necessary without wall damage. If you are leading this craft for a group, the girls can hang the frame, with permission of their parent(s), directly on their wall right when they get home. Before they leave assist them in adding the accessories they made if any and take a picture of them with their final memo boards! I forgot this last step and wished I had a memory of the girls with their finished chicken wireframes. I snagged this pic below from the shared camp pics.
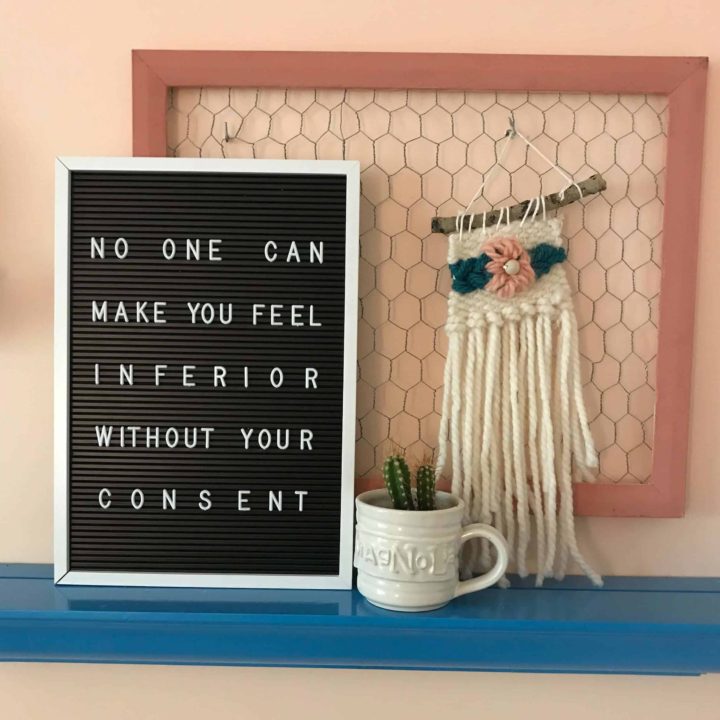
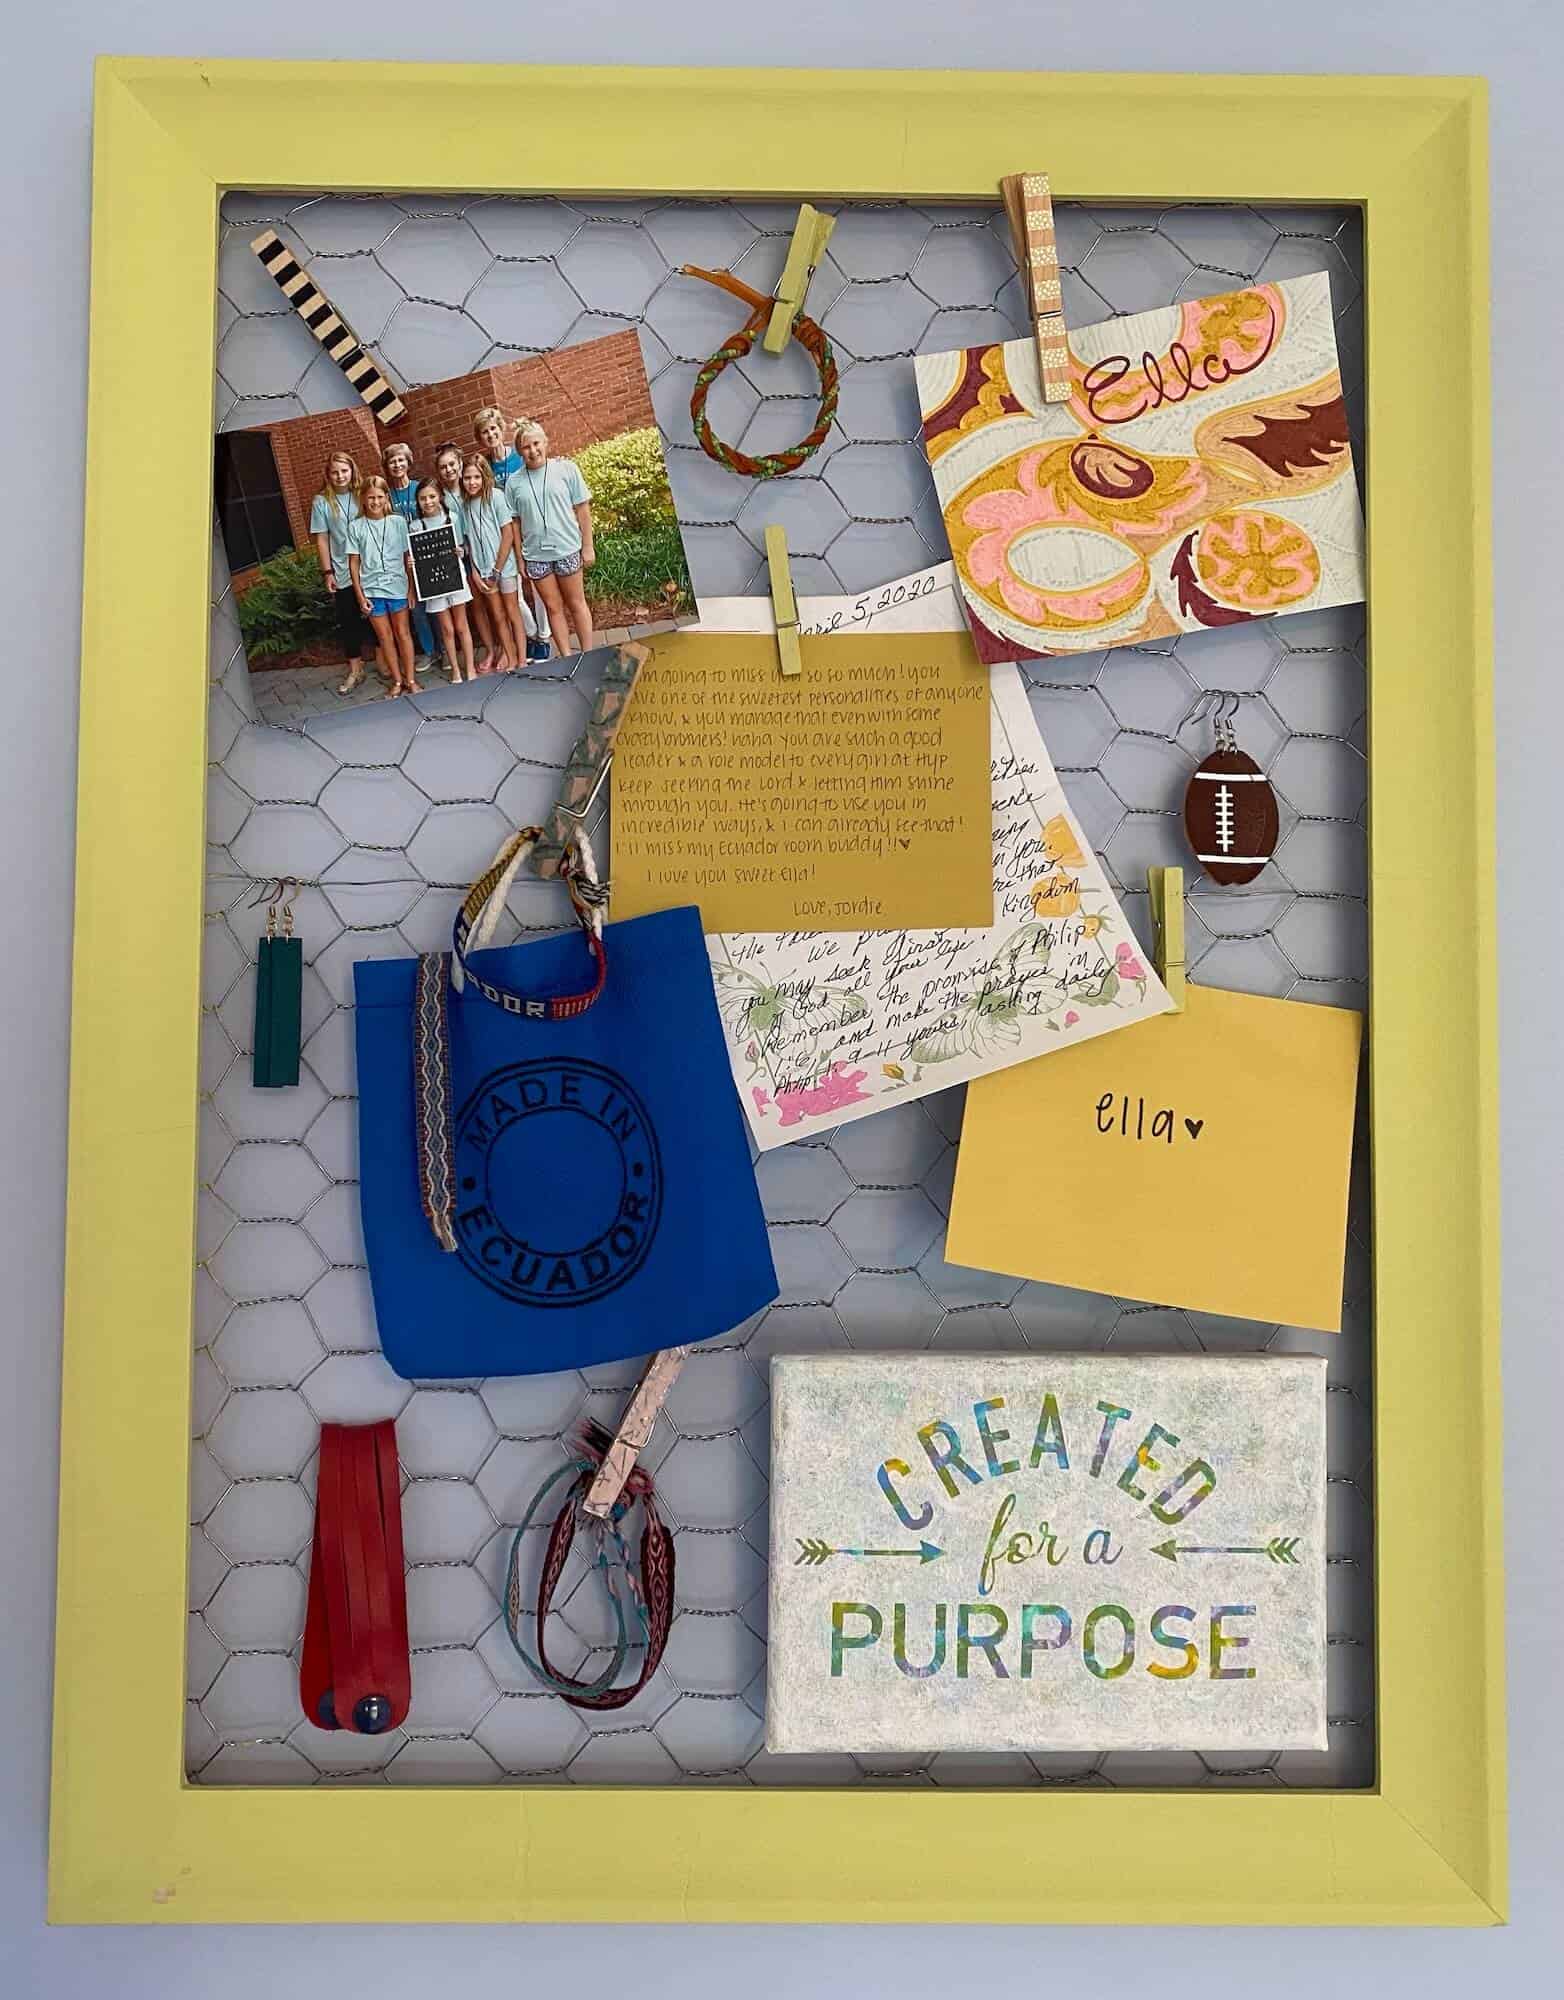
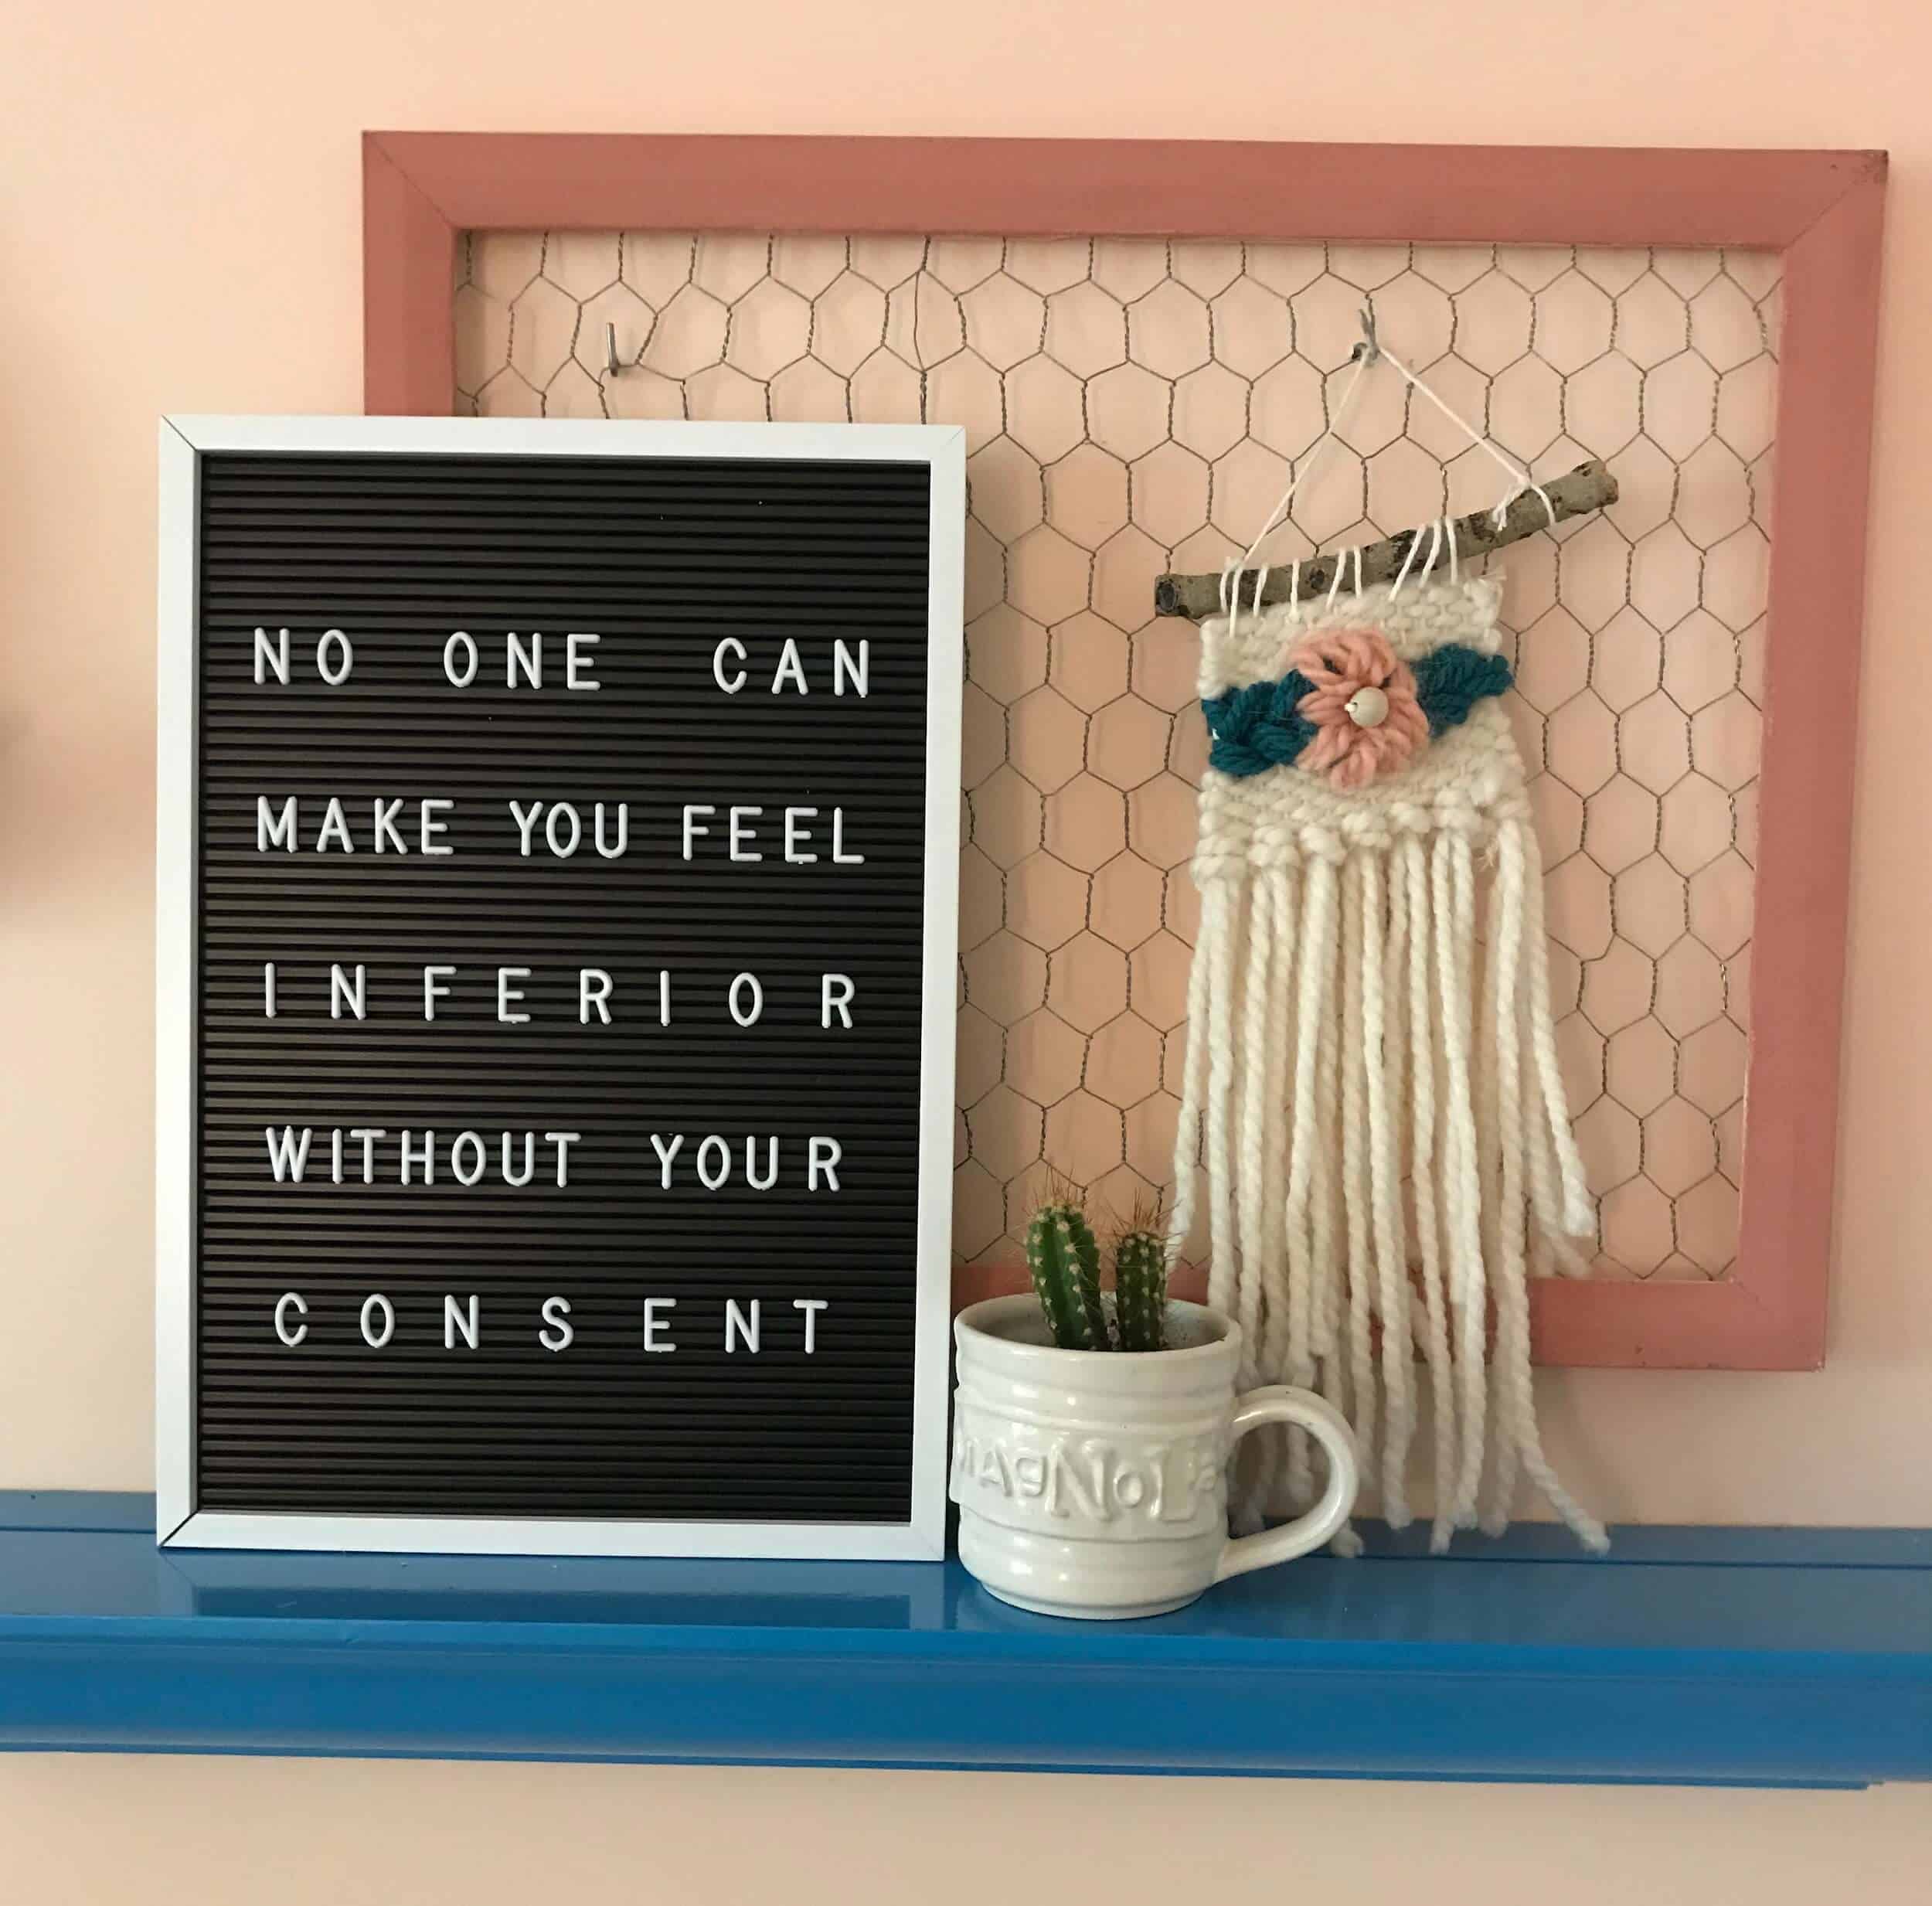
Here is a pic of another completed chicken wire frame decor one of the moms sent me from her daughter's room below.
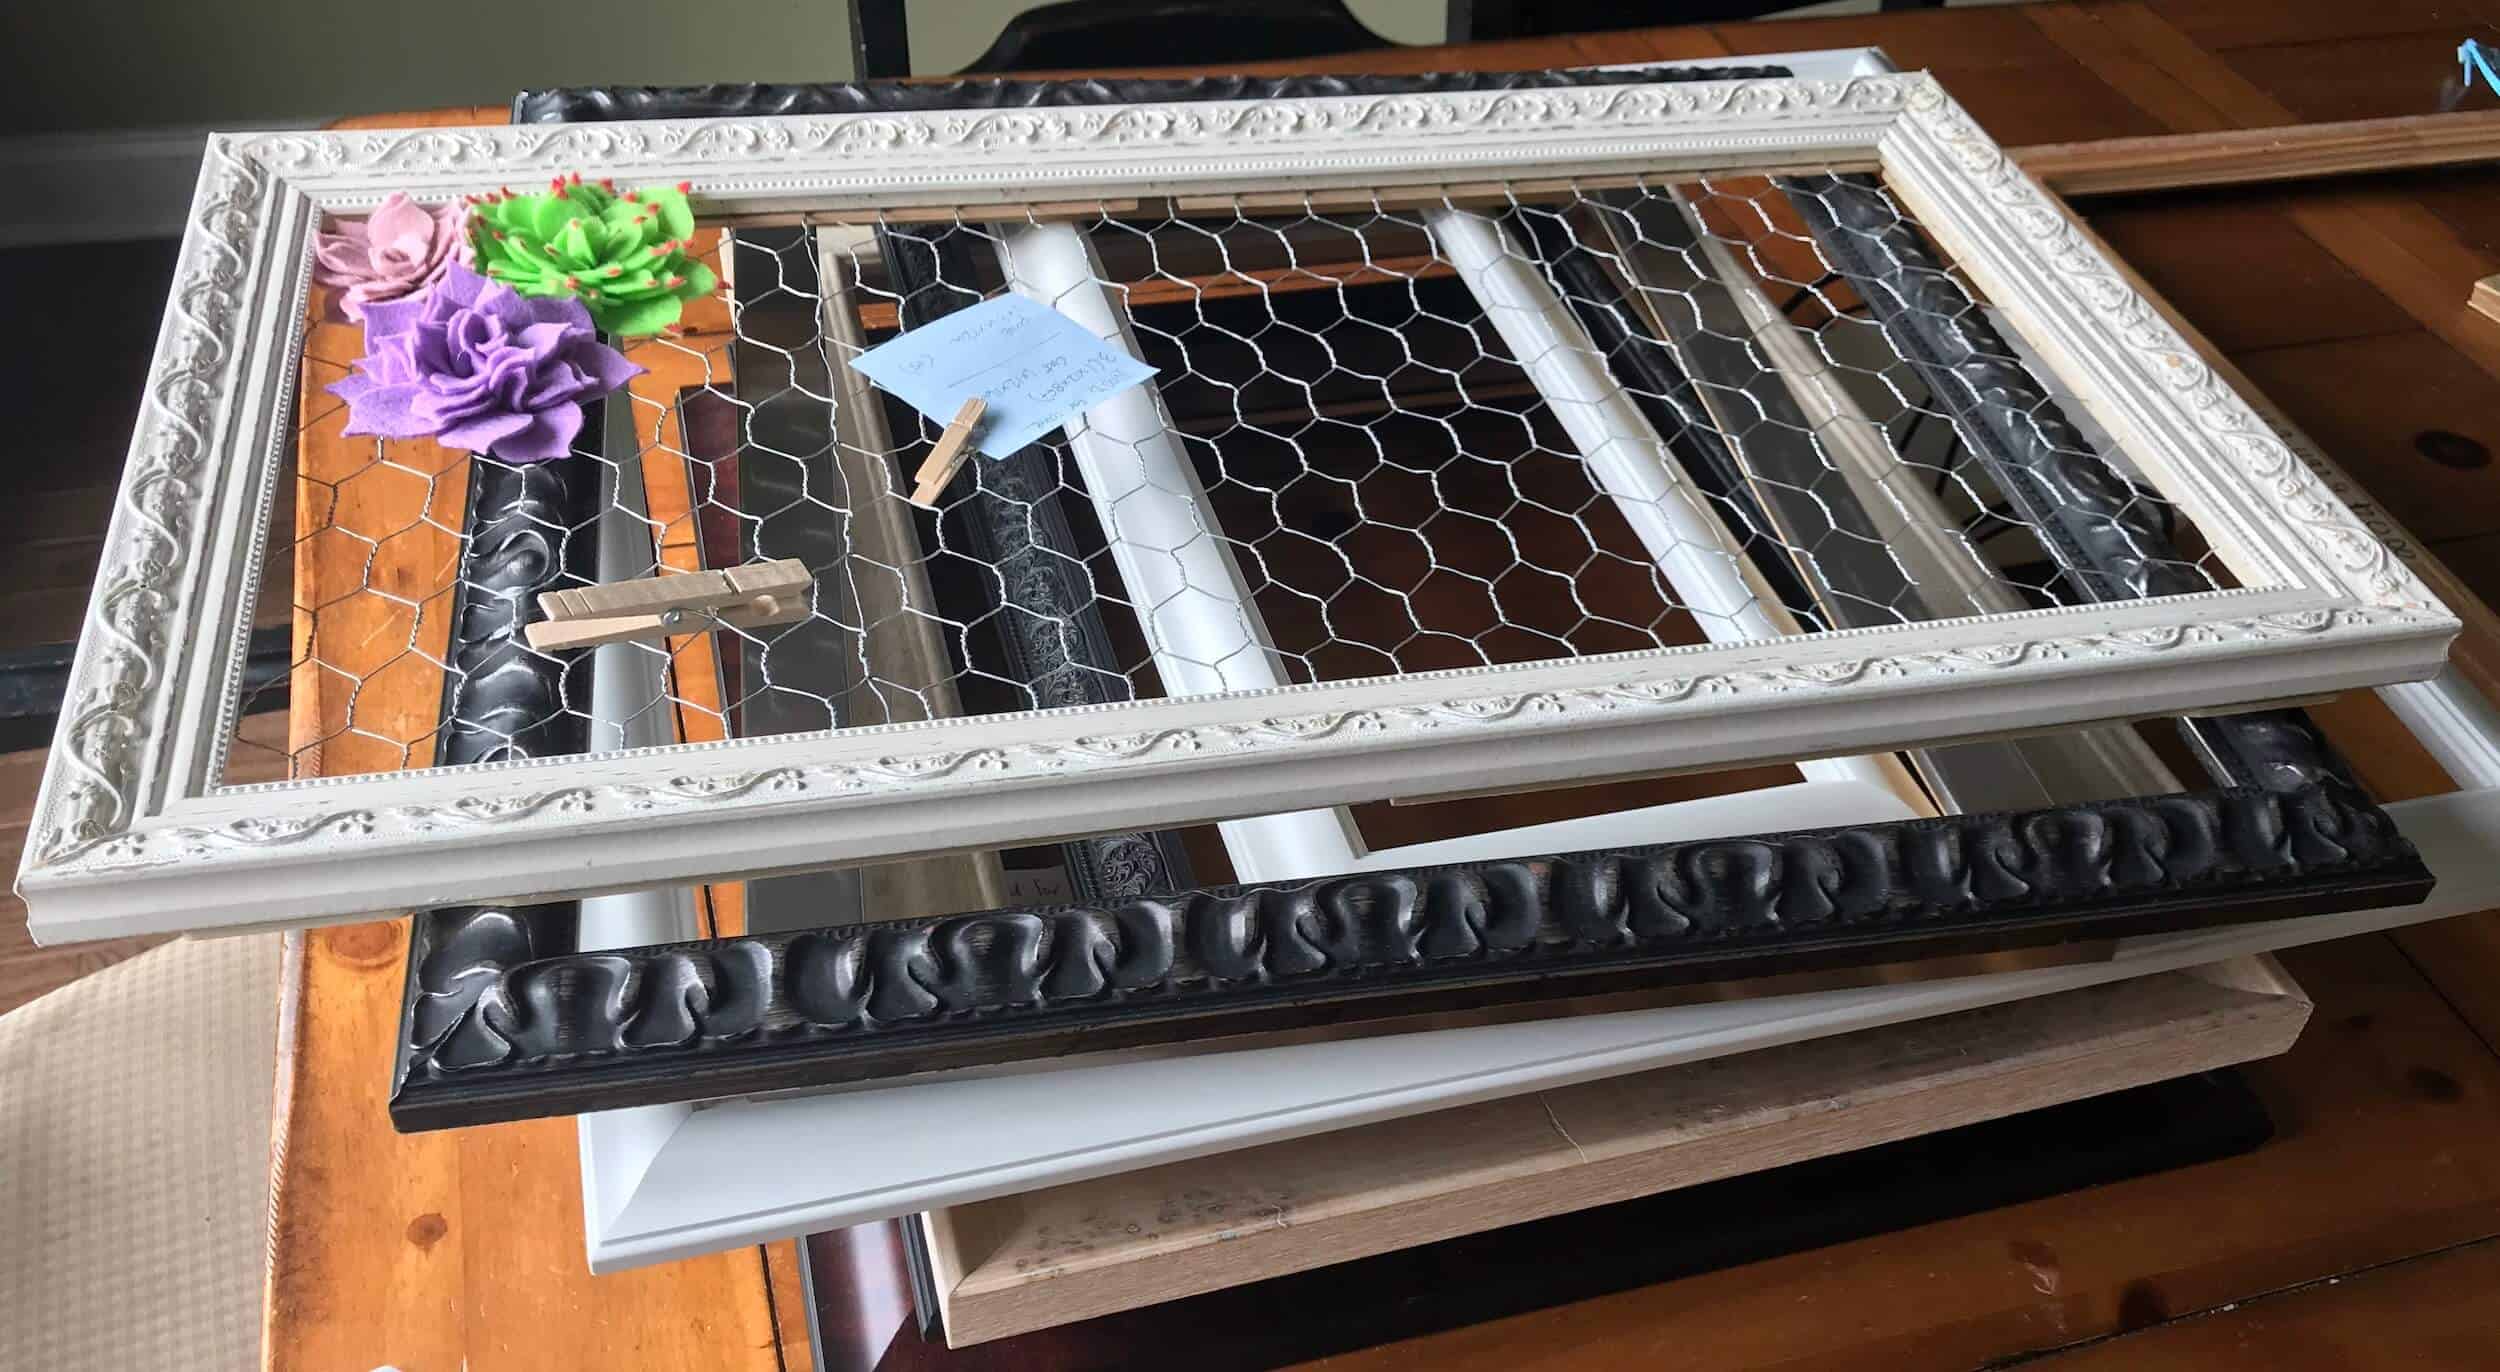
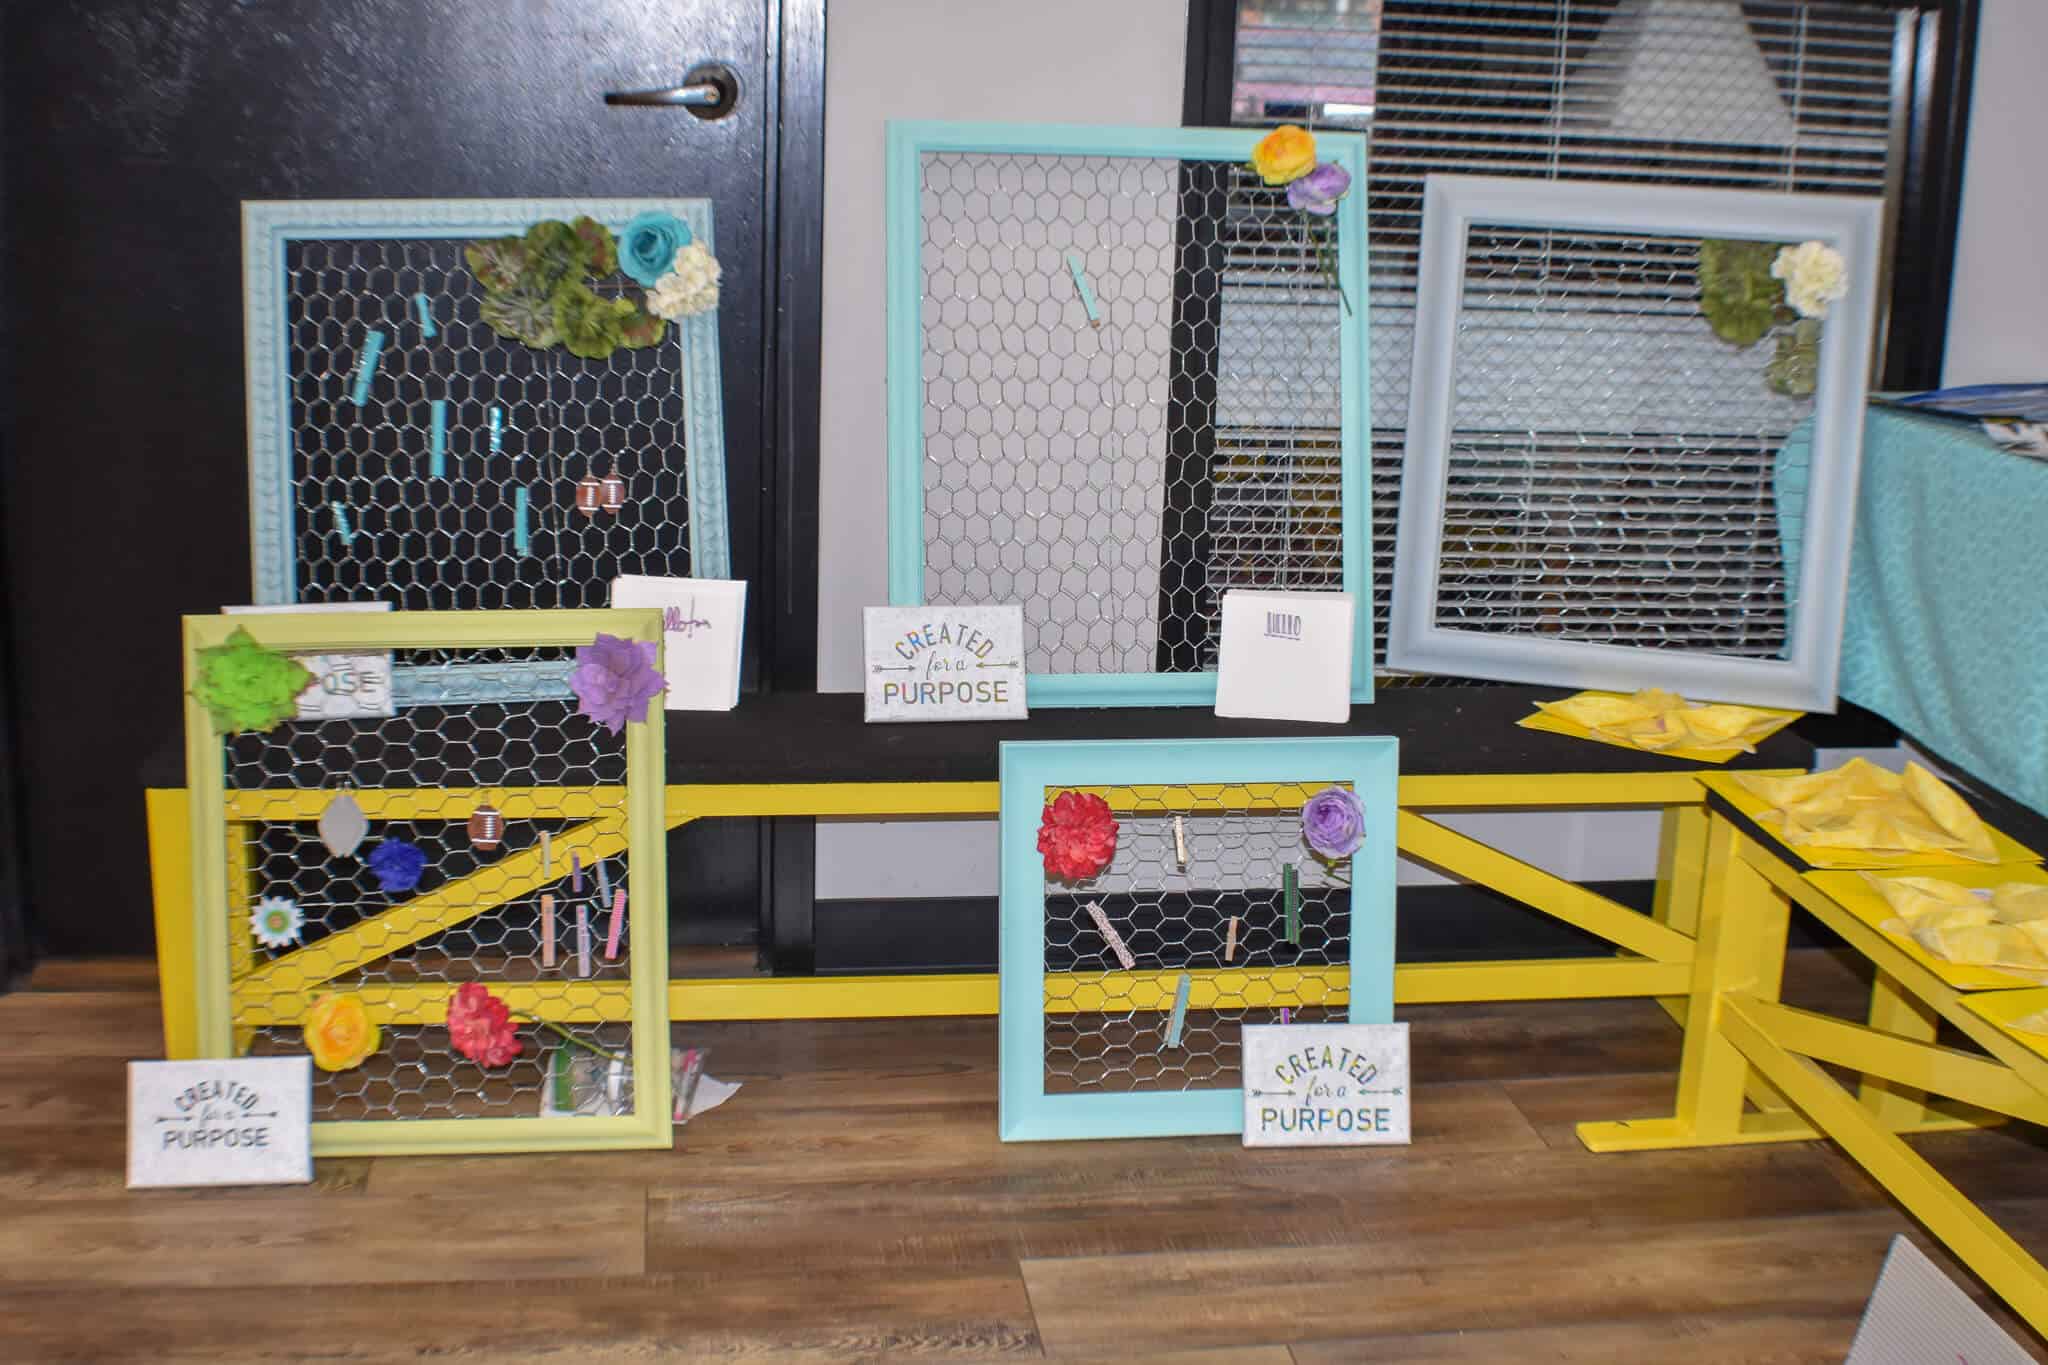
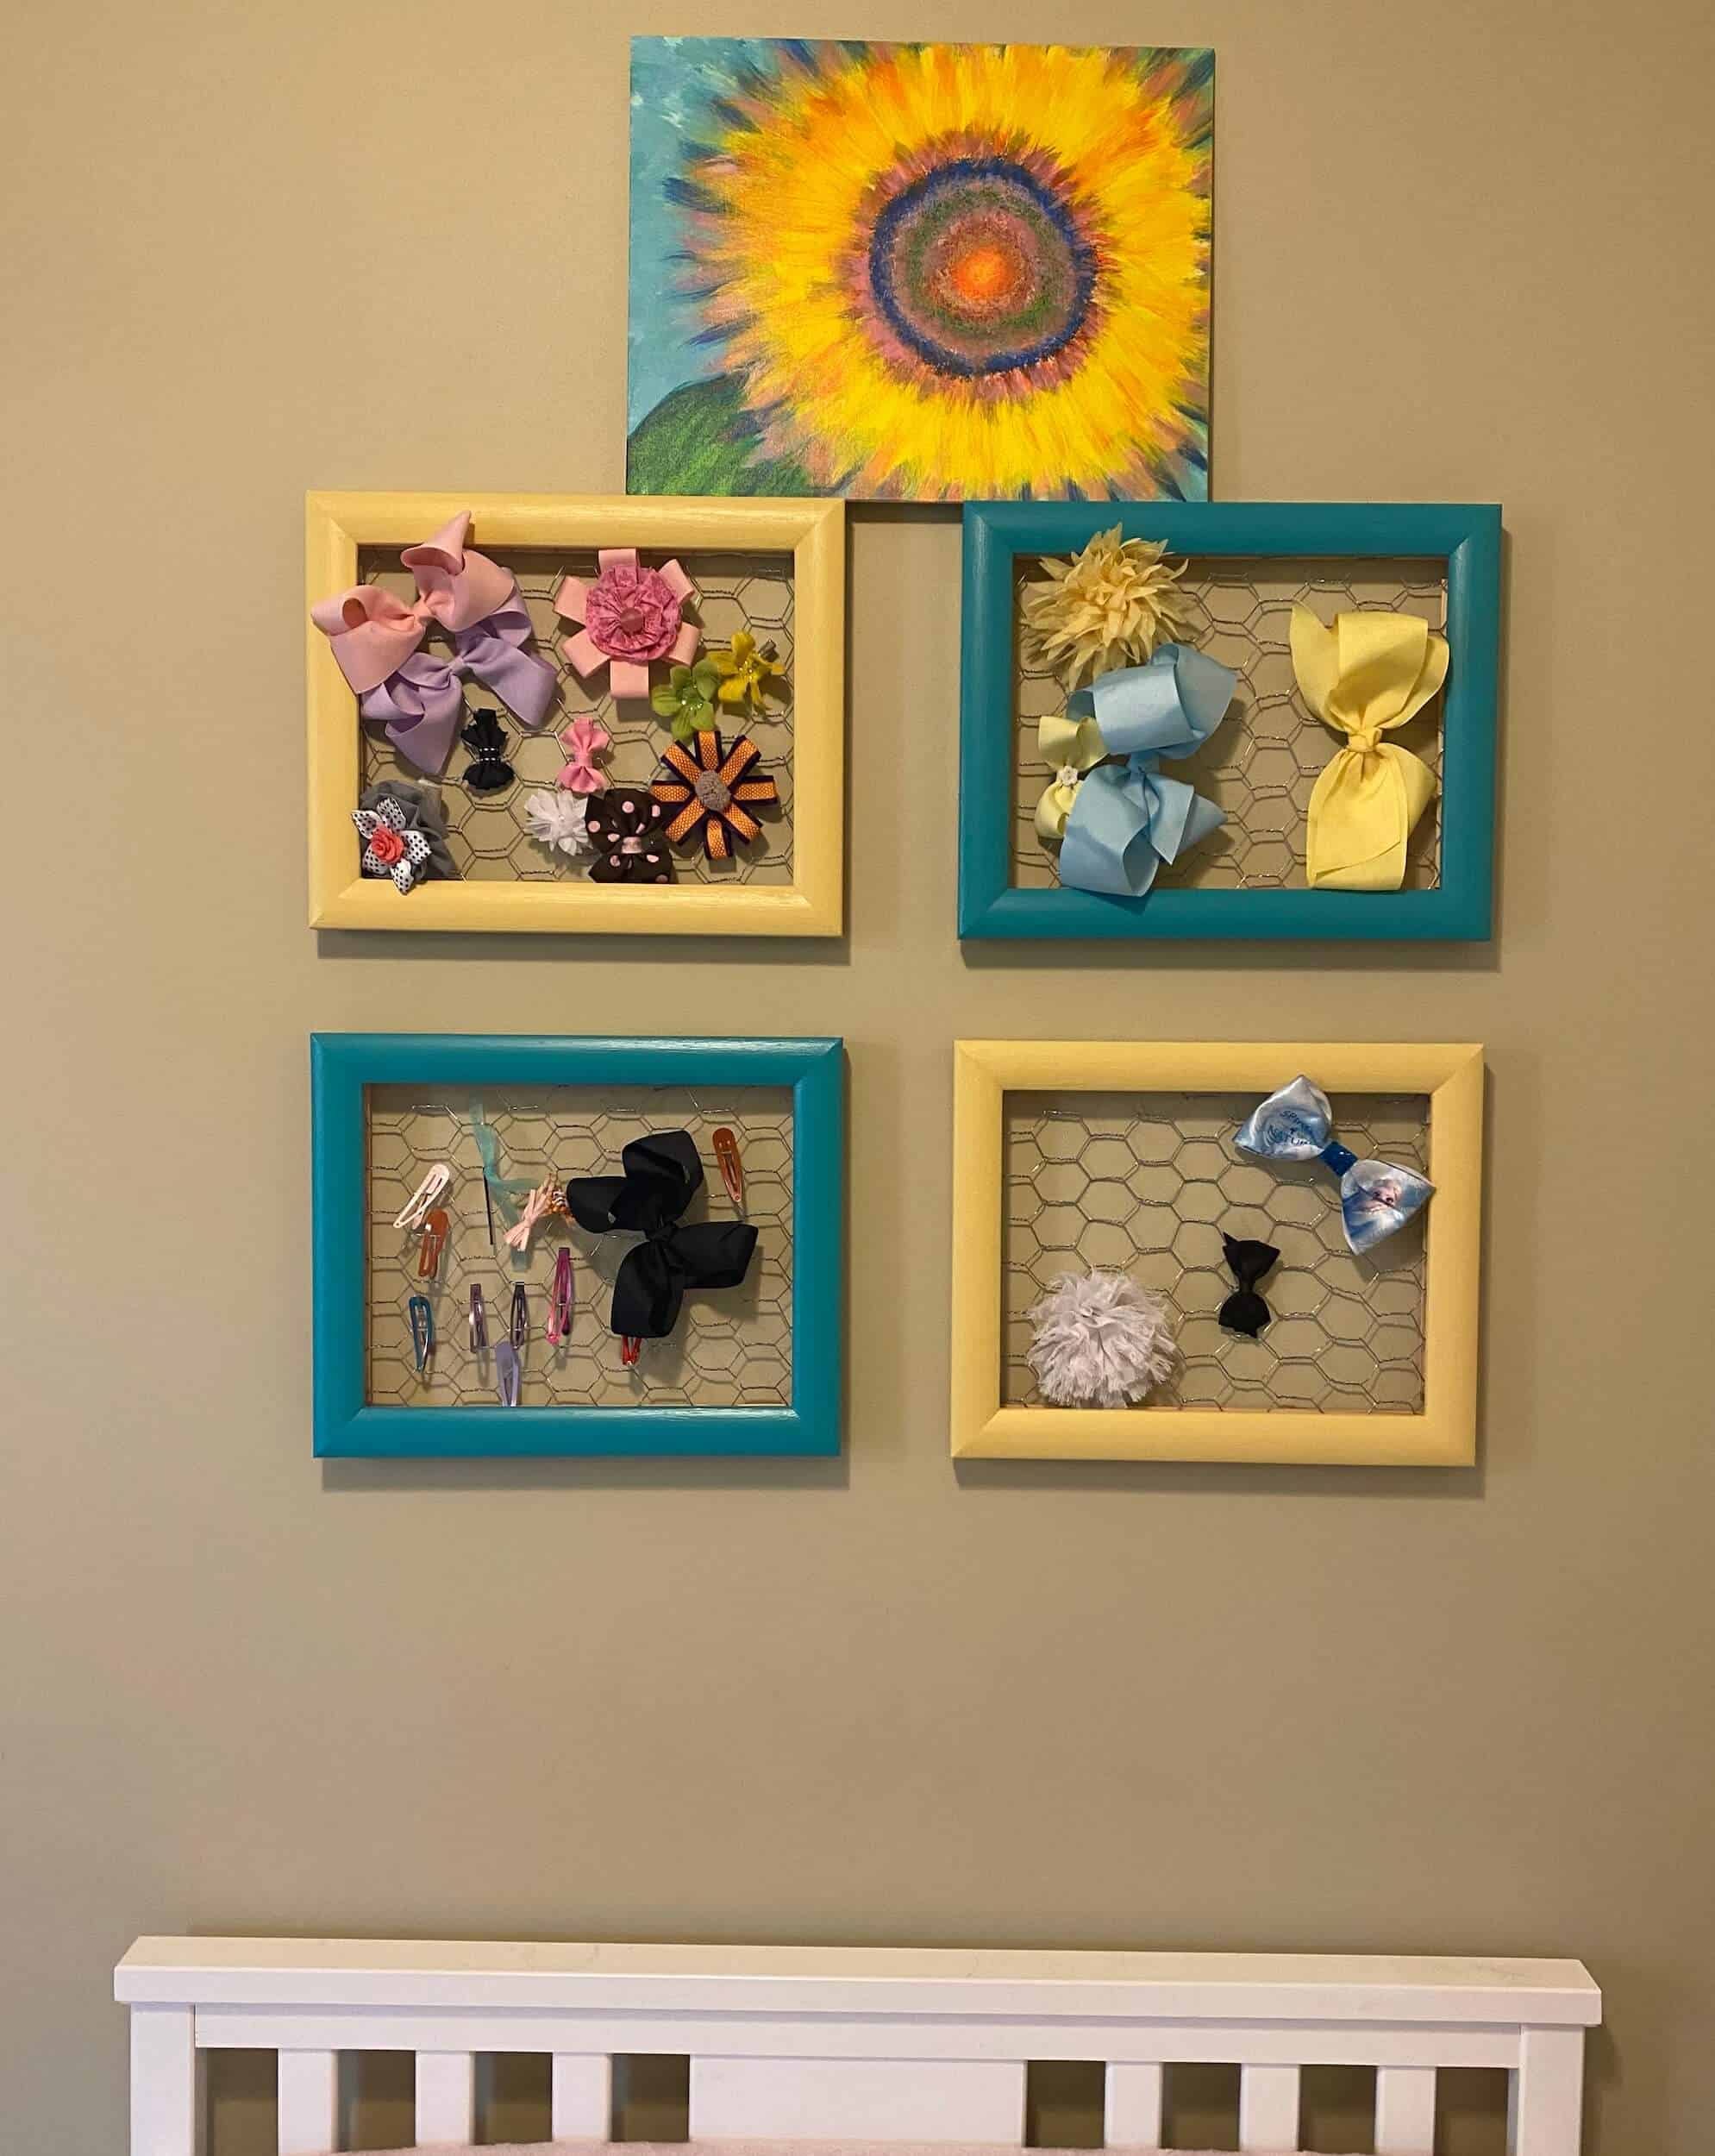
And finally, a pic of my example memo board for the girls to see as they were making their frames and the chicken wire bow holder set of frames I made for my youngest daughter's hair accessories and maybe one day earrings!
If you attempt to use some version of this tutorial send me a pic of your efforts! I may even include it on the blog. Now let's get crafting!
I created this project for a group of teens, but it’s great for all ages. I love that one of the camp counselors made a frame for herself and hung it in her closet to organize all her earrings. Even her husband was impressed at how functional the chicken wire frame was at holding jewelry.
I also continue to use my sample in the kitchen as a message board and still love it!
Related crafts you may also enjoy:
DIY a chicken wire memo board today!