GLOWFORGE LASER CUTTING & GLUING LETTERS

Learn how to use a Glowforge to laser cut wood letters cleanly along with the best adhesive to glue them to projects.
Among the first projects that I dove into with the Glowforge was to personalize signs. I had so many questions about what paint to use, when to paint, the need for masking, and finally what glue to use. I hope to clear up all those questions in this tutorial to help you learn to cleanly cut wood with the Glowforge and then what to do with your beautifully cut pieces.
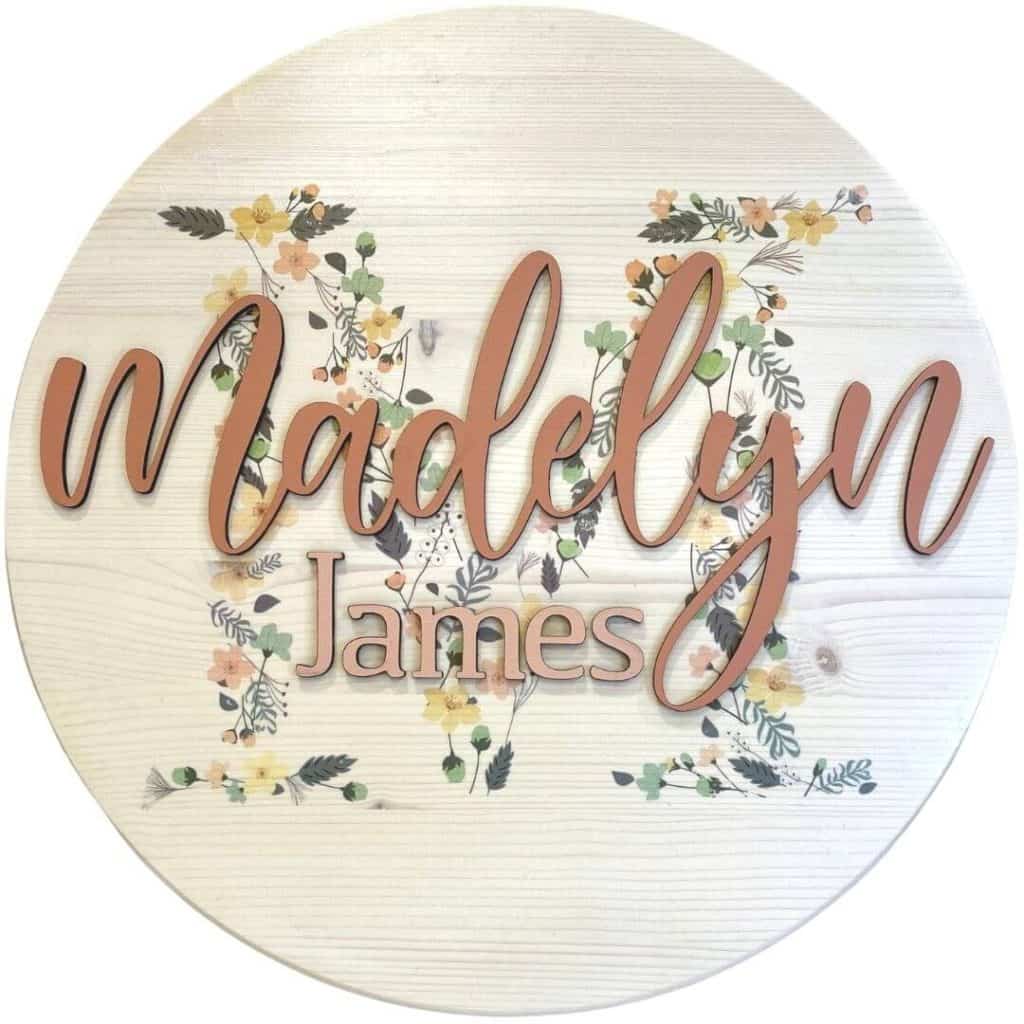
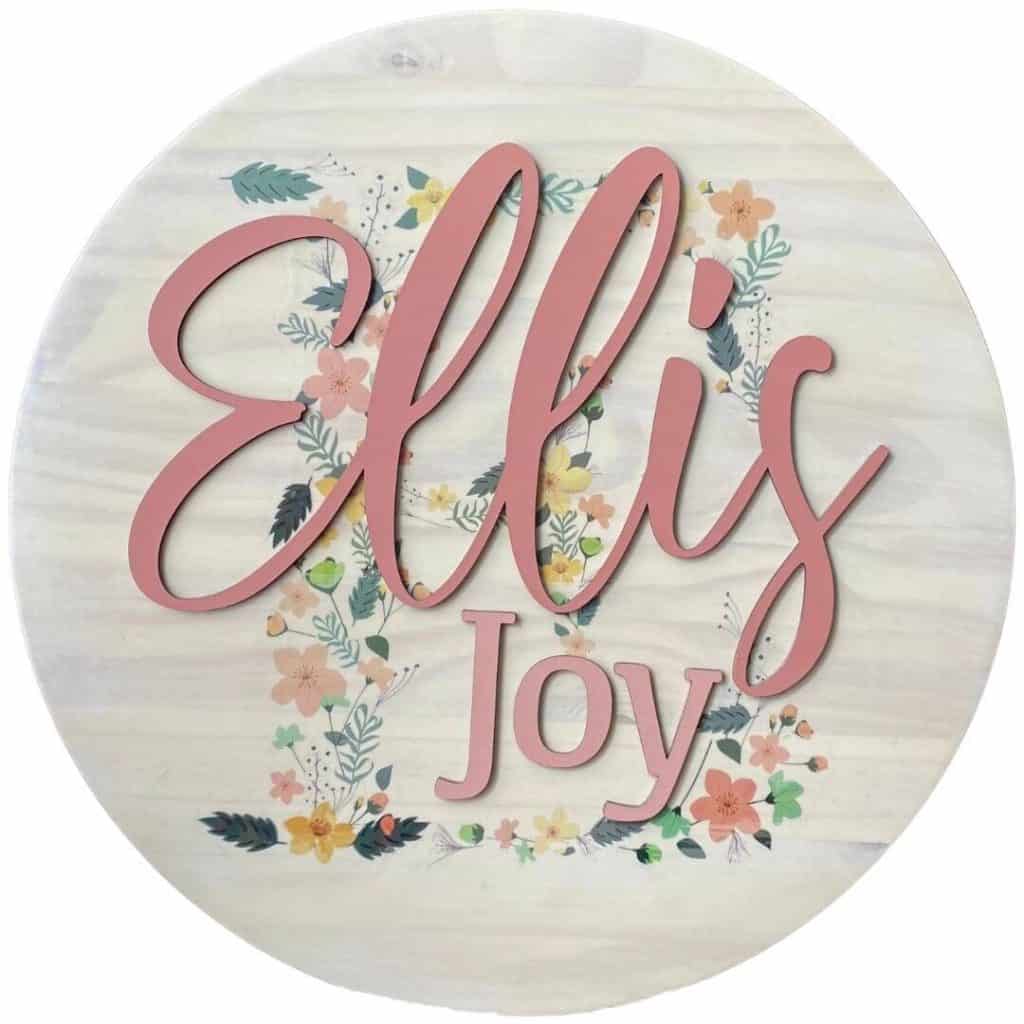
This process was used to add a name overlay to a floral image transferred to wood. I think the wood letters add a pretty dimension to the completed nursery sign. What do you think? Here are the nursery signs below:
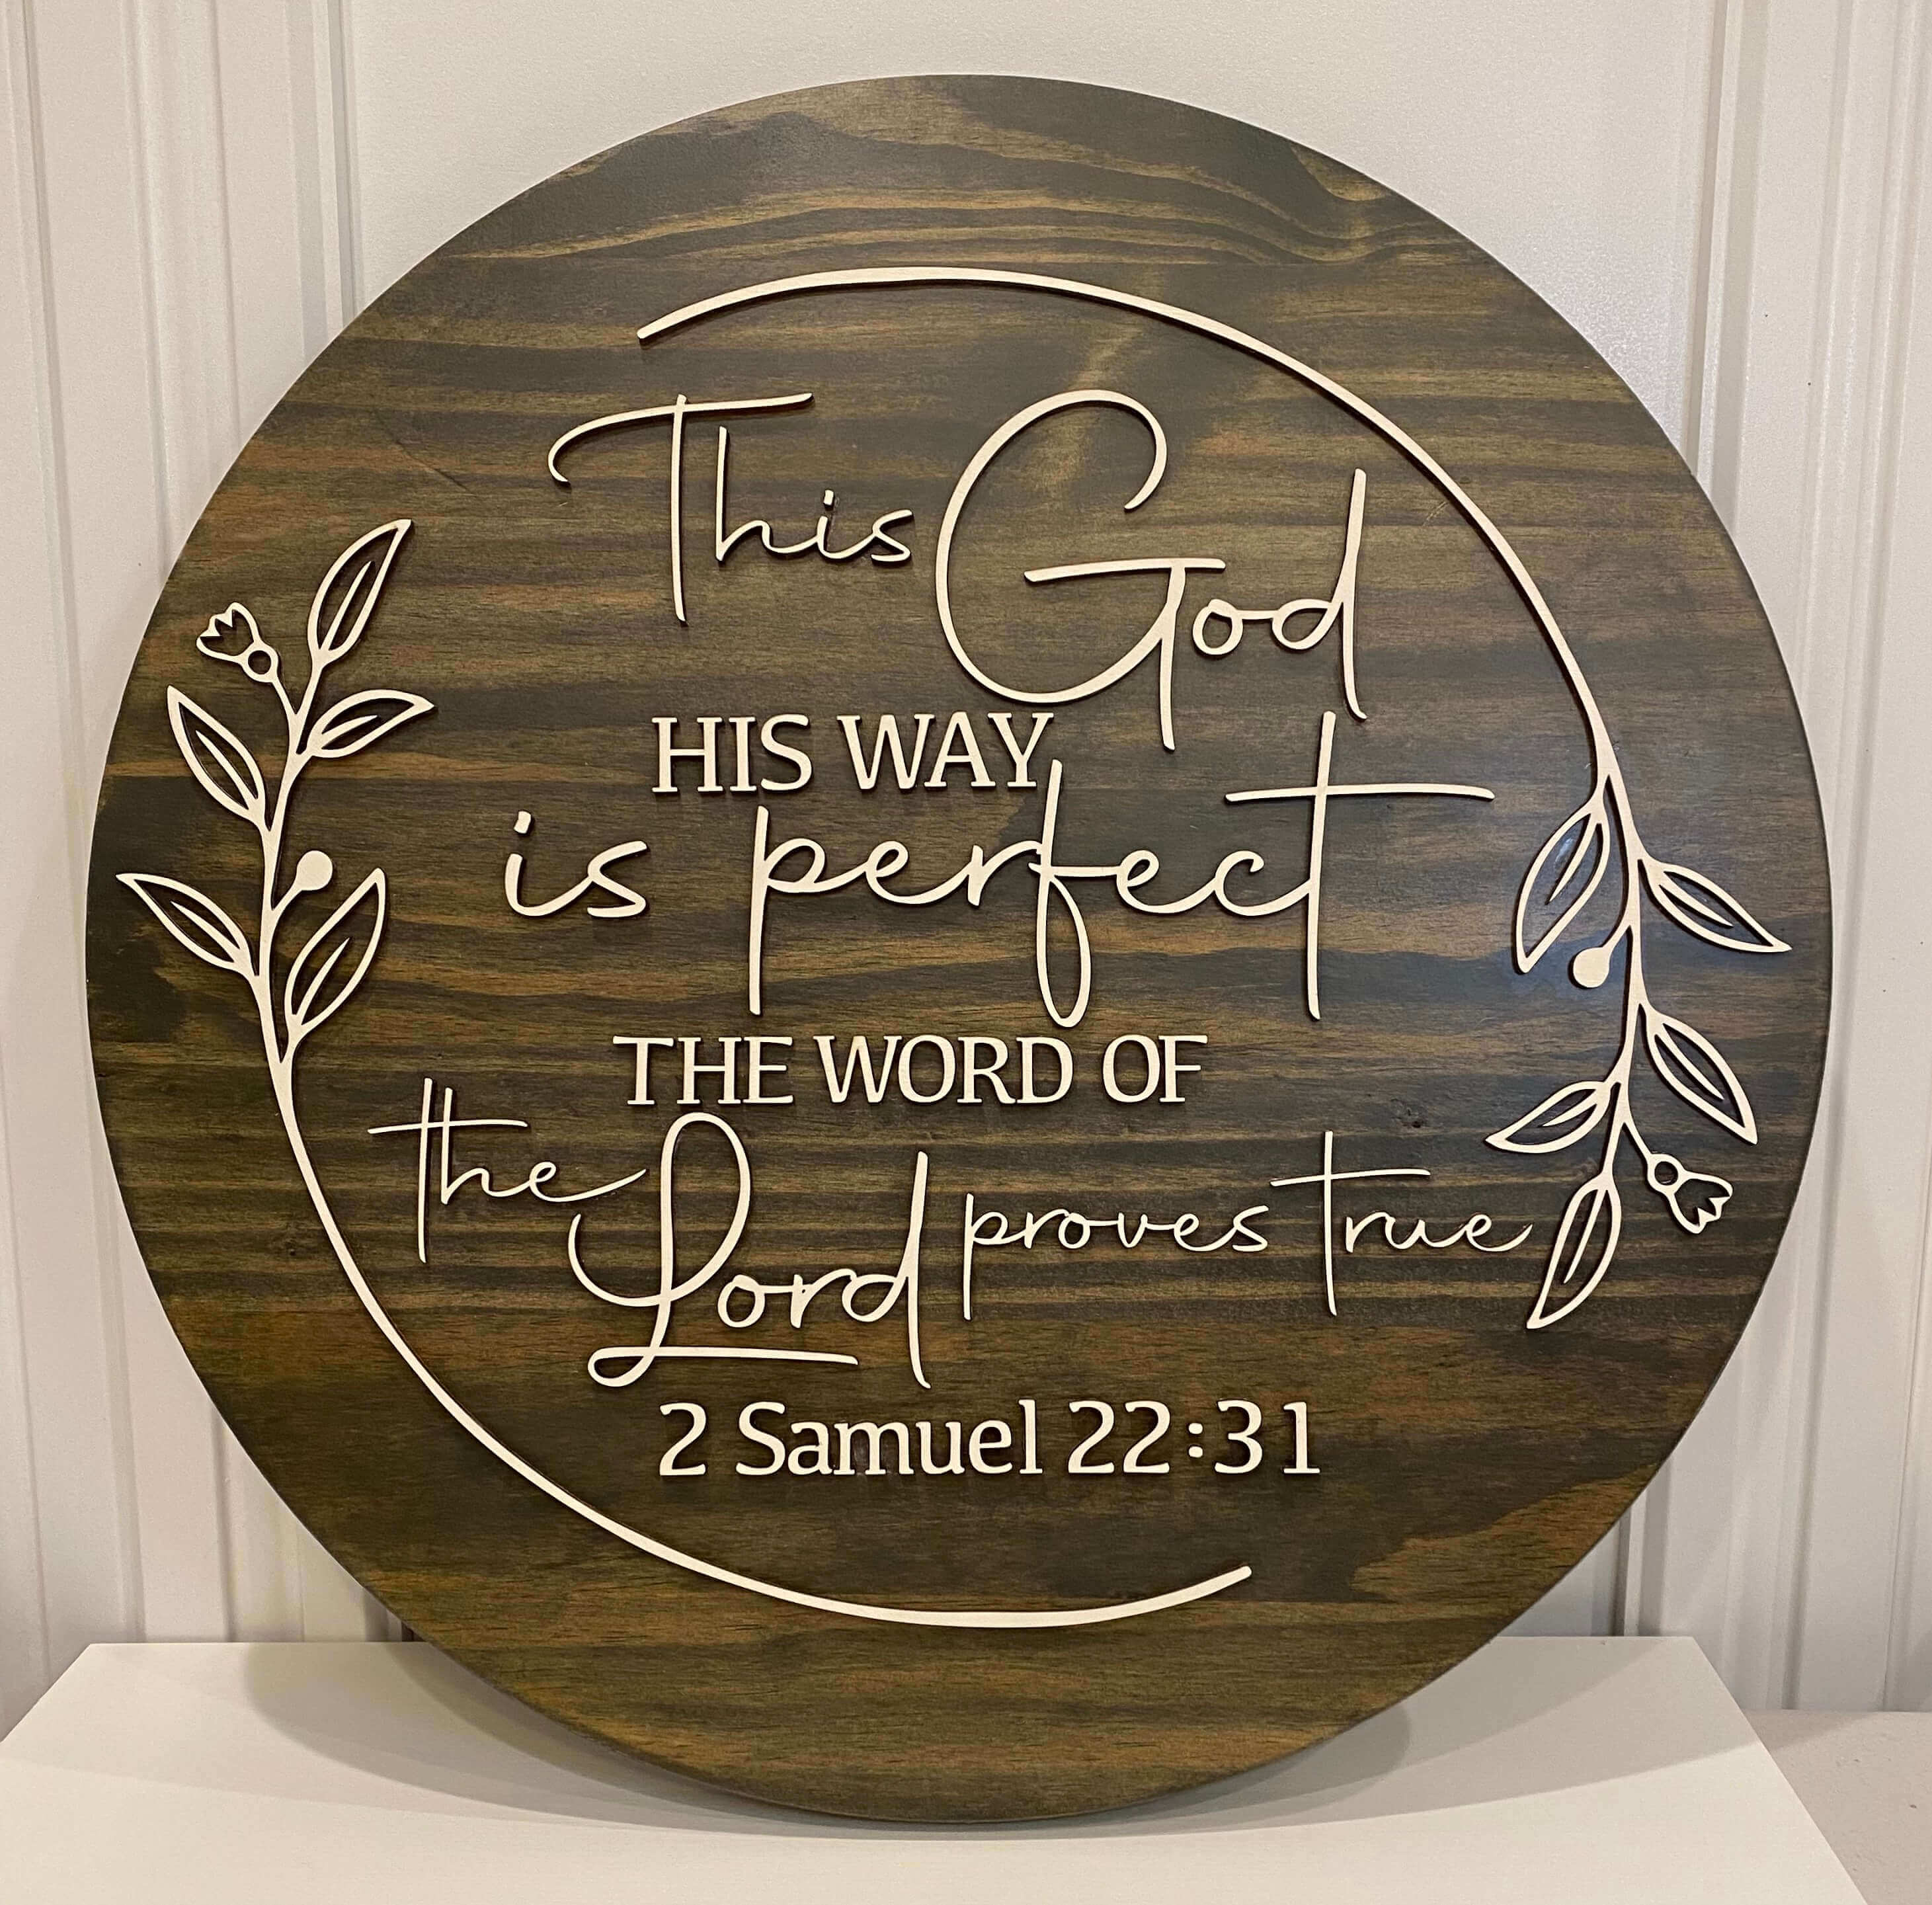
A couple more examples are in the following Bible verse word art signs:

I don’t know about you, but I have a hard time choosing the right colors for each project. It’s nice to have an example to reference before committing to any given project. For suggestions on stain, paint color choices, finishes, and the exact colors I used in all the projects shown on this page, find a printable in the free resource library. I hope this guide will be an easy reference when you get started on your projects.
If you want to include laser-cut letters to your next project, and you haven’t quite jumped on the Glowforge bandwagon, I am sure you can find someone like me that would happily and inexpensively cut them in wood, or desired material, for you.
There are affiliate links in this post. I earn a small commission from qualifying purchases at no extra cost to you.
Glowforge Laser Cutting and Gluing Letters
Learn my process for creating laser-cut letters and gluing them to projects like wood signs.
Materials
- 1/8" Baltic Birch or 1/8" proofgrade Draftboard
- Paint
- Masking
- Finish Spray
- E6000 Adhesive with Precision Tips
Instructions
STEP 1: PAINT THE MATERIAL
I first painted to board to be cut. I used 1/8” baltic birch for this lettering project. I use Rethunk Junk paint because it goes on so nicely and really only needs one coat. Once completely dry give a light sanding with ultrafine grit sandpaper for a smooth finish.
After the paint is completely dry, apply masking tape to the entire surface. I use the brayer to make sure the masking completely adheres to the surface of the wood. This is important as loose masking is known to start fires.
STEP 2: CREATE A CUT FILE FOR WOOD NAME
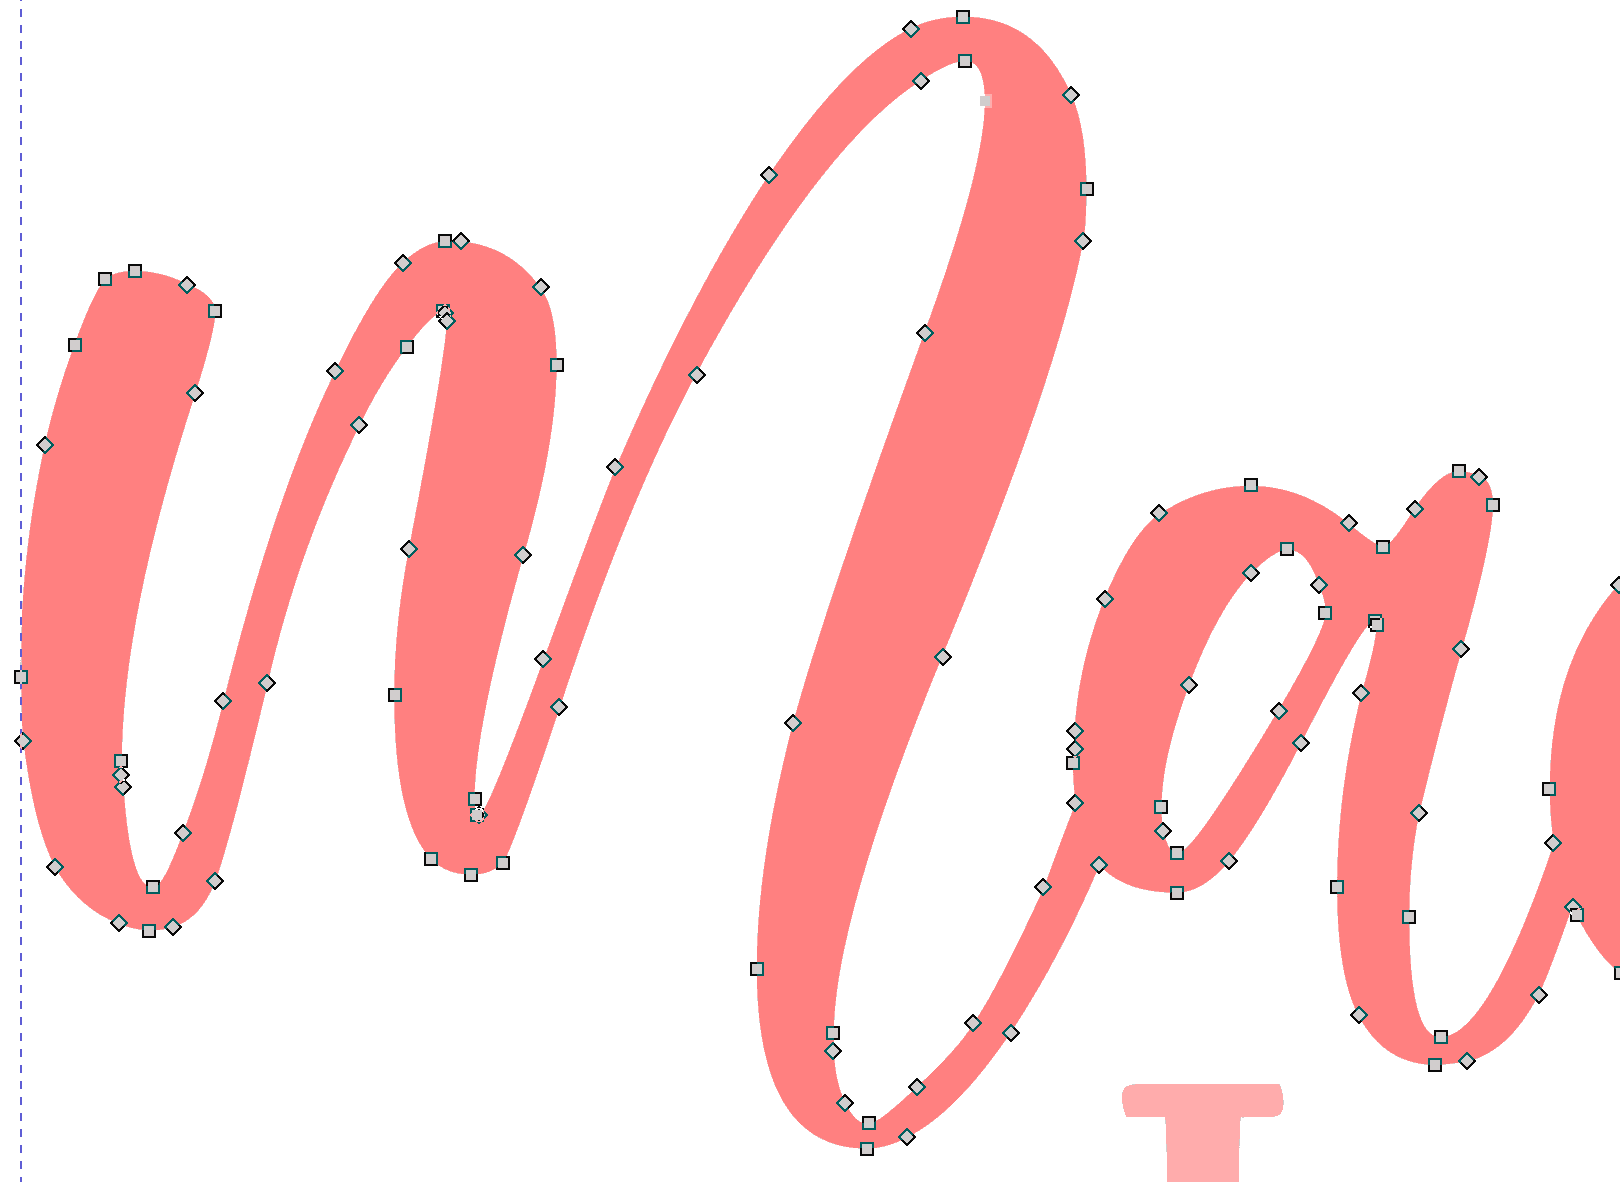
I created the names for my sign using Inkscape, which is free software. If your using a script font make sure to get the text connected right where you want it by playing with the spacing, or even ungrouping the letters and moving them independently.
When you are happy with their position, change the text to a path, ungroup, and finally path union. Check that this took place by clicking on the nodes tool and you should no longer have individual overlapping letters, but rather one connected word like in the image below.
STEP 3: CUTTING NAME IN WOOD ON THE GLOWFORGE
When you are ready to cut upload your SVG into the Glowforge software and place your painted, masked material on the crumb tray of the machine. It’s a good practice to pin down the board with honeycomb pins.
Unless your using proofgrade materials the 1/8” inch boards may have a little warp to them. Pinning the board down to the crumb tray with honeycomb pins helps to make sure the material gets cut all the way through in all places. Find a free file for honeycomb pins in the Glowforge Community.
For the cut settings, I just start with Medium Draftboard settings and adjust them accordingly. It was suggested by the supplier that I use a speed of 200 at full power, but this didn't cut it. I ended up with a speed of 160 and full power for a perfect cut.
Always do a test cut! I like to make extra little honeycomb pins for my test cuts. It's a nice small size and a useful tool for the future, so win-win. The correct settings for your machine will be a trial and error process and I suggest when you find something that works keep a log to help your future self.
STEP 4: FINISHING LASER CUT WOOD LETTERS
When the letters are cut with the glowforge they will have a burnt looking edge on them. I personal love this look and think it gives a nice fresh edge for contrast against my background. I will even touch up this raw edge (if I needed to sand or touch up my paint) with a stain marker by minwax, the dark walnut color matches with the burnt edge.
If you are not interested in including this burnt edge you can paint over it, but it takes a few more products and steps. Start with a primer first then paint desired color. For a dark paint use filler primer and for any final color lighter than gray use Aluminum primer then paint.
After the names are cut out I like to spray them with a couple of coats of finish to seal and protect them. And then they are ready to be glued to your project.
STEP 5: ADHESIVE CHOICES TO GLUE LASER CUT WOOD PIECES TO WOOD SIGN
There are so many product options for gluing laser cut pieces to signs. I have tried E6000, DAP Rapid Fuse, and Clear Gorilla Glue Pen all with success.
I liked the E6000 with applicator tip the best to use when gluing small pieces or intricate designs. It is much more forgiving when you need to reposition a piece slightly after laying it down. Also if you have a little extra glue squeeze out after applying or from repositioning, it simply rolls up in a little ball and is removed easily.
The disadvantage to E6000 is the drying time is longer, but it’s so much easier to work with that I still prefer it. Another disadvantage is you have to apply and place quickly or the glue will begin to dry on itself and being gummy.
If your laser cut pieces are larger and less intricate the superglue-like adhesives like DAP and Gorilla Super Glue are great and dry very quickly. They make gluing a quick process. They also don’t start to dry until you place the wood pieces together with pressure so they can be repositioned after placing them in position, but they will leave hard to remove residue behind.
Like I said I have success with all three of those adhesives, so it’s up to personal preference. Also, there are many more choices for adhesives to chose from, and I will update if I have a better experience with something else and would recommend it.
VINYL NAME OVERLAY
The instructions to create and apply a vinyl name are detailed in the Vinyl Decals Tutorial. Feel free to let me know if you need further instruction and I would be happy to help.
