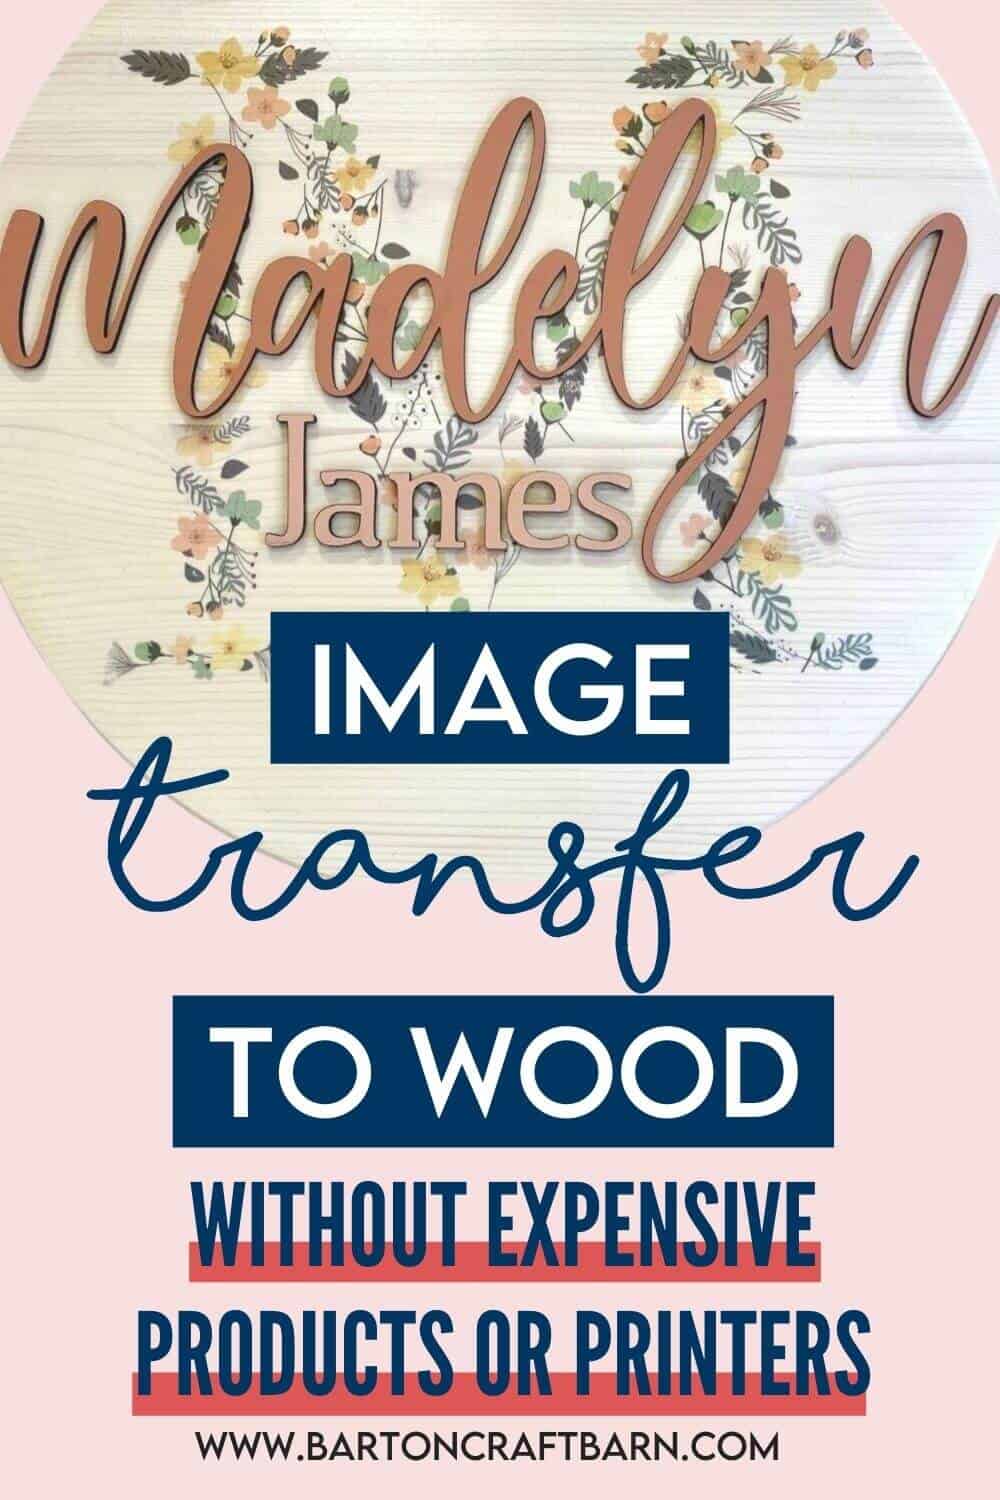
IMAGE TRANSFER TO WOOD
Learn how to transfer an image to a wood sign using a laser printed image and Polycrylic.
I’ve had this project in my head for a while and have been researching and experimenting with the different methods of transferring images. I didn’t think images would transfer so cleanly without a sublimation printer so I am excited to share my experience in this tutorial for transferring prints to wood.
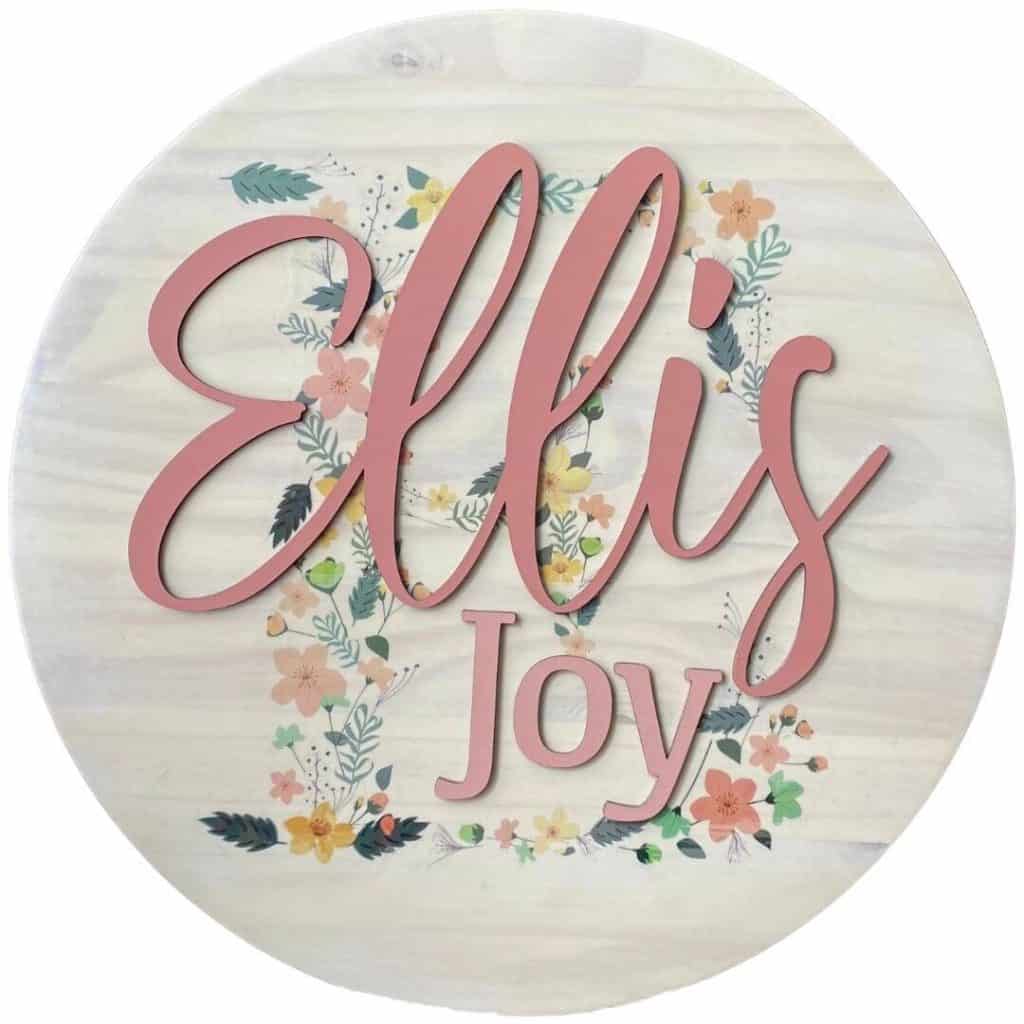
I created these nursery signs below for my niece and grand niece. That’s quite a fancy name for my nephew’s daughter! I had to look that relationship name up, but I think grand niece fits our little Madelyn James.
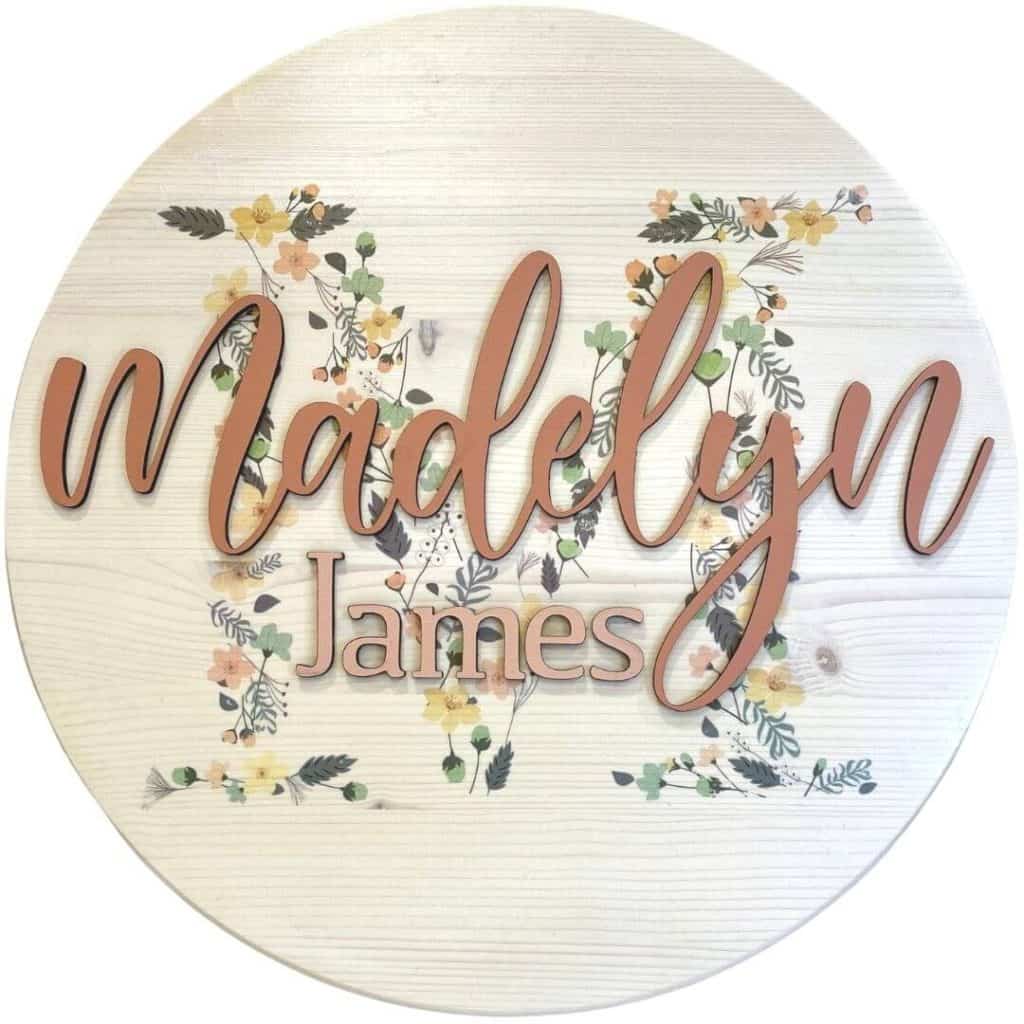
I found the image for the background letters on Etsy and laser cut the names on my new Glowforge. I will start by warning you that this sign has many steps, and takes a long time to complete. However, much of the time is waiting in between all the steps for drying or curing.
This project is perfect for someone that is short on time and only has small moments to be crafty, like me with my large & active family! If I can do it, you can too. I also like that this project can be completed mostly without special equipment.
Watch the image transfer to wood process below or keep scrolling for the written tutorial.
If you want to include the optional name overlay, but don’t have a Glowforge handy, I am sure you can find someone like me that would happily and inexpensively cut a name in wood, or desired material, for you.
There are affiliate links in this post. I earn a small commission from qualifying purchases at no extra cost to you.
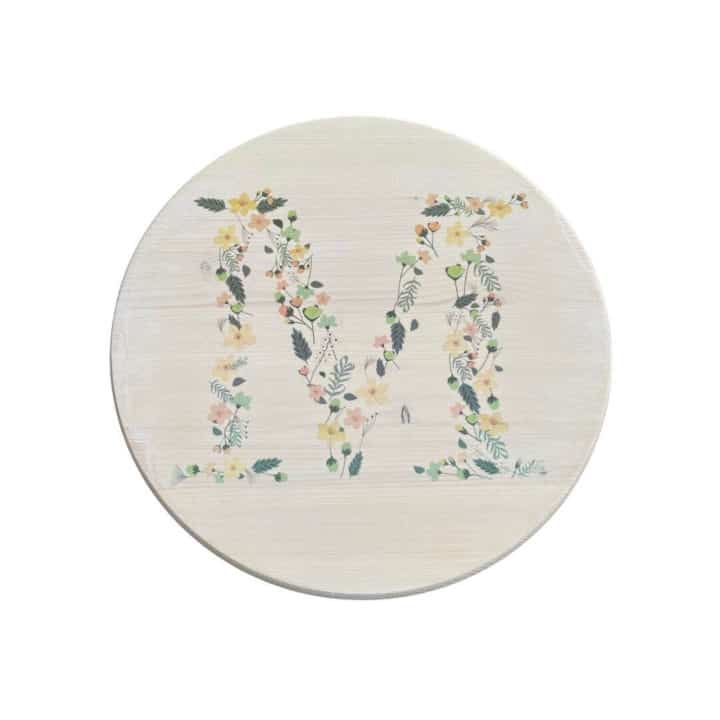
IMAGE TRANSFER TO WOOD SIGN
Learn how to take an image or picture and crisply transfer it to wood. The example in this tutorial was transferred to a wood round nursery sign.
Materials
- Wood Round
- Stain or Paint
- Polyurethane Wood Finish
- Laser Print of the Mirrored Image to be Transferred
- Water Based Polycrylic
- Ultra Fine Grit Sandpaper
Tools
- Protective Gloves
- Piece of throw away cloth or foam brush
- Paint Brush or Foam Brush
- Brayer or Scraper Tool
- Sponge, Papertowel
Instructions
STEP 1: SELECTING, STAINING, AND FINISHING THE WOOD ROUND
There are a couple of options for wood rounds. I prefer the thicker 18” round that is available at Home Depot or the 15" round I found at Lowes. They make thinner craft rounds that you can get off Amazon that are less heavy, but I prefer the quality of the thicker rounds.
That being said you have to be picky when shopping. The boards are manufactured and have a wide array of patterns and quality. You need to consider if the patterns and/or knots in the wood will be a compliment to your project or a distraction.
STAINING THE WOOD ROUND
The next choice for the wood is the stain and finish. For my project, I use Antique White Stain and Polyurethane Finish. Note that stain is made to show the grain of the wood on the final project, so if that is not what you are looking for go with paint instead. Also note that the Polyurethane Finish that I chose will leave an amber hue, so if that’s not what you are looking for feel free to use a spray finish like the Rust-Oleum spray finish.
Start by sanding your project. The board should be pretty smooth, but just in case it’s good practice to make sure. Also, sand the sides of the board for a good finish. The wood rounds often come with very rough edges that do not take stain or paint nicely.
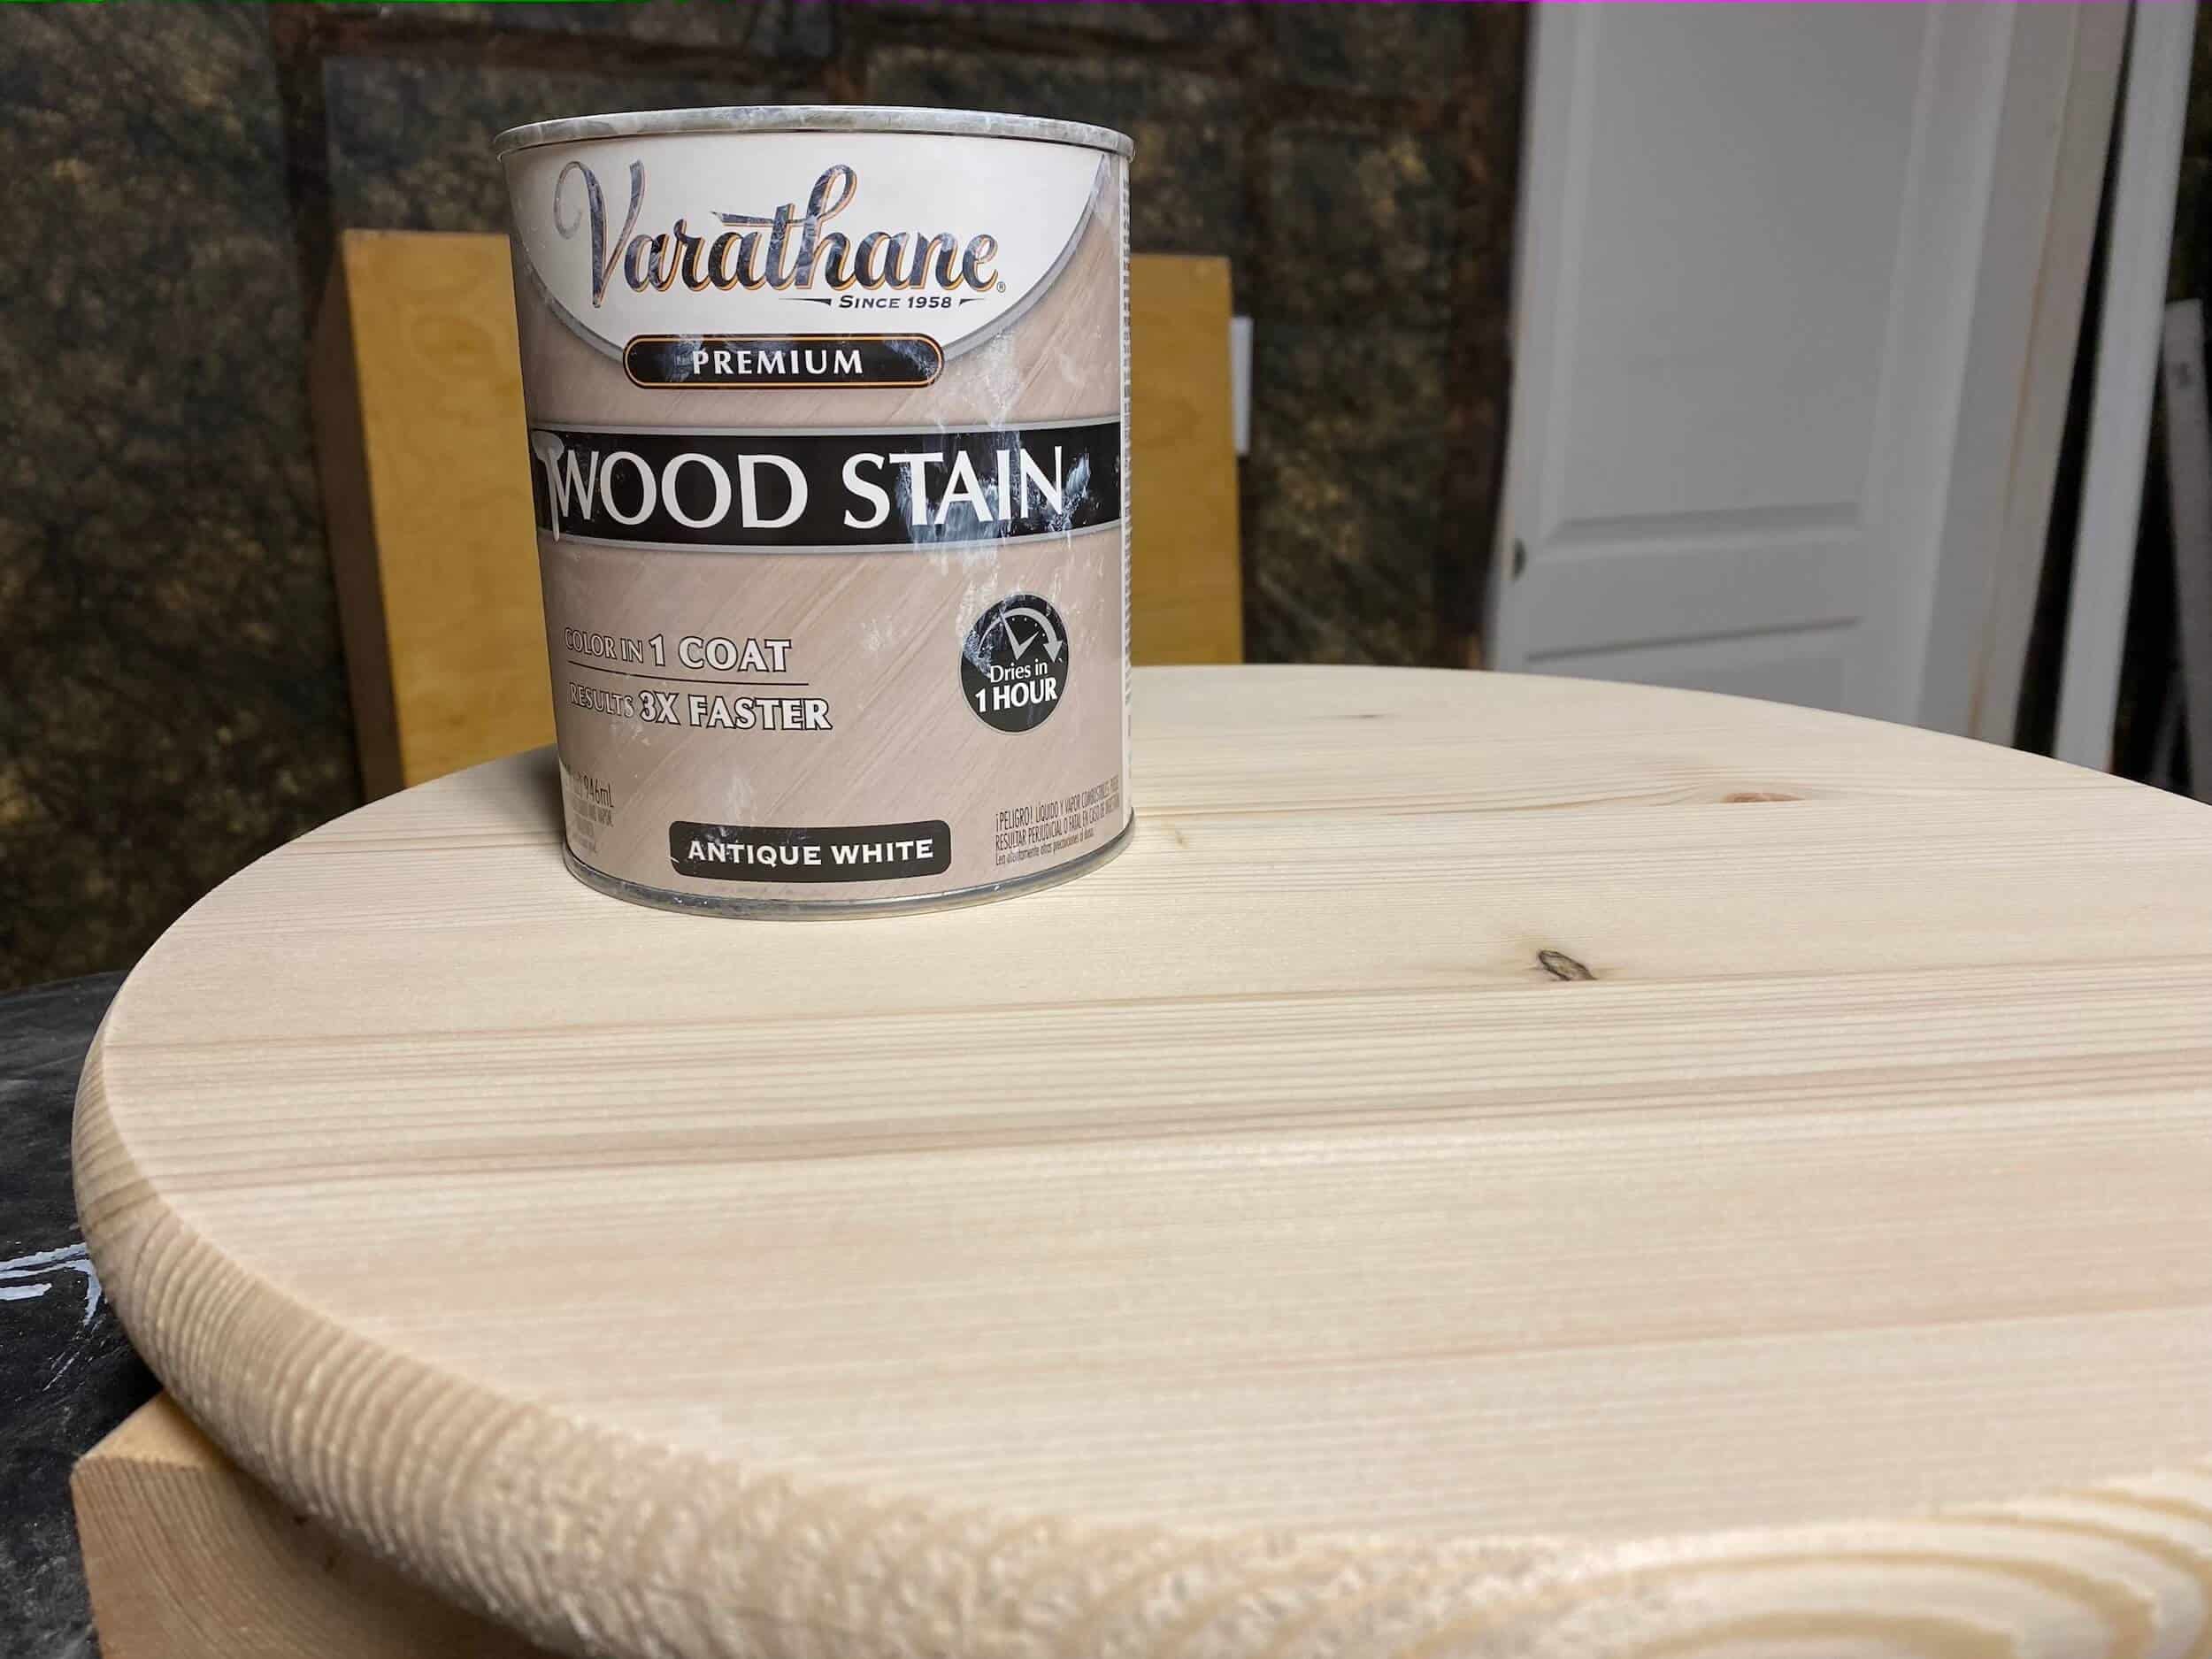
I applied my stain with a small piece cut off an old cotton shirt and let it soak on the wood for a minute then wiped it completely off. This is important to wipe the stain off completely because it will take forever to dry and may be tacky if you don’t. I did a couple of coats of this Antique White to get the exact shade I was looking for.
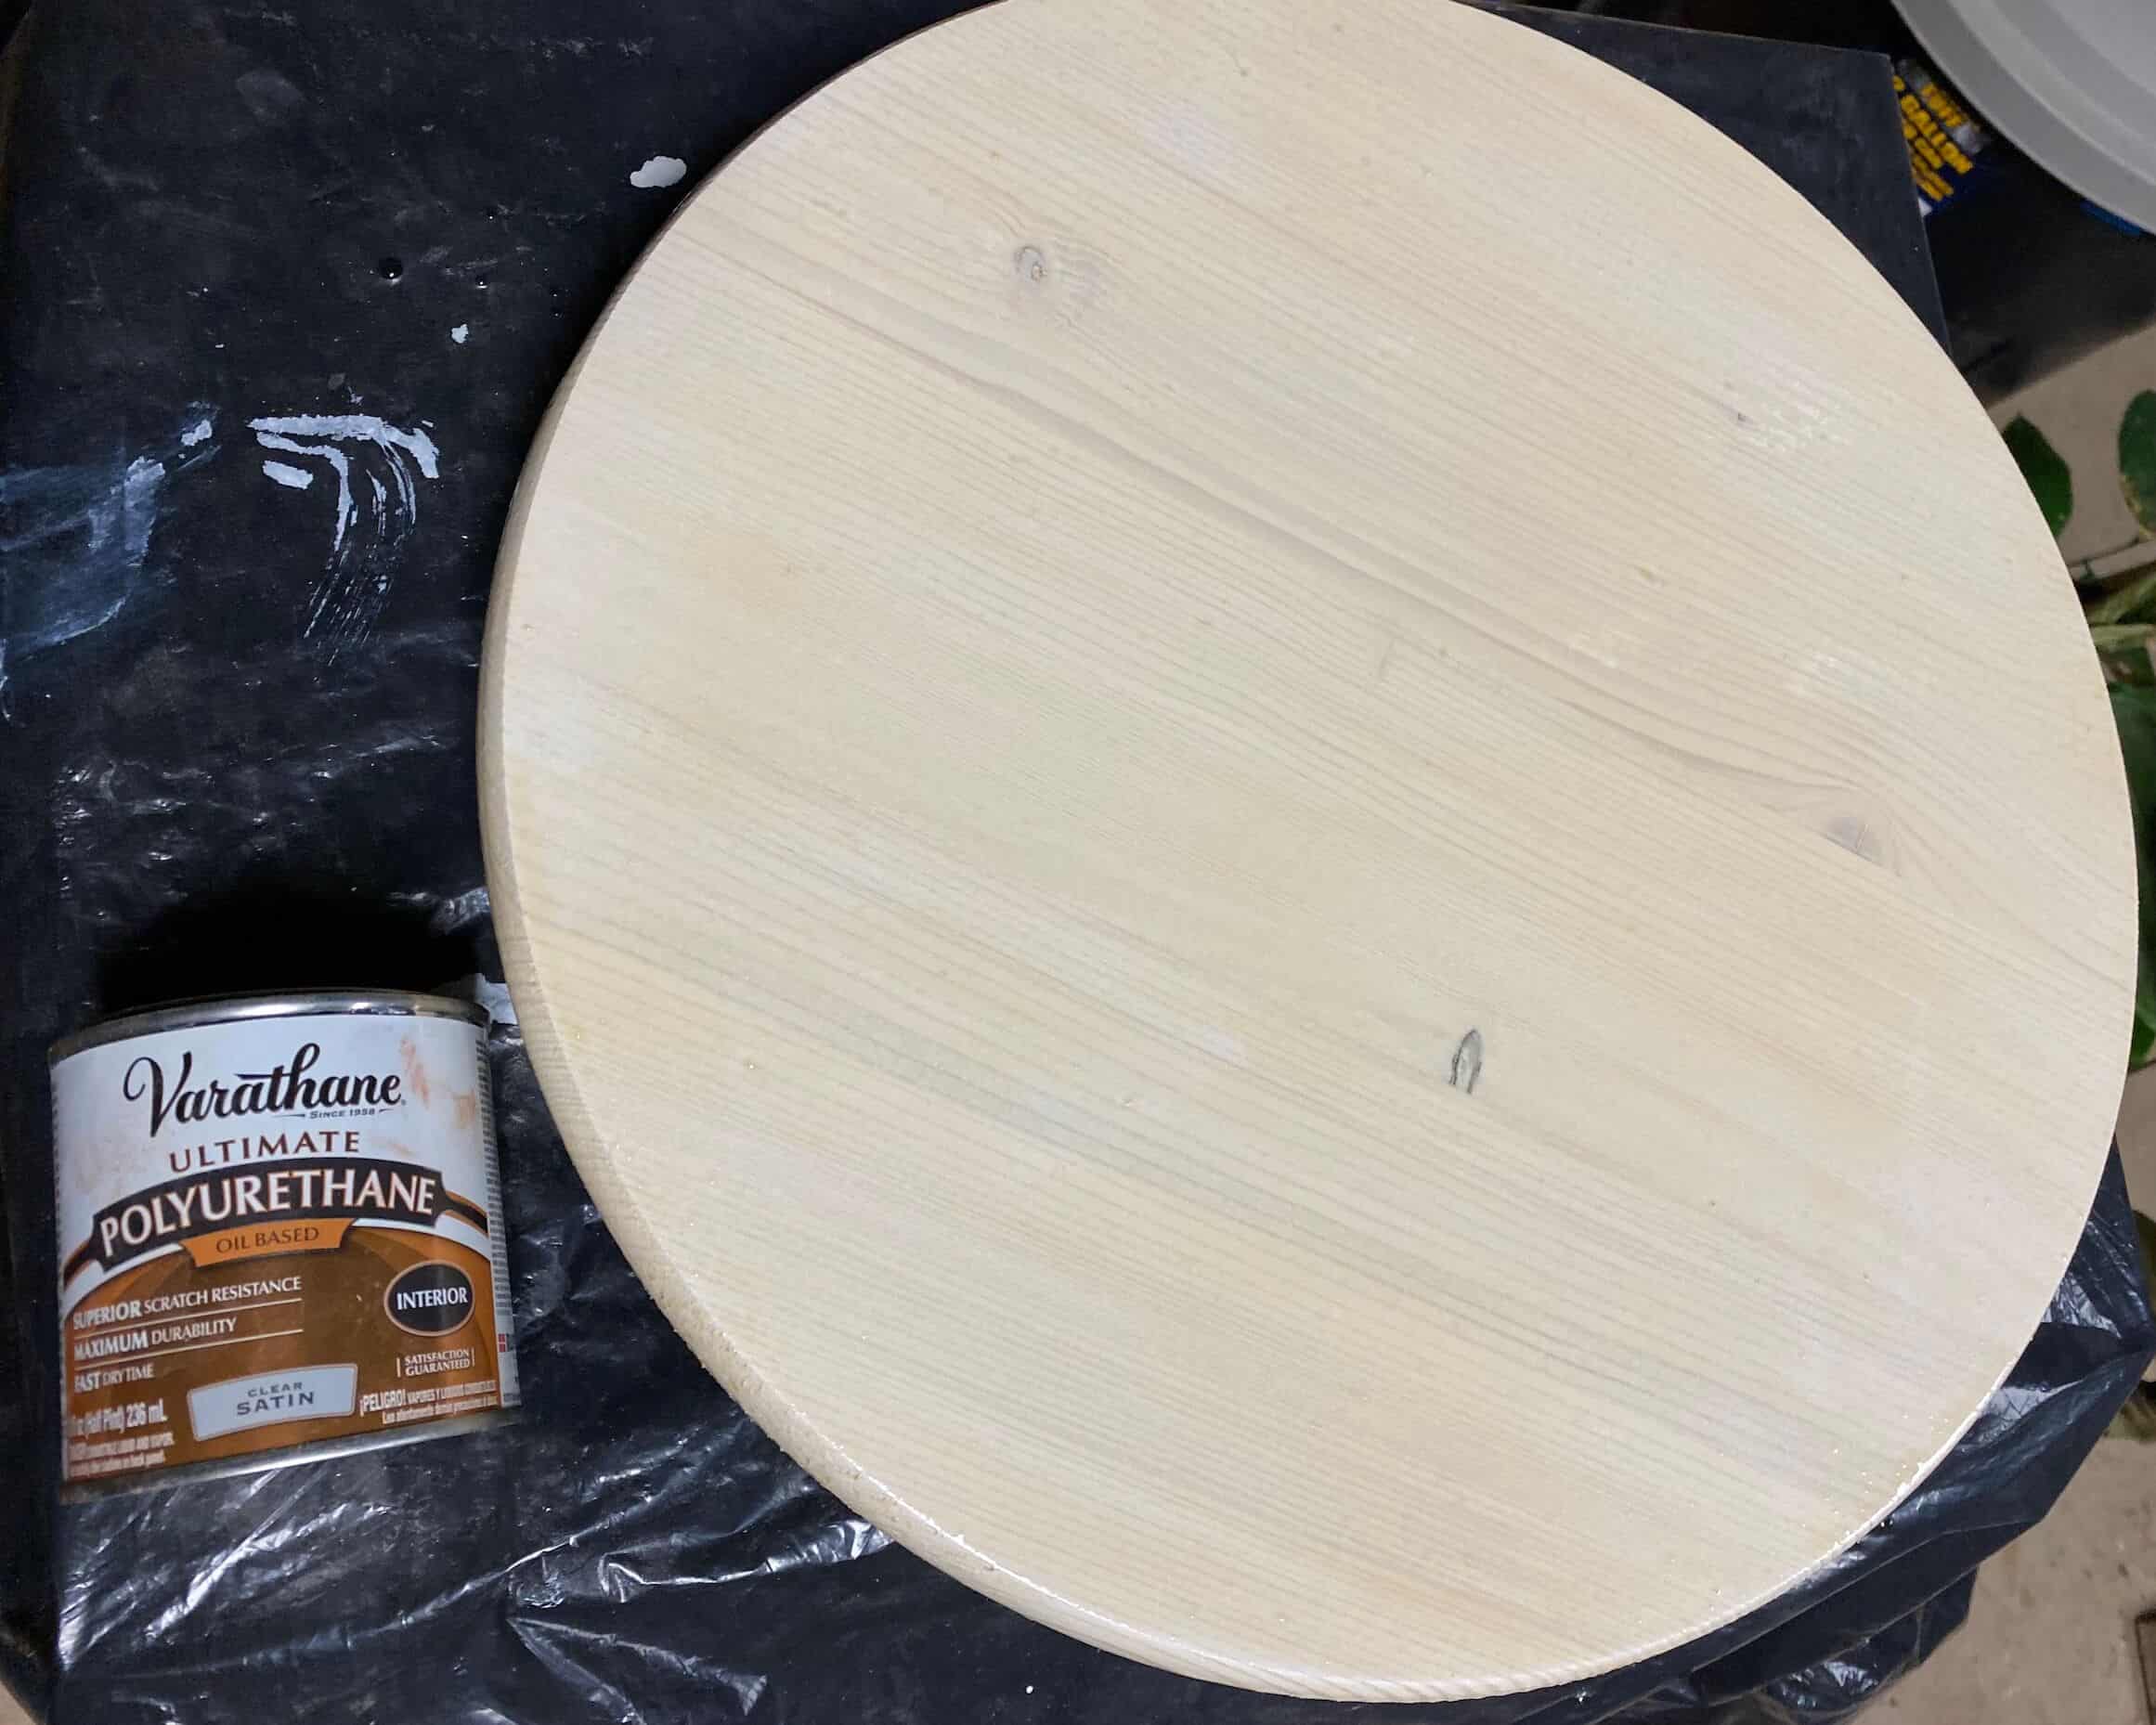
I finished the board with an oil-based Polyurethane and a foam brush. It’s important not to shake this can, as it will form bubbles that may transfer to your surface. Also, make sure you moved in the direction of the grain and leave no drips behind. Double triple check there are no drips as these will dry solid and you do not want these on your surface or on the edge of the board.
I ended up with two coats of polyurethane on the wood. Wait for your project to completely dry before moving on to the next step, patience is your friend. Follow the recommended drying times based on the products you use. I have learned it's always good to read and follow the directions from the manufacturer.
STEP 2: PRINTING AND PREPARING THE IMAGE
For the instructions in this tutorial, it’s important that you use a mirrored laser print of the image to transfer. This is by no means the only method and/or material to transfer an image to wood, but in my experience, this worked the best.
No color laser printer? No problem. I have used both UPS and Staples for inexpensively printing quality color laser prints for me. Don’t forget to mirror your image! I mirrored my image by flipping it in Inkscape, but if you tell the printer to mirror the image they have the capability to send it to the printer mirrored.
DIVIDING A LARGER IMAGE INTO PRINTABLE SECTIONS
If the image that you want to transfer is larger than a printed sheet of paper you will need to divide it up into sections before sending it to print. For the larger round that I made for my niece, I had to break the floral letter E up into three prints and combine them to add up to a proper size for my wood round.
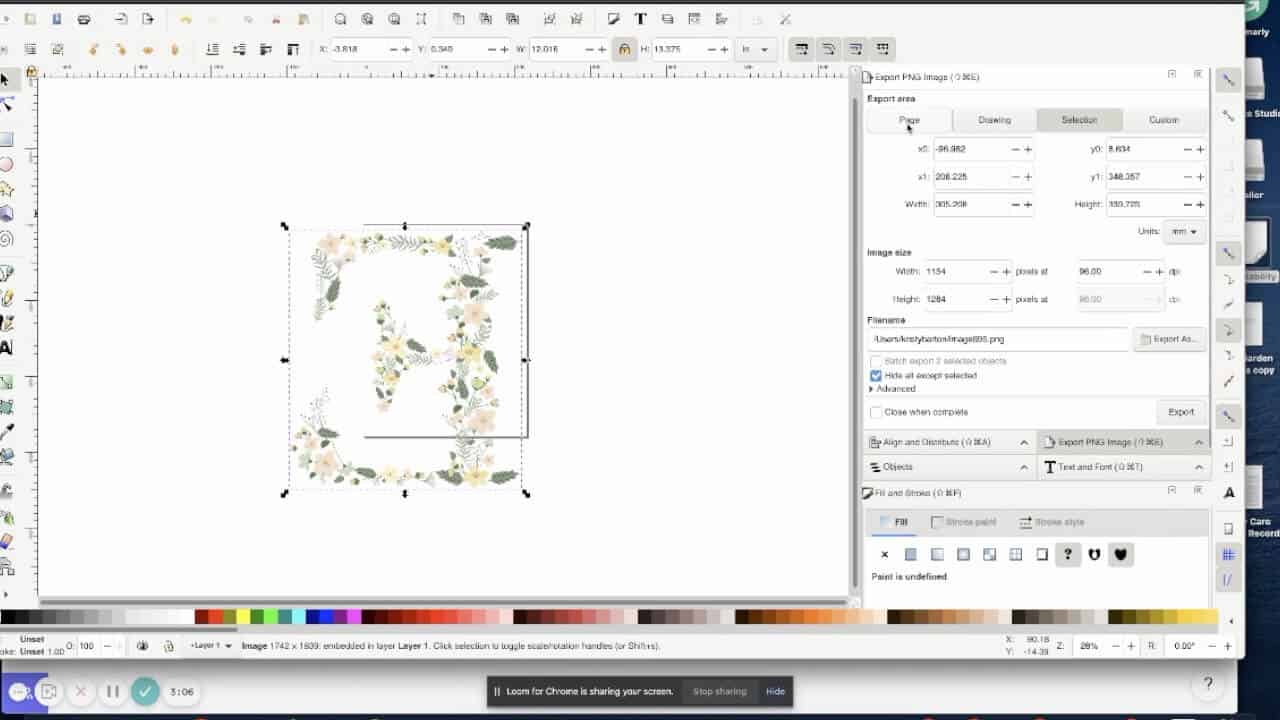
To break apart a larger than page image into sections I used Inkscape by using the following steps:
- Open Inkscape and size the page to be 8.5 x 11 inches in Document Properties.
- Import the image you wish to transfer, lock the aspect ratio and size it to fit your project, and finally mirror it.
- If the image doesn’t fit in the page move one corner of the image within the page limits and Export a PNG with Page selected under the Export Area, chose a filename and location that you can easily identify later, and finally click Export.
- Repeat step 3 above until you have all sections of the image exported. Don’t worry if they overlap, you actually want them to overlap a bit so you can piece the prints together like a puzzle after printing.
To see these steps in action take a minute to watch the video attached to this tutorial.
Depending on your printer’s output capabilities, you maybe be able to print on 11x17 paper and avoid having to break apart the image and piece the sections back together. This was the case for the M on my great niece’s sign. Simply size the page to 11x17, flip or mirror image, Export PDF, and send to the printer.
ASSEMBLING THE PRINTED IMAGE
If you used more than one printed page to print your image you will need to assemble the sections together. I just taped the pages together on the backside.
I did not cut around the letters but rather left the pages in sheets so that they would cover the entire board. This avoids having an unwanted edge from where the paper ended. It leads to more paper removal later, but I believe it leaves a nicer finished project.
STEP 3: TRANSFERRING IMAGE TO WOOD
Once you have your image printed you are ready to transfer it to the surface of the wood round.
PREPARING THE WOOD FOR THE IMAGE
Start with the completely dry finished wood round detailed in Step 1 of the tutorial and brush a nice even coat of Polycrylic and let it dry. Take notice at this point which direction you would like the board to be when finished. The most common placement for a wood round has the grain in a horizontal or vertical orientation, but they are rarely diagonal.
When you decided on the direction of the grain, start to look at where you wish to transfer your image. This is important to get the image level and know the location because you will be placing it with the image down and the blank backside of the paper up.
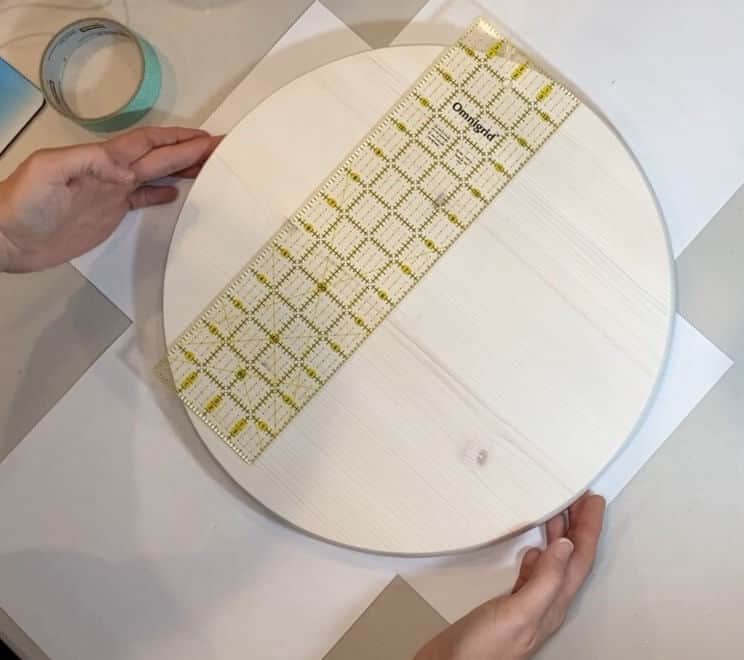
To help me place the image exactly where I wanted later, I traced the wood round in the exact position and cut the printed image in a circle. I made sure the paper covered the entire surface so I would have no ridges even though I needed to add additional paper to the top and bottom.
APPLYING THE IMAGE TO BE TRANSFERRED
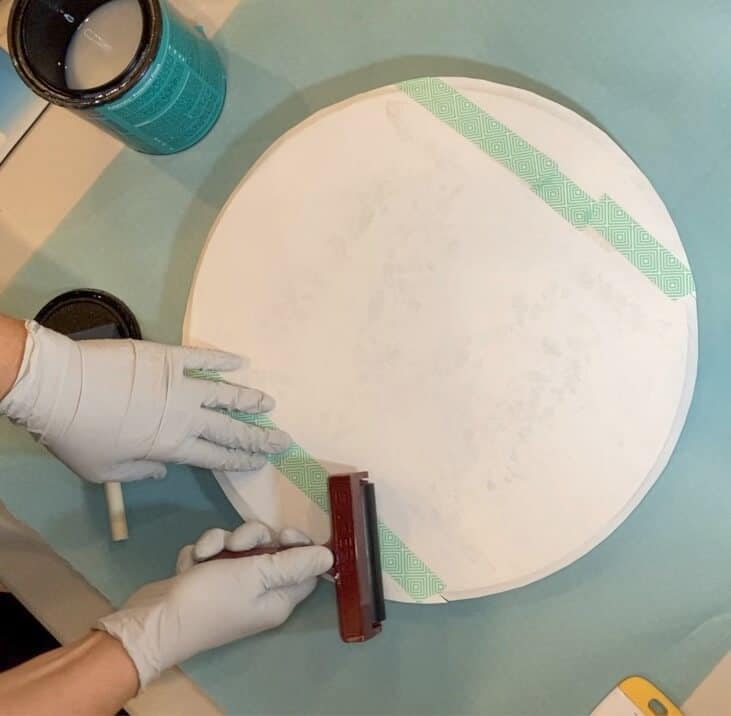
When you’re happy with the grain and location, apply a generous and even coat of Polycrylic to the surface of the board and place the assembled letter on top of the board. Carefully smooth out the mirrored image to the surface of the board making sure to not leave any bubbles or tear the paper. You should see the backside of the paper that the image is printed on.
Start with your fingers and then use a brayer or scraper tool to completely smooth the paper image to the surface of the wood. Be sure to wipe up any Polycrylic that squeezes off the end of the wood during the smoothing process so it doesn’t dry onto the edge of the sign.
Allow this to completely dry. This will probably take a couple of hours or even overnight.
REMOVING THE PAPER BACKING OF IMAGE
The next step is a tedious process and is best done carefully and slowly in baby steps. If you remove too much of the paper backing or rub excessively, you may accidentally remove the transferred image.
Wet a sponge or foam brush and wet the surface of the paper in sections while gently rubbing your finger(s) in a circular motion until the paper starts to rub off. Don't use a large amount of water because wood does not like water. It may take a minute to get this started, but once you get it started it’s easy to gauge the amount of water, motion, and pressure needed to remove the paper.
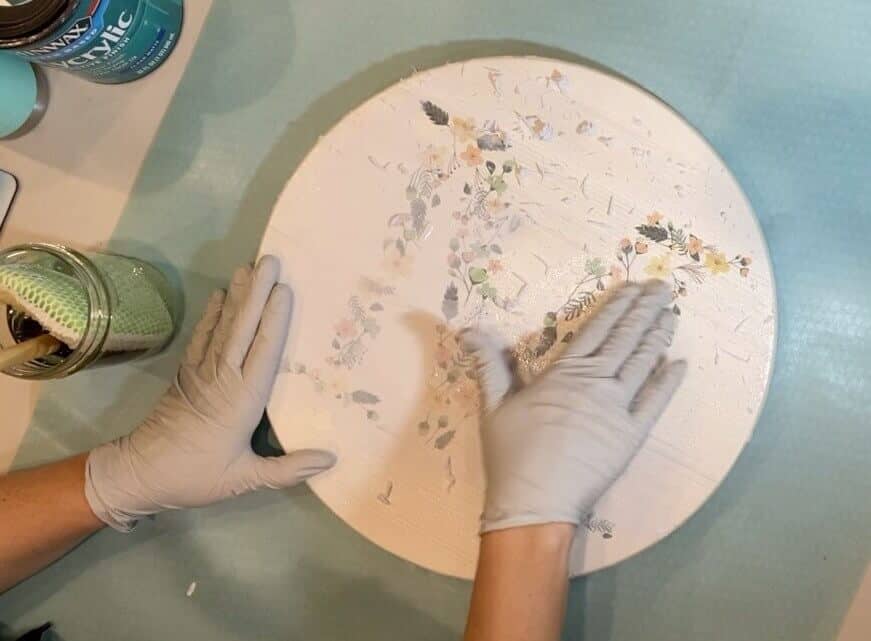
I suggest wearing gloves for this step as it can get messy and you don’t want to rub your fingerprints off! You may also want to have a disposable table cloth under the project as tiny shreds of paper will begin to collect around the project as they are removed.
Continue this process until the paper is rubbed off. Likely after you think you may be done, and the water dries, you will see a white film over the image. Simply repeat the process of wetting the surface in sections and rubbing the paper residue free.
This may take 3 or 4 sittings to be completely happy with how the image looks, but don’t rush this step because when the board is finished you will be able to see every last bit of missed paper residue. Also if you rub too hard the image may flake off.
![]()
The final step is to seal the board with one final coat of Polycrylic to preserve the transfer image and protect it. The laser-printed image transfer is complete.
STEP 4: ADD WOOD OR VINYL FOR OPTIONAL NAME OVERLAY
This step is optional, but I think adds everything to the completed nursery sign for this wood round. I chose to use the Glowforge to laser cut the girl’s first and middle names. You can find my process in the Glowforge Laser Cutting and Gluing Letters tutorial.
Notes
If had a sublimation printer I would have likely used it on this project. If I ever get one I will update this tutorial with the results. I do like that the method in this tutorial can transfer a printed image without any special equipment.
RELATED POSTS ON THE SITE
- Glowforge Laser Cutting and Gluing Letters
- Glowforge Beginner Projects and Scope Creep
- Craft Coach Tutorials