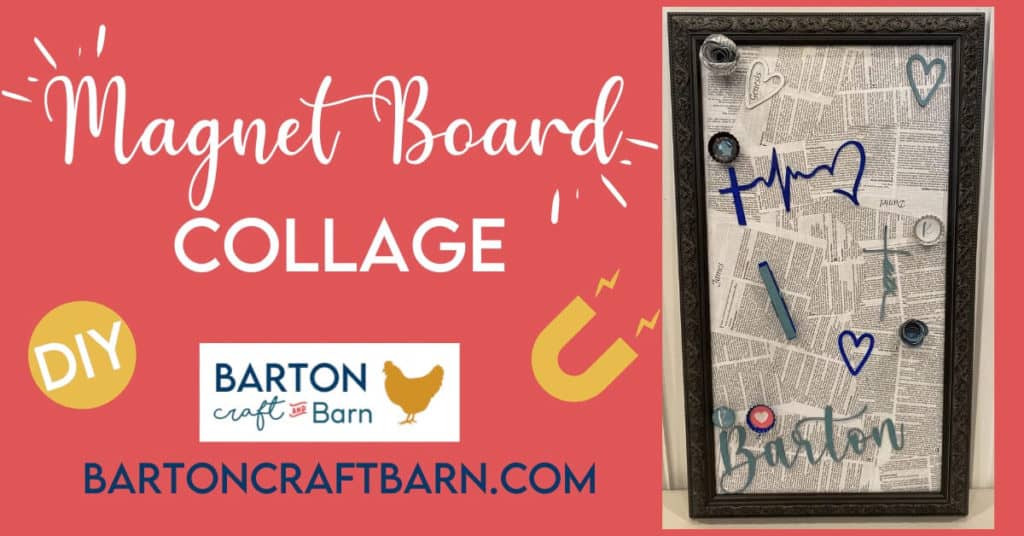
DIY Magnetic Memo Board
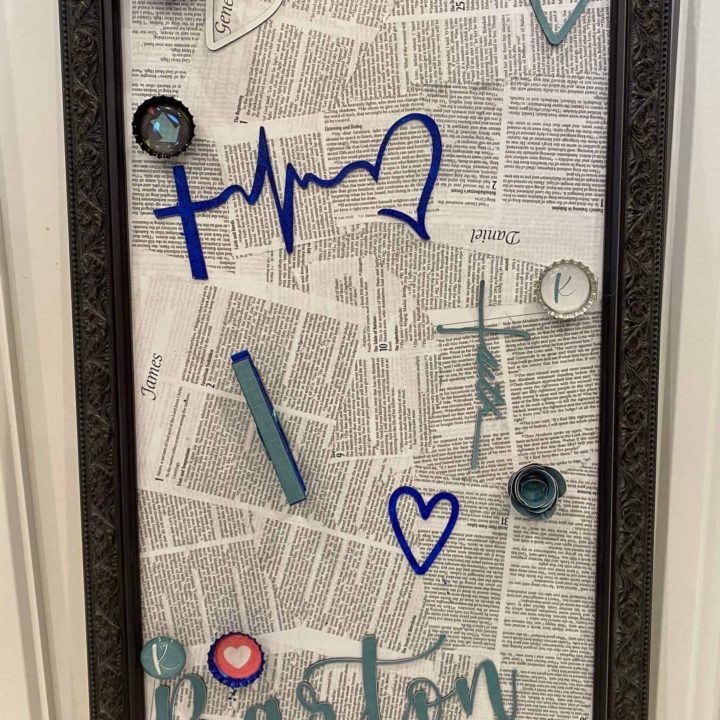
I collaged this cute and functional magnet board to create a black and white background of my favorite book and then brought some color to it with an assortment of magnets. This craft is a perfect addition to almost any room and can be enjoyed by any age. I put this project together for a group of teens and tweens at a summer creative camp and thought I would share the tutorial because I learned so much during the preparations for my class. Whether you are making this for yourself or leading a group, I hope this tutorial will be helpful and will inspire you to get creative yourselves.
For the class we used an old Bible for the background of the collage. Before anyone freaks out about me destroying the Word of God, have no fear we have many copies around here! It was in rough shape before I starting tearing. I also got permission from our pastor to craft with the Bible beforehand, just in case.  I wanted him to be prepared for reports of children going home telling their parents the teacher was ripping up a Bible.
Actually it was my daughter’s first Bible that I picked up when she was about one year old at a ladies retreat in the gift shop. So 14 years later, after it was read and loved dearly, it was falling apart and calling me to repurpose it. I created two crafts with pages from this Bible and I love how when my daughter saw the final projects she recognized the font and page layout immediately. The memories live on and I will think of that sweet little pink & black leather Bible when I see the projects I created with them.
This post contains affiliate links which means if you purchase something through the links provided I earn a small commission at no extra charge to you.
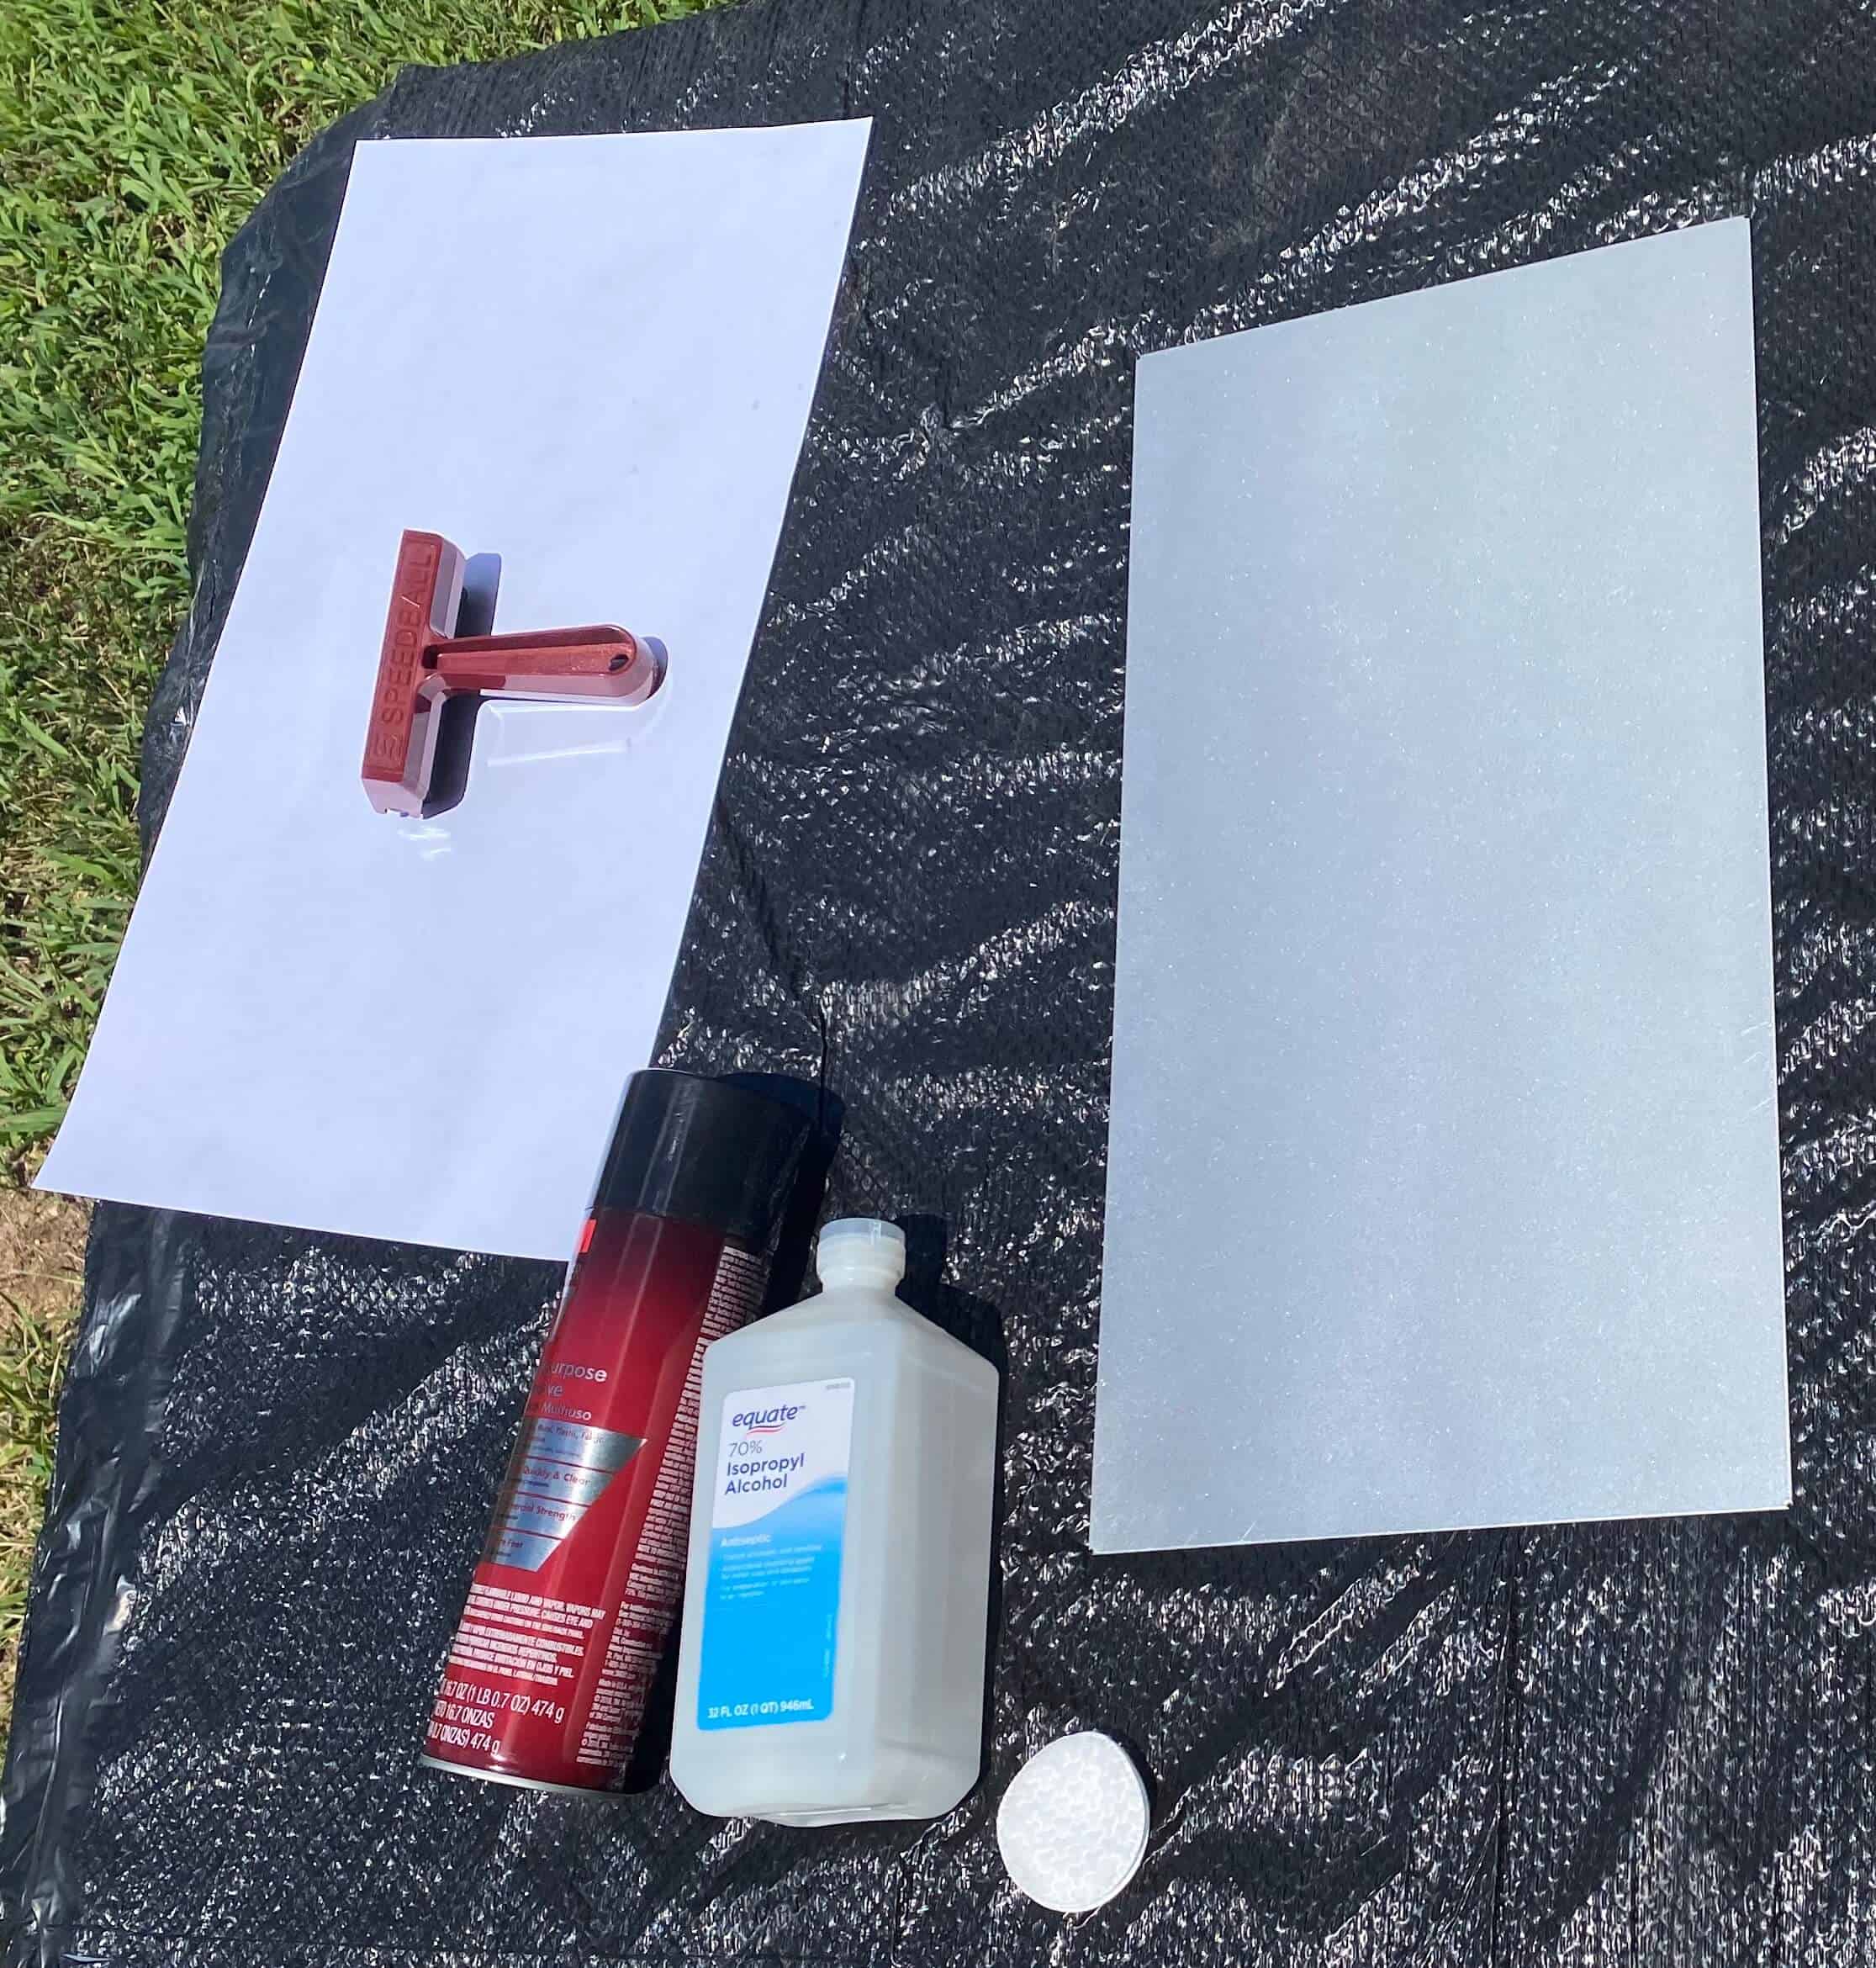
For this magnet board you will need the following materials:
- Frame
- Metal board sized to fit the frame
- Spray Adhesive
- Paper backing
- Brayer
- Collage material – paper, magazines, we used an old Bible
- Mod Podge
- Sponge applicator or paintbrush
- Spray Sealer Satin Finish
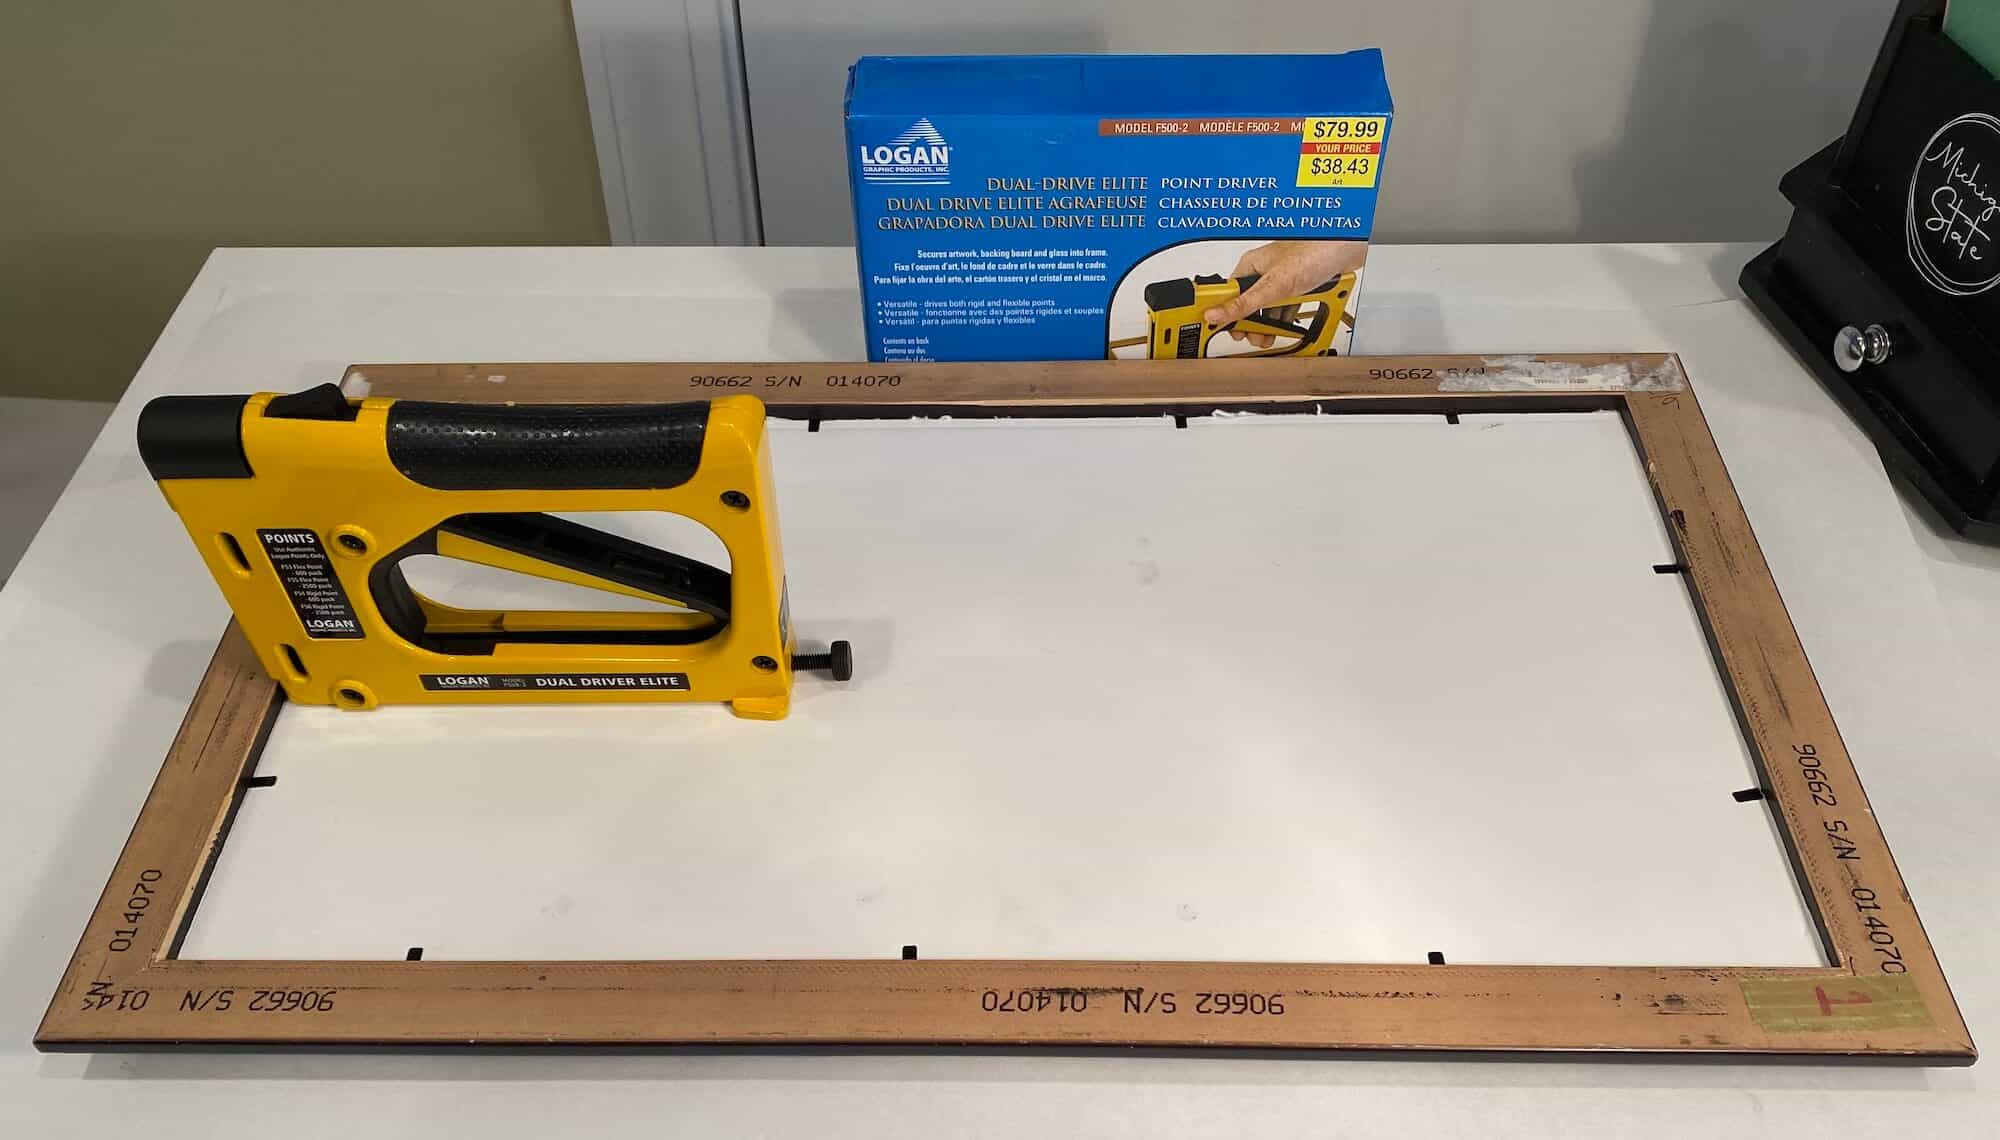
- Point Driver
- Command strips
LEARN HOW TO ADD A COLLAGE TO A MAGNET BOARD BELOW
Magnet Board Tutorial
This tutorial walks through the process of creating a collaged magnet board. The particular example in the tutorial uses Bible pages for the collage with it's black and white printed pages and colorful magnets as accents.
Materials
- Frame
- Metal board sized to fit the frame
- Spray Adhesive
- Paper backing
- Collage material - paper, magazines, we used an old Bible
- Mod Podge
- Sponge applicator or paintbrush
- Spray Sealer Satin Finish
- Command strips
Tools
Instructions
STEP 1: SECURE BACKING PAPER TO METAL BOARD
Start with securing the backing paper to the metal surface. I skipped this step in my first experiments only to discover my collage very easily peeled cleanly off my smooth metal surface even after sealing it.
I chose to use easel paper for the backing, but only because I had it on hand and it was the correct size for my metal board. Other paper could be used here as long as it is sized correctly and a decent thickness. The best adhesive to accomplish a permanent bond for the backing paper is 3M's Super 77. It was described to me as a spray-on cement, and I will tell you it lived up to that description.
Make sure to spray outdoors and do not apply this product anywhere you do not want sticky! Follow the directions on the spray bottle and spray the metal surface and the backside of the paper, then very carefully place the paper on the metal (you will have one chance for placement here).
I smooth the paper out by hand and then used the brayer to completely smooth and secure the paper to metal. For the edges, I wrapped the overhang around to the back surface. Let this dry overnight. For the class I led at creative camp, this step was my prep work so the collaging could begin immediately. I also did this ahead of time because this step, if not performed very carefully, could have very messy and or damaging results.
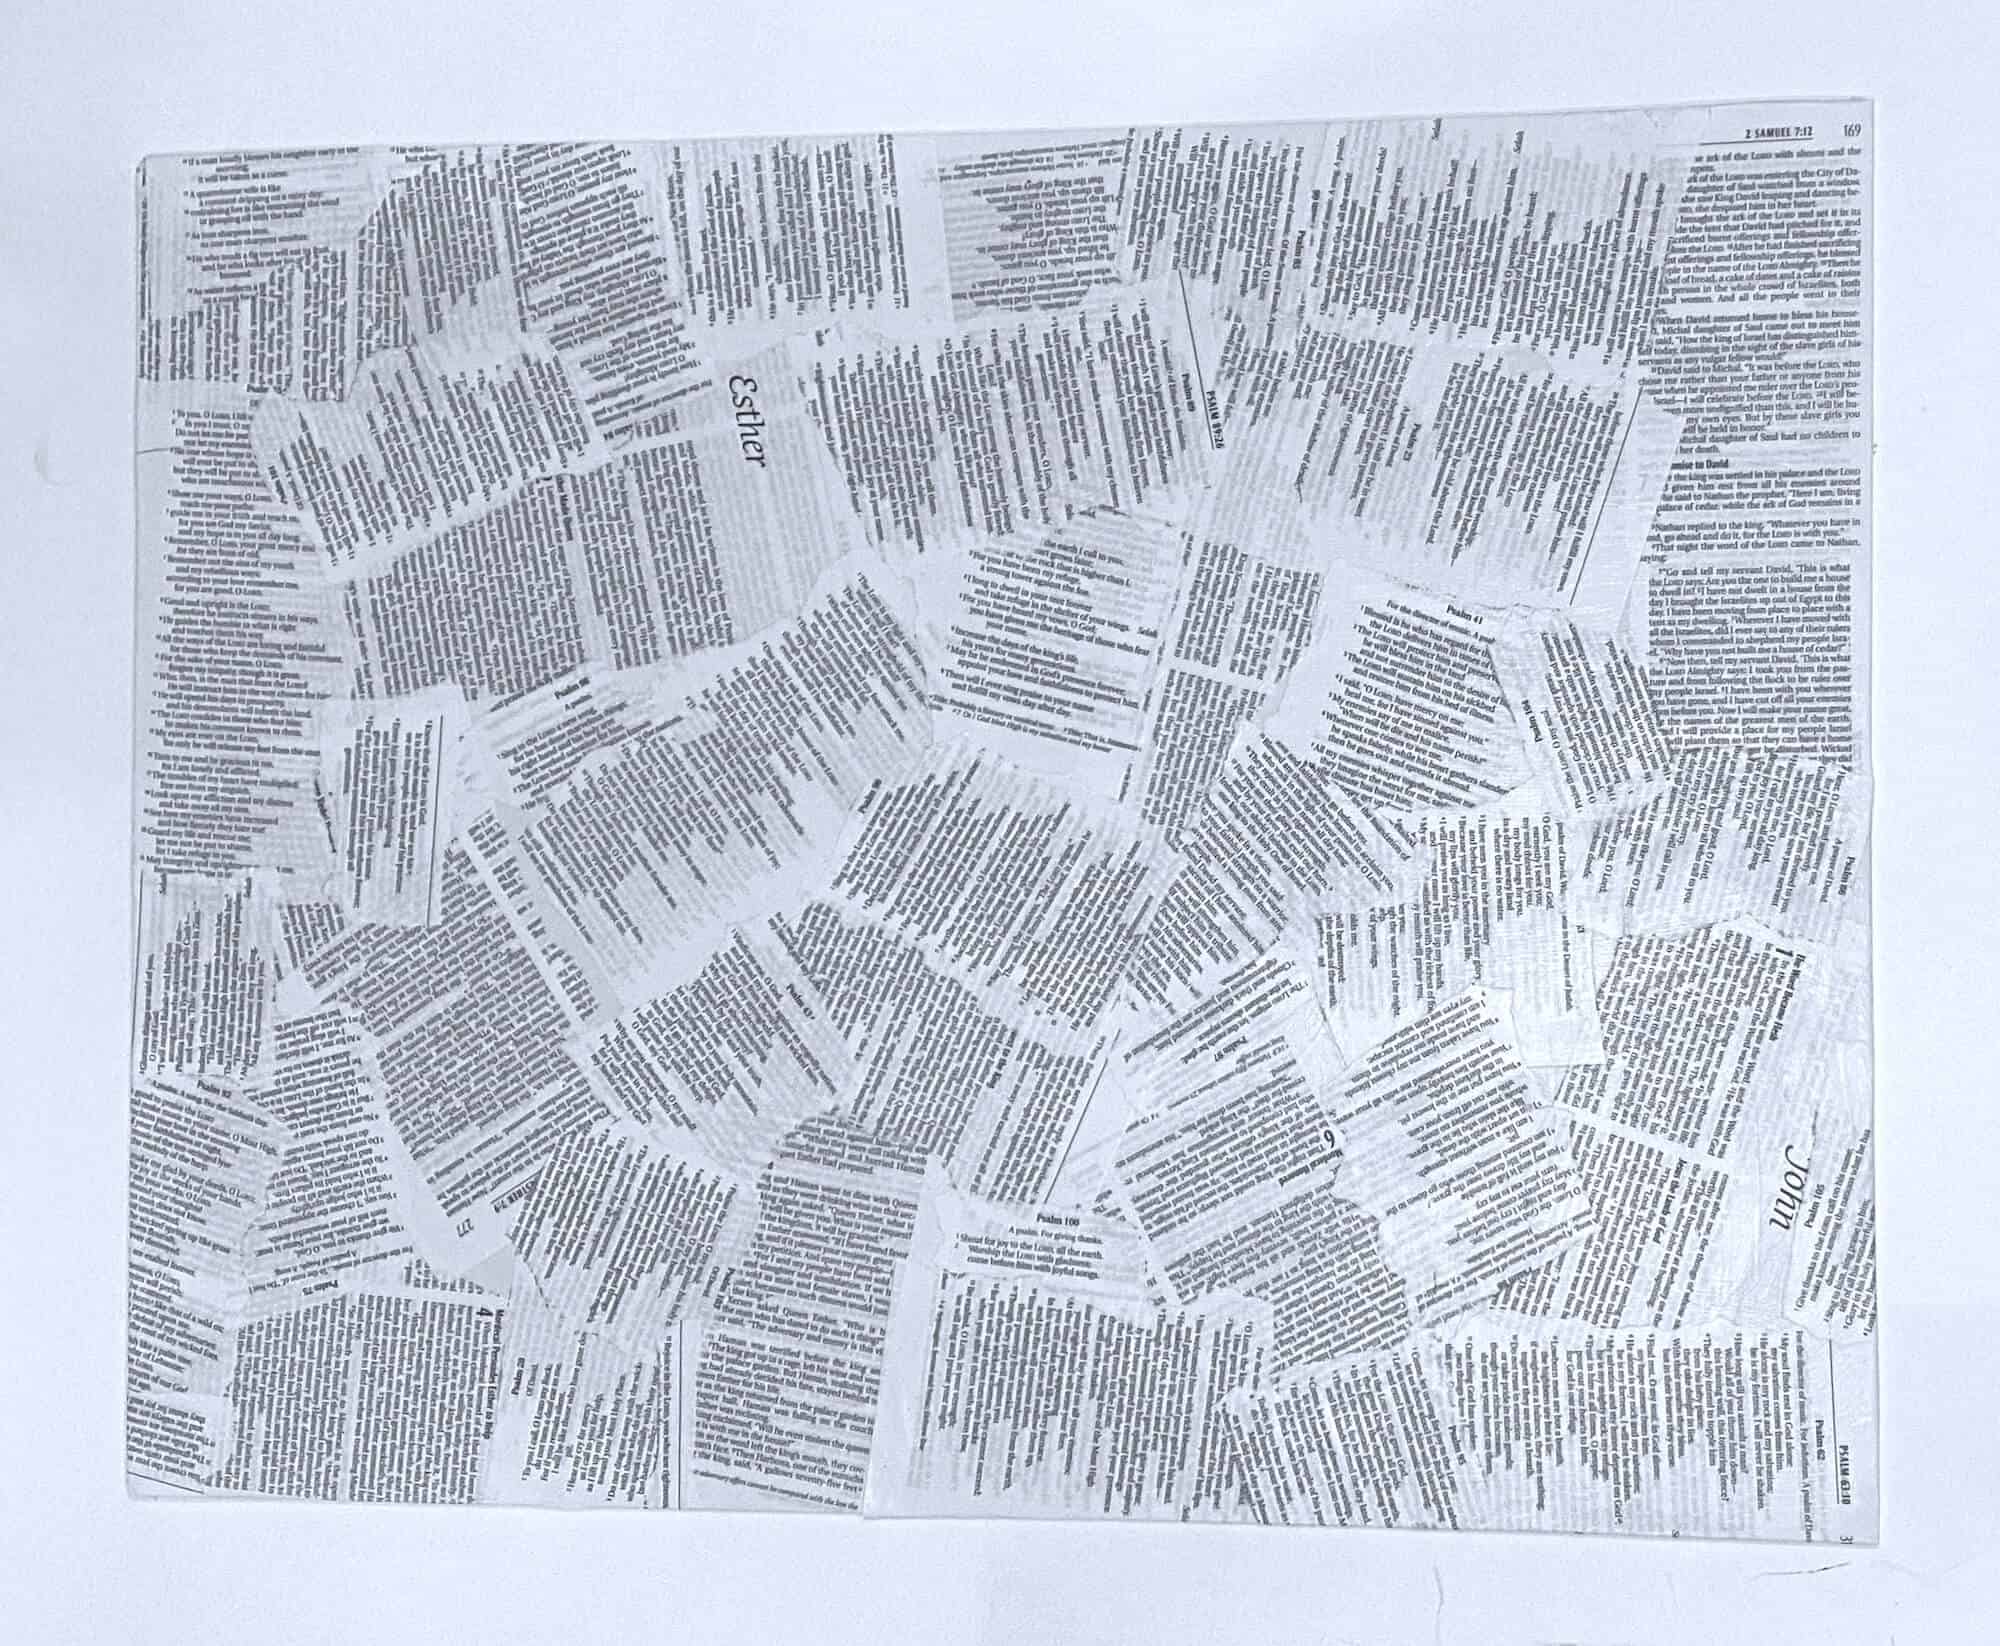
STEP 2: COLLAGE THE BACKING PAPER ON THE METAL SURFACE
Select your collage materials (I suggest choosing the same weight materials) and begin tearing up sections for your collage. Apply a thin even coat of mod podge with a sponge applicator or paintbrush to both the board and collage material. Place collage material on board and smooth out very carefully with fingers until it is entirely bubble-free making sure all edges are secured down.
Add more mod podge around the edges if they are at all coming up. Try not to layer over the wet mod podge layers, this will likely result in bubbles that are difficult to remove if you don't catch them in time. I like the collage pieces to be placed in all orientations for a more interesting perspective, and also so that the board can be hung horizontally or vertically. Let this first layer completely dry before doing anything else to the board.
STEP 3: FUN MAGNET ACCESSORIES
While my class waited for their boards to dry we moved on to creating some color-popping accessories to make the finished boards more functional and interesting. There are so many options for magnet crafts that I working on including all of them in a separate post so that this magnet board tutorial didn't become too lengthy. The pic below shows some examples.

STEP 4: SEAL THE COLLAGE
After the first layer of collage is completely dry add one final layer of mod podge to seal the surface. This will be a nice even layer and I like to make sure my brush strokes are going the same direction for this second layer. It will dry clear so you don't have to be completely perfect here, but you do want a nice smooth surface. Adding this too soon will result in unwanted bubbles.

After this layer was completely dry apply one final coat of spray seal to make sure the layers of collage will not flake when moving magnets around on it later. Be sure to apply this product outside or with proper ventilation. We allowed the boards to dry outside and it didn't take longer than 15 minutes between layers, but obviously, time will vary depending on the environment and amount of mod podge and sealant applied.
STEP 5: SECURE MAGNET BOARD TO FRAME
When the boards are completely dry, place them inside the frame and secure them to the frame with a point driver. This is a very simple and handy tool that makes this step quick and easy.
You may choose to include the backing that came with the frame if you have it, or a piece of foam core trimmed to fit snuggly in the frame behind the metal before securing the board with the point driver. The choice of using backing (or not) will depend on how well the metal fits inside the frame and if you need a bit more structure to keep it from wiggling.
STEP 6: ASSEMBLE FINAL TOUCHES
Finish the back of the frame by attaching command strips to each side, the large strips can hold up to 16 lbs and they make it quick to mount and dismount if necessary without damaging the wall.
If you are leading this craft for a group, the girls can hang the frame, with permission of their parent(s), directly on their wall right when they get home. After the boards have had time to completely dry, assemble them with the magnet accessories and enjoy!
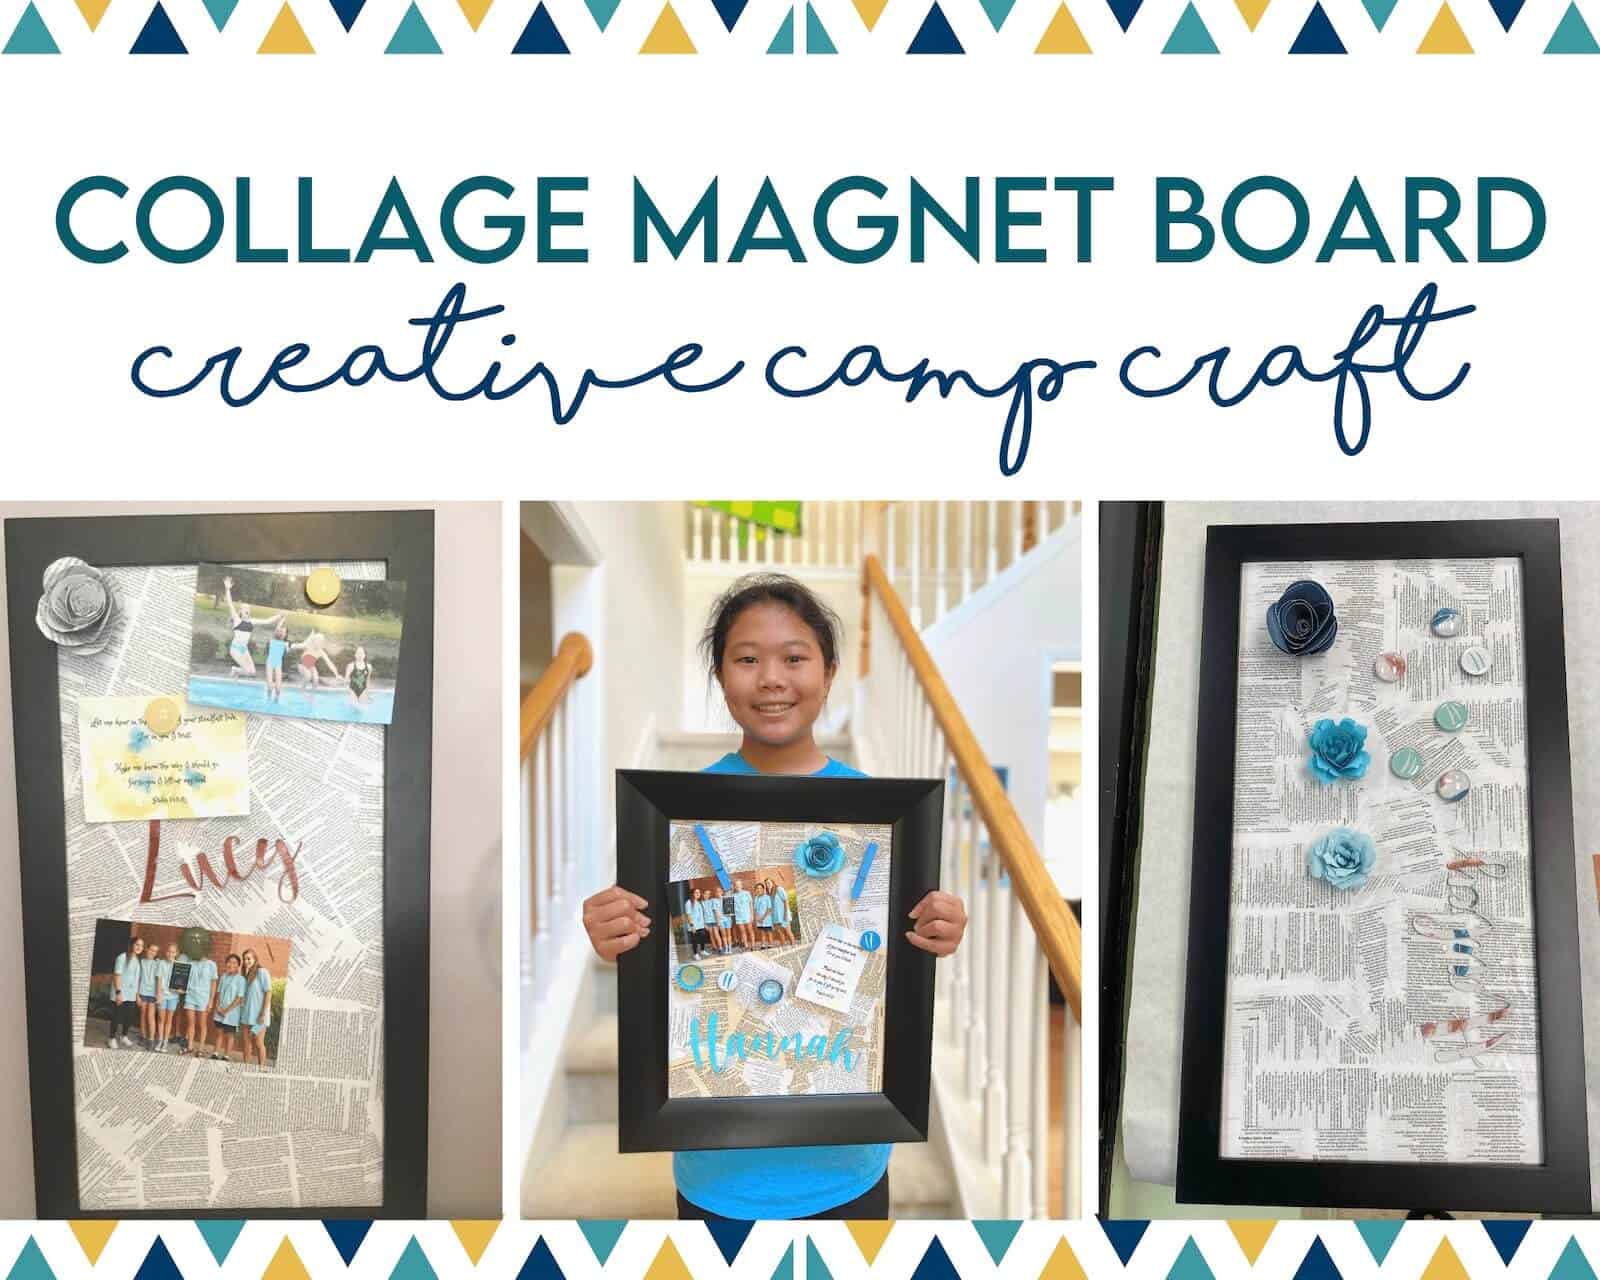
Below are examples from the summer creative camp that I created this project for.
NOTES
For creative camp in a previous year prior we decorated the frame instead of the metal with mod podge and paper. The girls had a hard time securing the paper and it looked a bit messy in the end, but I would consider trying strips of fabric in the future with a fabric mod podge.
For this magnet board, we left the frames black to keep the black & white contrast for the final look. With the project created for young girls to craft, my co-leader suggested adding color to the collage. I experimented with adding a matte medium to acrylic paint and also applying colored tissue paper with mod podge for an interesting look, but with the time constraints we had for camp I did not think we could apply all the layers and wait for the associated drying times. I also made the judgment call that the colorful magnets would get lost on such a colorful surface.
Below is a pic of my experiments with sealants and colors on the back of one of my metal boards. I love how the greenish tissue paper and mod podge looked in the upper right corner and would consider adding this step for a future project.
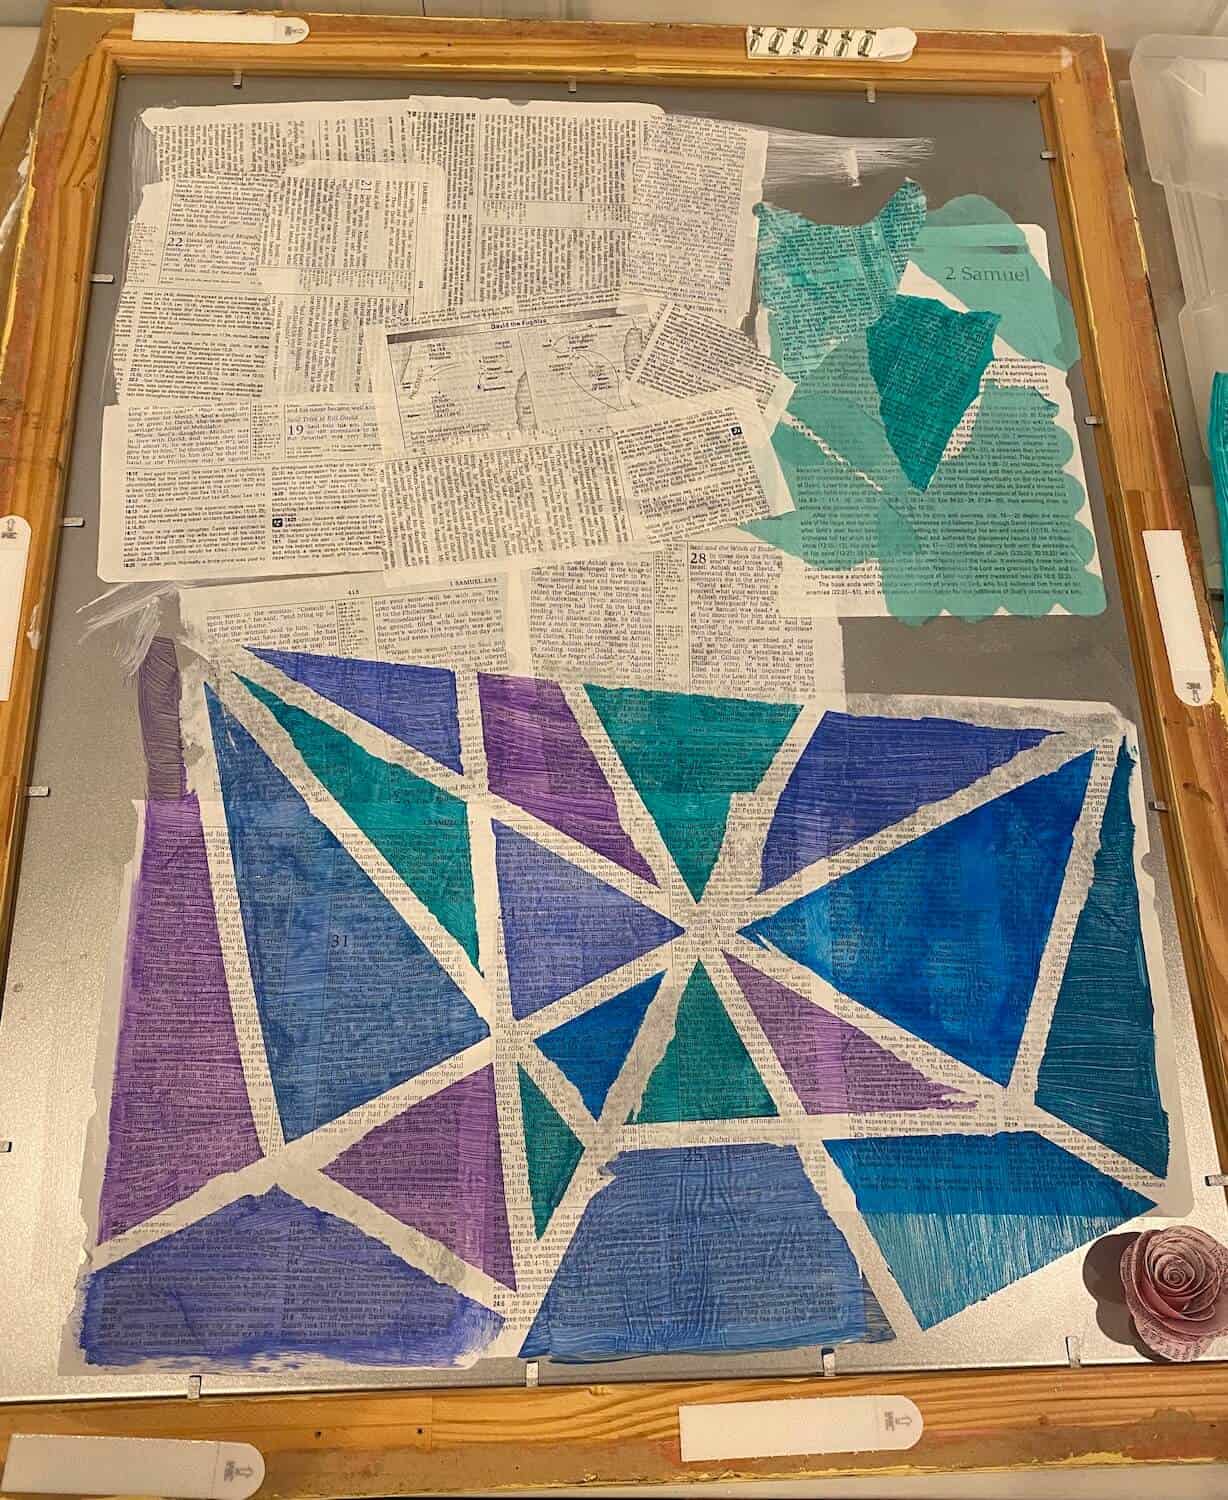
The bottom was an experiment in adding a geometric design with washi tape and different colors of acrylic paint and matte medium. You can see in the photo that the tape didn't come off very cleanly, but I think if it had fully sealed before adding the tape and paint it would be fine and provide an interesting look. I may use this method on a canvas in the future so the interesting geometric design isn't buried under magnets and memos.
I hope this tutorial for a collaged magnet board was helping and inspired you to create your own piece of artwork on a magnet board. If you create something along these lines let me know and send me a picture, I would love to see anything you make. Come back soon, and go get crafting!
Related crafts you may also enjoy:
- Chicken Wire Memo Board
- Summer Creative Camp
- Magnet Crafts (coming soon!)
Make a cute and functional framed magnet board today!