Sweet Potatoes Farm to Fork
Welcome to my page all about sweet potatoes! Here you will find information taking you from the farm all the way to your fork. This will include a tried and true recipe, planting, growing your own slips, and harvesting tips for all things sweet potatoes.
Quick Links to Topics on this Page:
- Favorite Sweet Potato Recipes
- From Field Grass to a Basement Full of Sweet Potatoes!
- Sprouting Sweet Potato Slips
- Planting Sweet Potato Slips
- Harvesting Sweet Potatoes
- Preserving and Storing Sweet Potatoes
Heads up, this post contains affiliate links which means if you purchase something through the links provided I earn a small commission at no extra charge to you.
The best part of raising your own farm-fresh sweet potatoes is the taste. So let’s start with my favorite way to prepare sweet potatoes.
Favorite Sweet Potato Recipes
We are very basic in our sweet potato prep and typically just roast or air fry them. In fact, you can substitute most vegetables for the sweet potatoes in this recipe and get a yummy treat. For fresh potatoes, we leave the skins on, but for older potatoes, we peel them first. Find the recipe below or keep scrolling through to find info about raising sweet potatoes in your backyard garden. I hope you enjoy it and feel free to share your favorite sweet potato recipes with me!

From Field Grass to a Basement Full of Sweet Potatoes!
Confusion over sweet potatoes is somewhat common. It is often confused with the yam, and the names are used interchangeably depending on where you are.
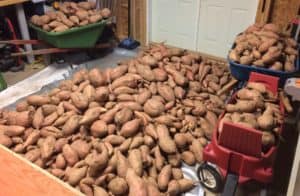
Did you know that a barn full of sweet potatoes in some cultures is considered a sign of great wealth? Ok, maybe that was from a long time ago in Africa, but still, it was a thing. I wonder what a basement full of sweet potatoes indicates?? I can tell you it’s not a sign great wealth! We may turn orange eventually, but we won’t be going hungry any day soon.
A couple of years ago we transformed our lower field grass into a sweet potato patch. Turns out sweet potatoes grow really well in the upstate of South Carolina! It’s best to plant root sprouts, called slips, available from nurseries and mail-order suppliers. We ordered slips from the local feed & seed store and planted those middle to end of May and by October the harvest was ready.
Sweet potatoes can be planted directly in the flat ground, be we’ve had much better results with planting them in hills. Hilling the soil helps to keep the tubers warm, improves drainage, and gives the tubers a good volume of uncompacted soil in which to grow and expand; it also makes life much simpler at harvest time as the main cluster of tubers is easier to locate and excavate. Our first harvest yielded some whoppers – we even had one that weighed in at just over 9 lbs!
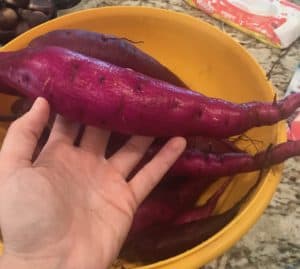
Growing sweet potatoes is a fairly simple process, but with all things garden, it is a lot of work and up keep! In no way do I wanted to trivialize the work that goes into growing a good crop. We joked that the sweet potato patch was our gym. Check out these purple beauties from last year…
Sprouting Sweet Potato Slips
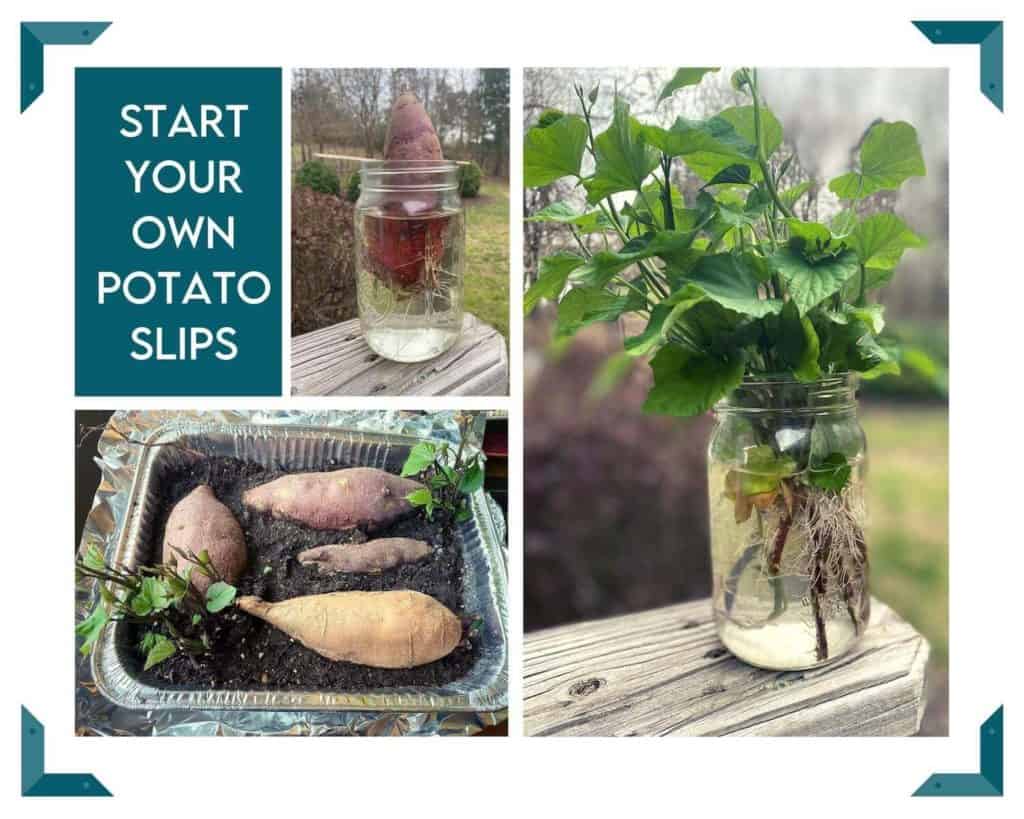
It is possible to produce your own sweet potato slips (sweet potato vines) for transplanting. And bonus, if you sprout your own roots, you’ll get 2-3 times more slips per sweet potato. It takes about 4 weeks, so plan ahead. Don’t try this with store-bought sweet potatoes as they are often waxed to prevent sprouting.
One method to produce slips is to place small sweet potato roots in a dark area the first week of March, the roots in paper bags and boxes for good air ventilation. The ideal temperature for sprouting is 75-85 degrees with 90% humidity. They need to be kept from sunlight. Shoots will sprout from the potato.
The second method to produce slips is to place a healthy sweet potato 1/2 under and 1/2 above a glass of water. If you stick tooth picks or wood skewers in the potato and rest them on the rim it will be in position. Wait a couple of weeks and the vines will grow from the potato.
The third method to produce slips is to bury them lengthwise in a container with 1/2 under the dirt and 1/2 sticking out above. Wait a couple of weeks and the vines will grow from the potato. This method is my favorite and produced a field full of sweet potatoes.
Cut off the vines when they get 5-6 inches long and remove and dispose of the bottom inch from each slip, as that portion sometimes harbors disease organisms. Then place the vines in water and they will sprout roots in a couple of days.
You can skip this step if you buy slips at a local nursery or mail order.
Planting Sweet Potato Slips
Sweet potatoes mature in 90 to 170 days and they’re extremely frost-sensitive. They need to be planted in full sun, 3-4 weeks after the last frost when the soil has warmed. Hill the rows, and make holes 6 inches deep and 12 inches apart. Bury the slips up to the top leaves, press the soil down gently but firmly, and water well.
Harvesting Sweet Potatoes
You can harvest as soon as leaves start to yellow, but the longer a crop is left in the ground, the higher the yield and vitamin content. Once frost blackens the vines, however, tubers can quickly rot. Use a spading fork to dig tubers on a sunny day when the soil is dry. Remember that tubers can grow a foot or more from the plant, and that any nicks on their tender skins will encourage spoilage.
Dry tubers in the sun for several hours, then move them to a well-ventilated spot and keep at 85 to 90 degrees for 10 to 15 days. Properly cured and stored sweet potatoes will keep for several months. Some of ours have kept for over a year, but they do lose some moisture content, so larger tubers do better for storage!
Preserving and Storing Sweet Potatoes
Winter storage is the same for eating sweet potatoes and slip-producers. It’s great to store your eating sweet potatoes for as long as possible, but storage is even more important if you want to grow sweet potato slips because those roots will have to make it to March. The ideal storing temperature is between 55-60 degrees. If the temperature rises too high they can sprout early, and if it falls below 50 for an extended period of time they’ll harden up and become pretty much useless. We store our sweet potatoes in a cold room overwinter with the dirt still on the skins (we gently brush off any excess dirt) because this keeps the skins intact and the roots healthy and ready to sprout in the spring.
Blog Posts about Hobby Farming
Check out the blog for more information about what’s new at Barton Craft & Barn including the following post about our hobby farming experiences.
-
Failure to Thrive
There are affiliate links in this post. I earn a small commission from qualifying purchases at no extra cost to you. The garden is associated with so many life lessons, I’ll share one here about failing to thrive. Working in the garden, which I will admit was not always my favorite task, has become a…
-
What is Hobby Farming?
What is hobby farming? The pros and cons of having a hobby farm. And what is in the mystery box? bartoncraftbarn.com
-
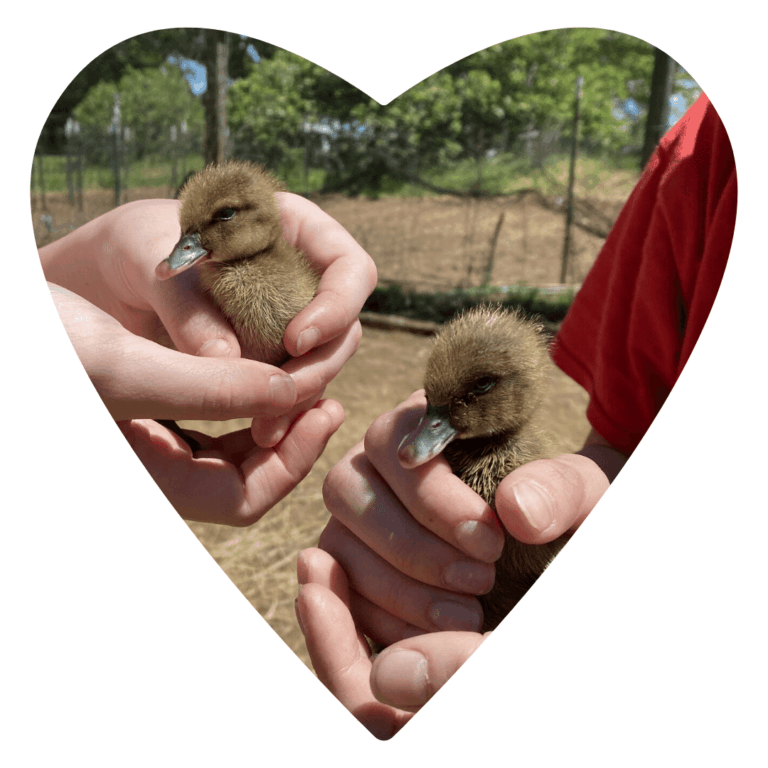
New Beginnings
We had some new beginnings on the farm this weekend…the ducklings are here! Is there anything cuter than baby ducks? These sweet ducklings arrived yesterday, all the way from California! We love them already! The kids are still working on names, but they have already claimed a favorite. They are determined to bond with them…
Just Getting Started Gardening?
I put together a list of my top garden tools to help the newbie get the needed gardening essentials. If you are getting started gardening, or want to be more prepared this season, check out the printable in my free resource library for my favorite garden tools to get your gardening on. Hope you enjoy!