Elephant Stuffy Tutorial
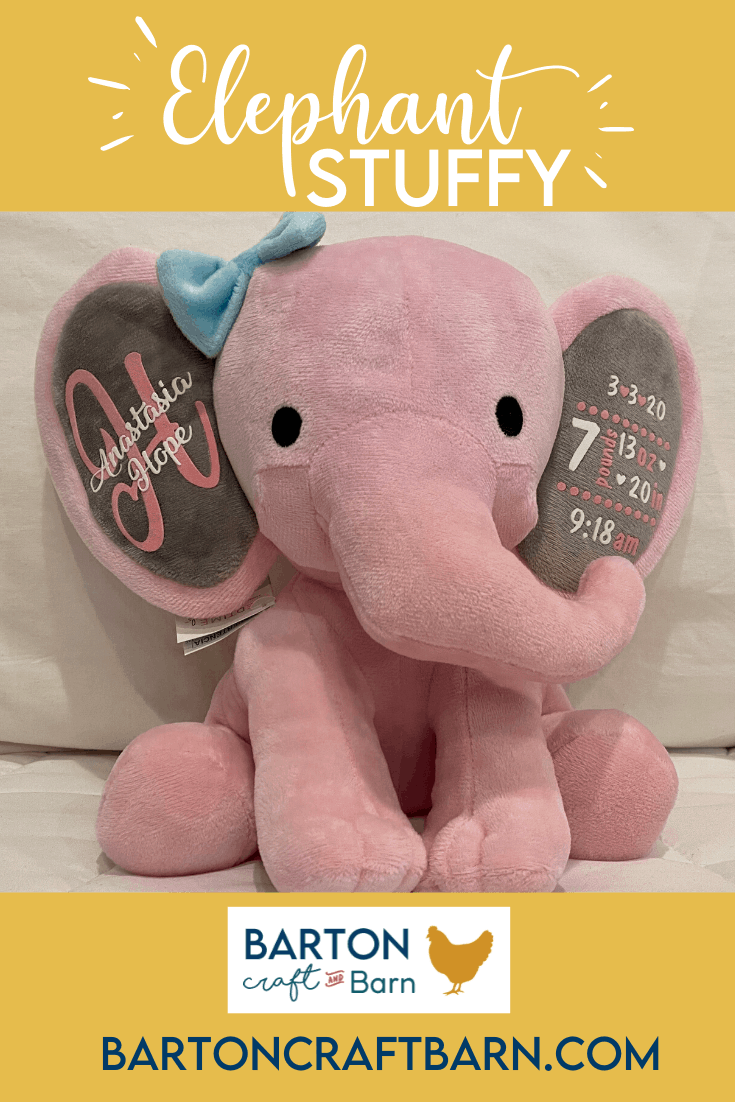
Elephant Stuffy Announcement My New Go-to Baby/Mommy Gift!
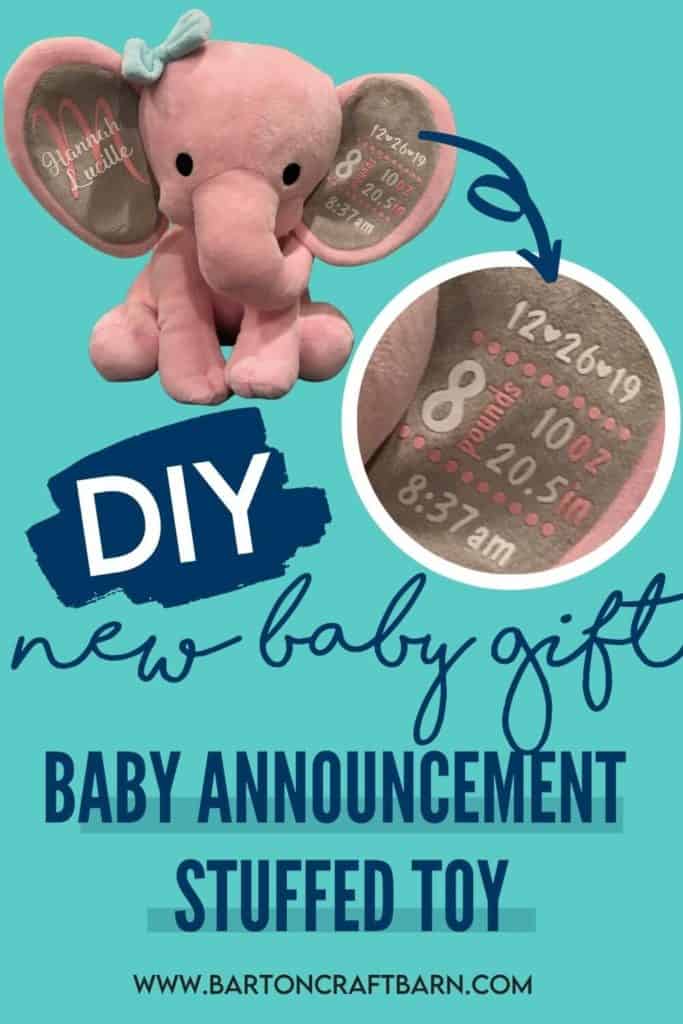
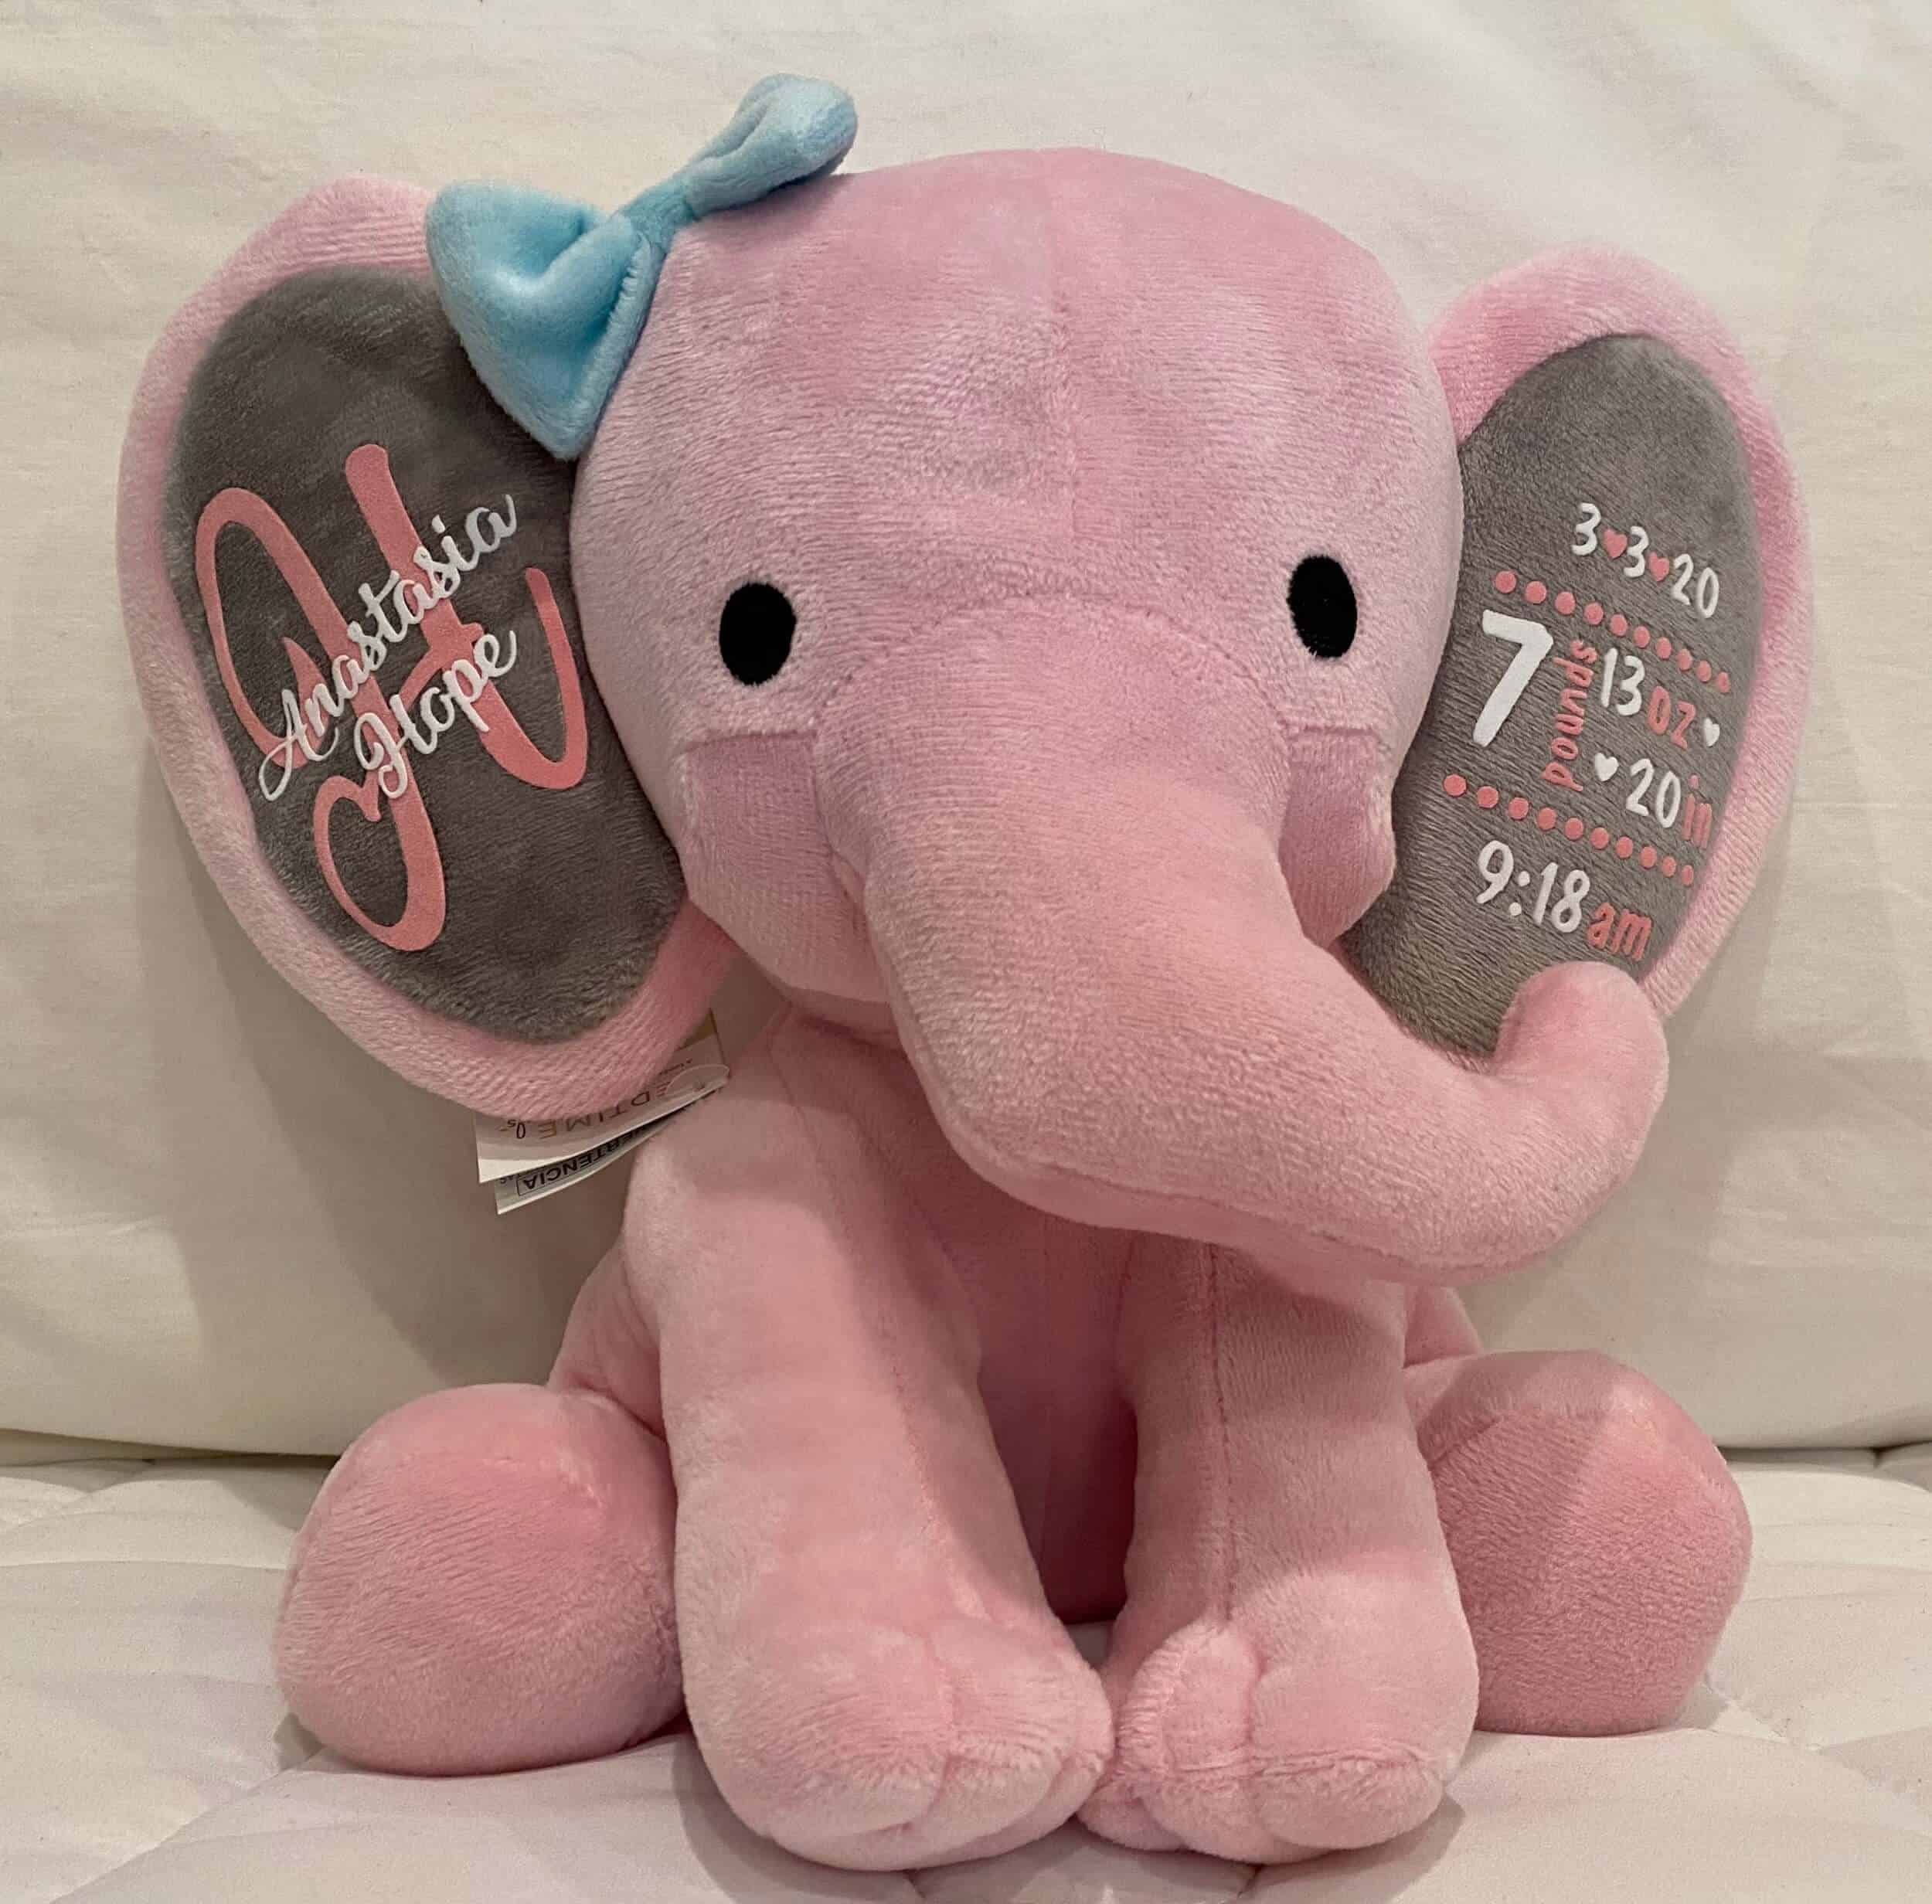
DIY gifts are always more fun to give. Learn to create your own personalized elephant stuffy today!
I was so excited to make this little baby announcement elephant for a friend of mine, and even more excited that it turned out the first time! When I see a project like this online and can’t find an easy step-by-step guide to recreate my own version of it I start researching, then I turn it into an easy to follow tutorial for you!
I hope this helps you avoid all the time researching and lessons learn while others, including me, have experienced when creating this little personalized stuffy that I used to gift to a new mommy at my church.
A personalized stuffy would also be a great gift for a newly adopted little one. You could include their brand new name and maybe even their gotcha day.  Being part of the foster community, I’m always on the lookout for cute ways to celebrate forever families. Check out my blog to read some of my insights to fostering, or to find another possible adoption family gift check out my reverse canvas tutorial.
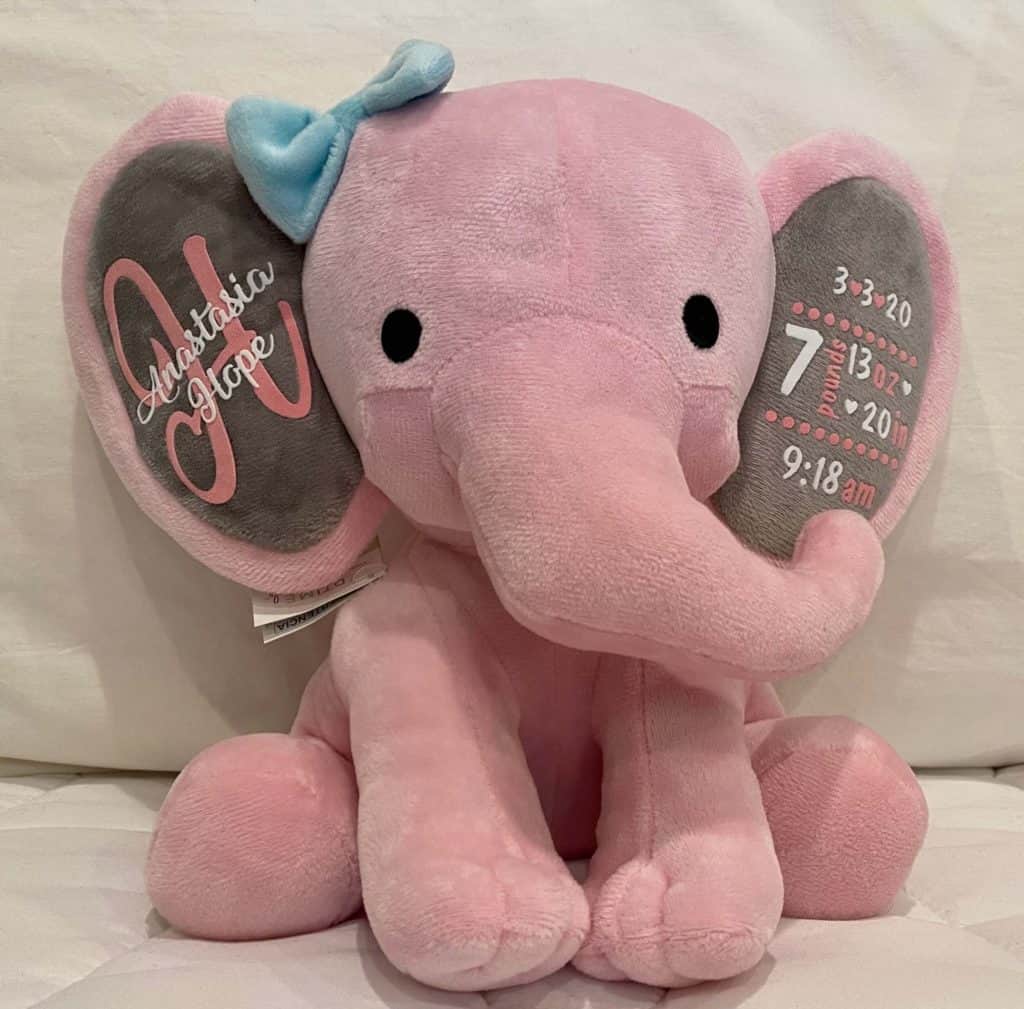
This elephant stuffy project seems like it would be difficult, but if you have the right tools even a beginner can easily make it. The heat transfer vinyl used for this project is Stripflock, which is a little thicker and textured with a suede-like feel.
Feel free to extend this process to personalize other stuffies, just make sure the fuzzy surface for application is not too shaggy. If the stuffy has cloth or a smooth fabric ear feel free to use regular heat transfer vinyl.
This page contains a few affiliate links. Using these links, I earn a small commission at no additional cost to you.
Materials you will need for this project:
- Elephant Stuffy Pink or Gray
- Stripflock HTV (I used Light Pink and White Siser Stripflock Pro HTV)
- Design (Explained in tutorial or link here and edit my template in Design Space)
- Cricut Maker
- Cutting Mat
- Weeding tools or a needle
- Cricut Easy Press, a Heat Press or Household Iron
- Teflon Protective Sheet for pressing
HOW TO ADD HTV TO A STUFFED TOY
Elephant Stuffy Tutorial
Learn the step-by-step details of how to add stripflocked HTV to a stuffed toy. For this tutorial, I applied it to an elephant stuffy for a birth announcement.
Materials
Tools
Instructions
STEP 1: CREATE A TEMPLATE
Measure the area where the design will be applied, in this case, the inside of the elephant’s ear. For my elephant, it was an oval shape that is about 2.5 x 4 inches.
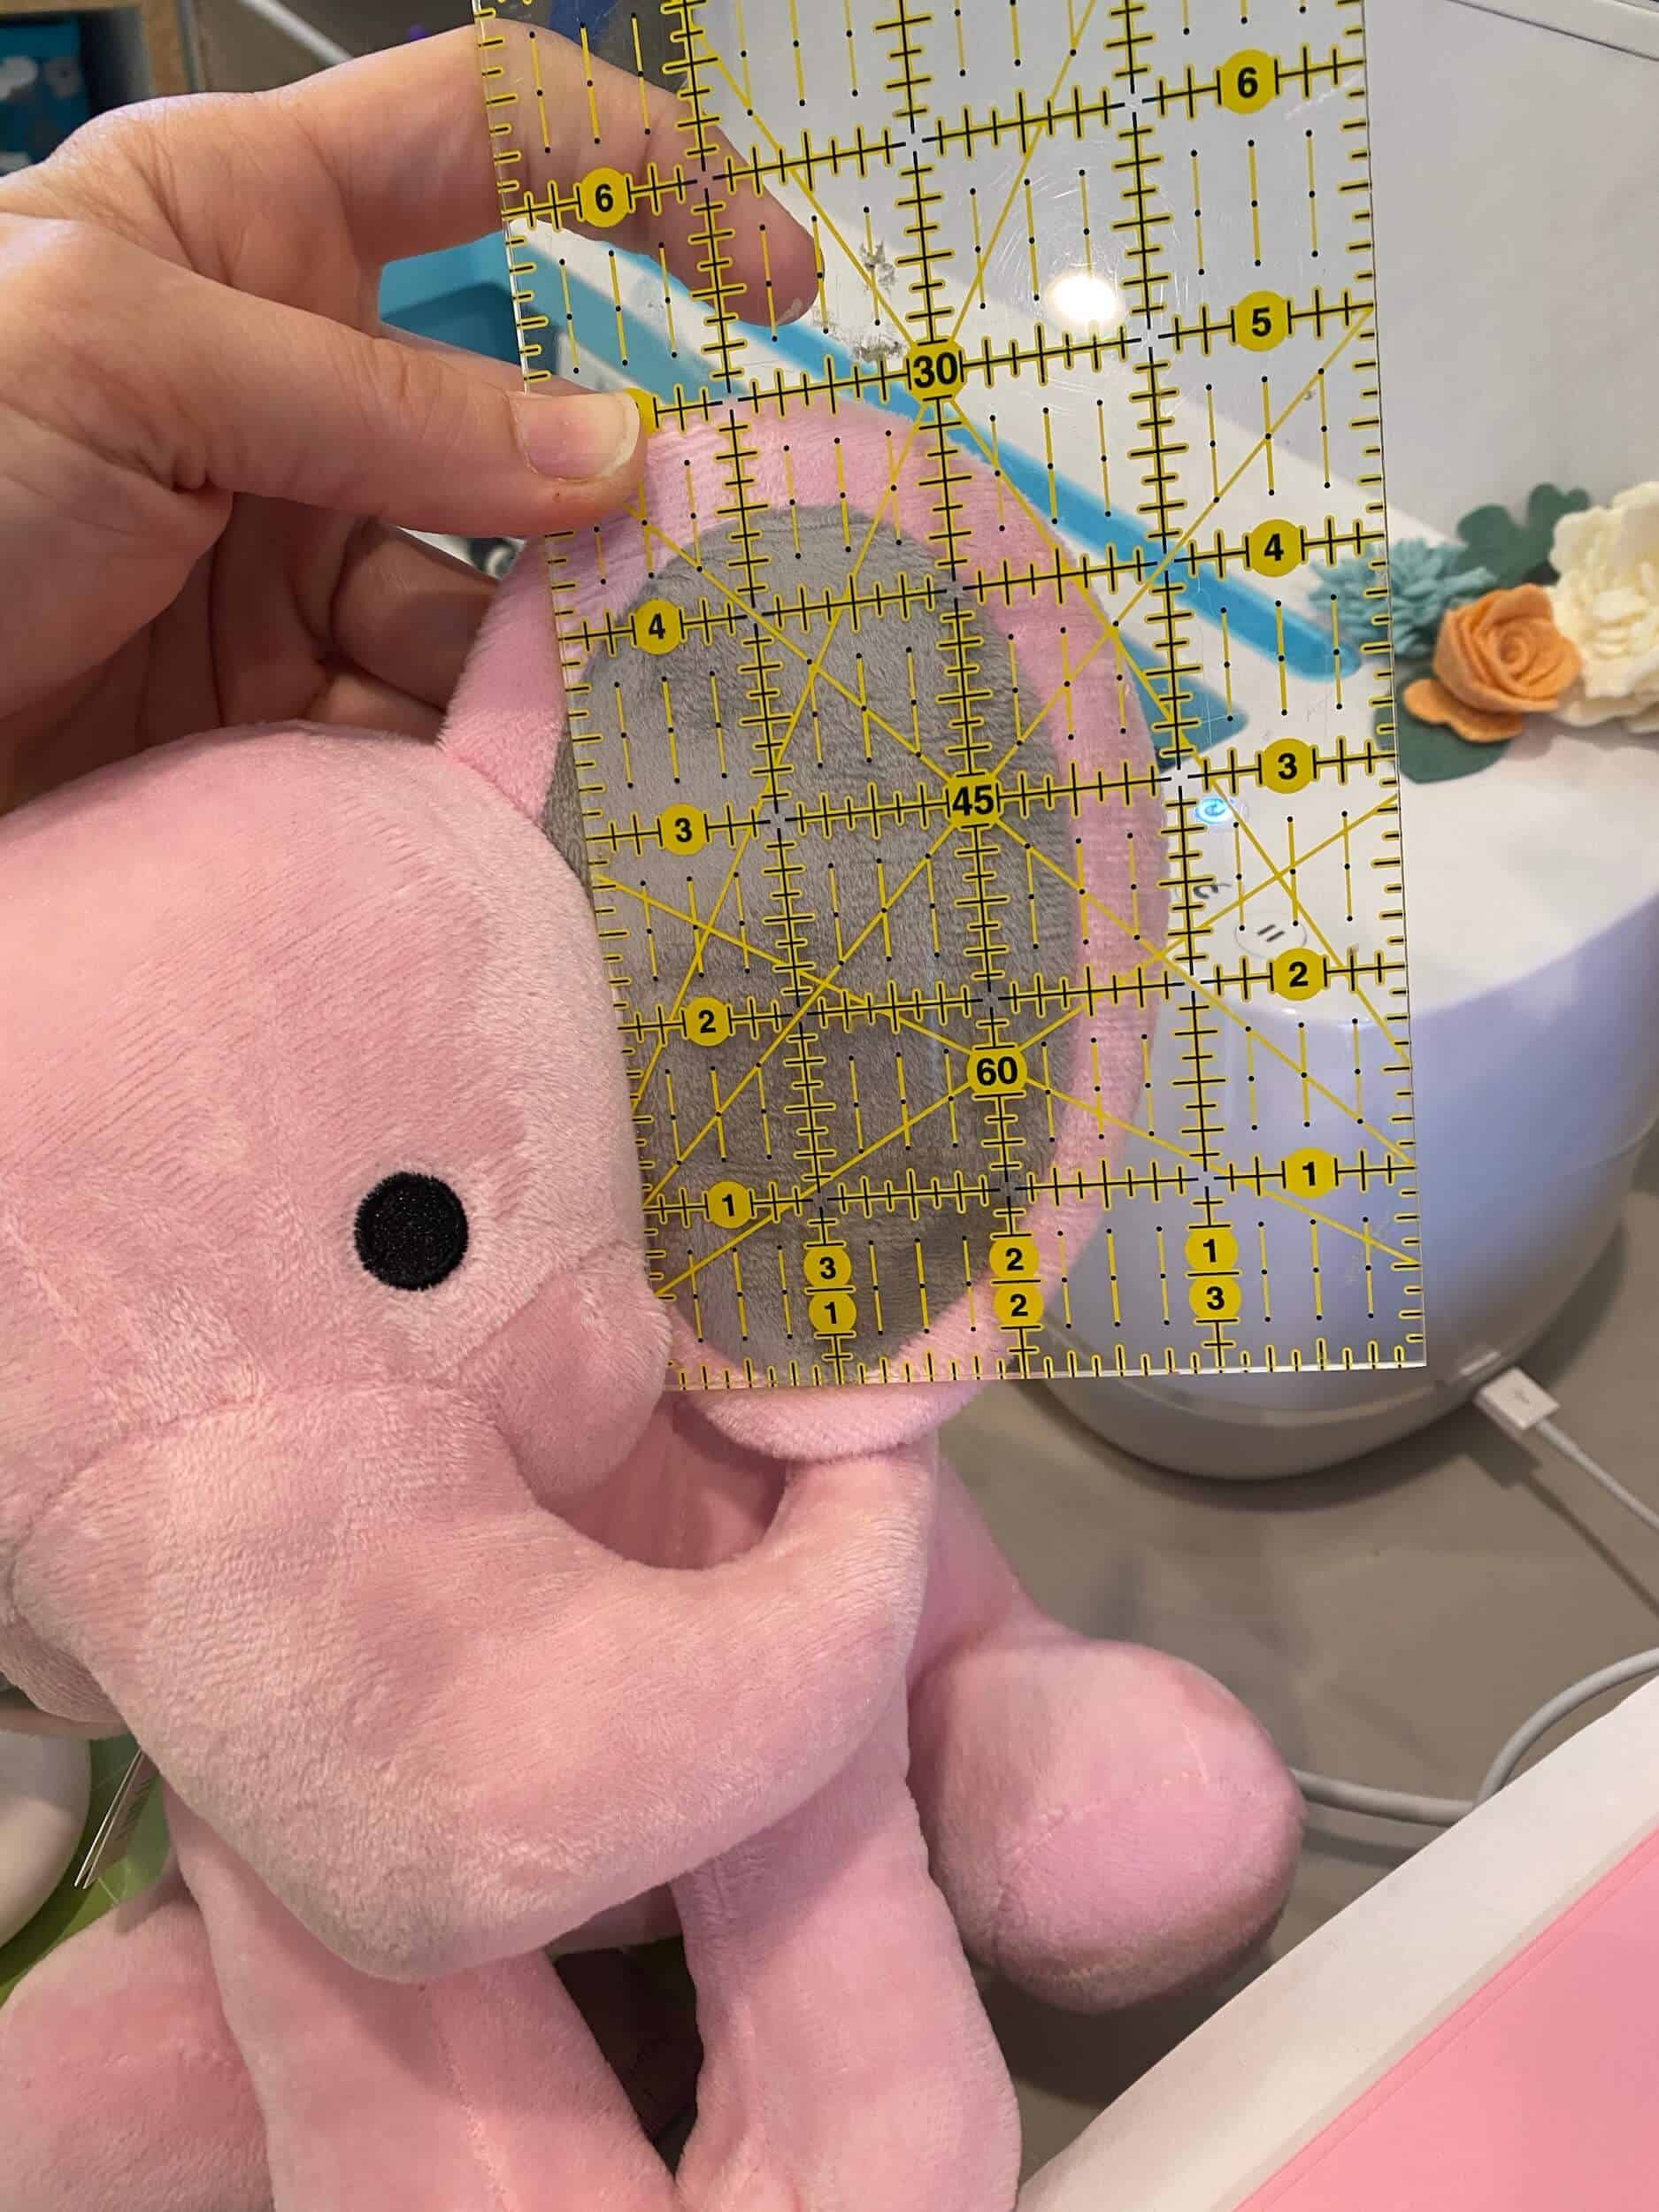
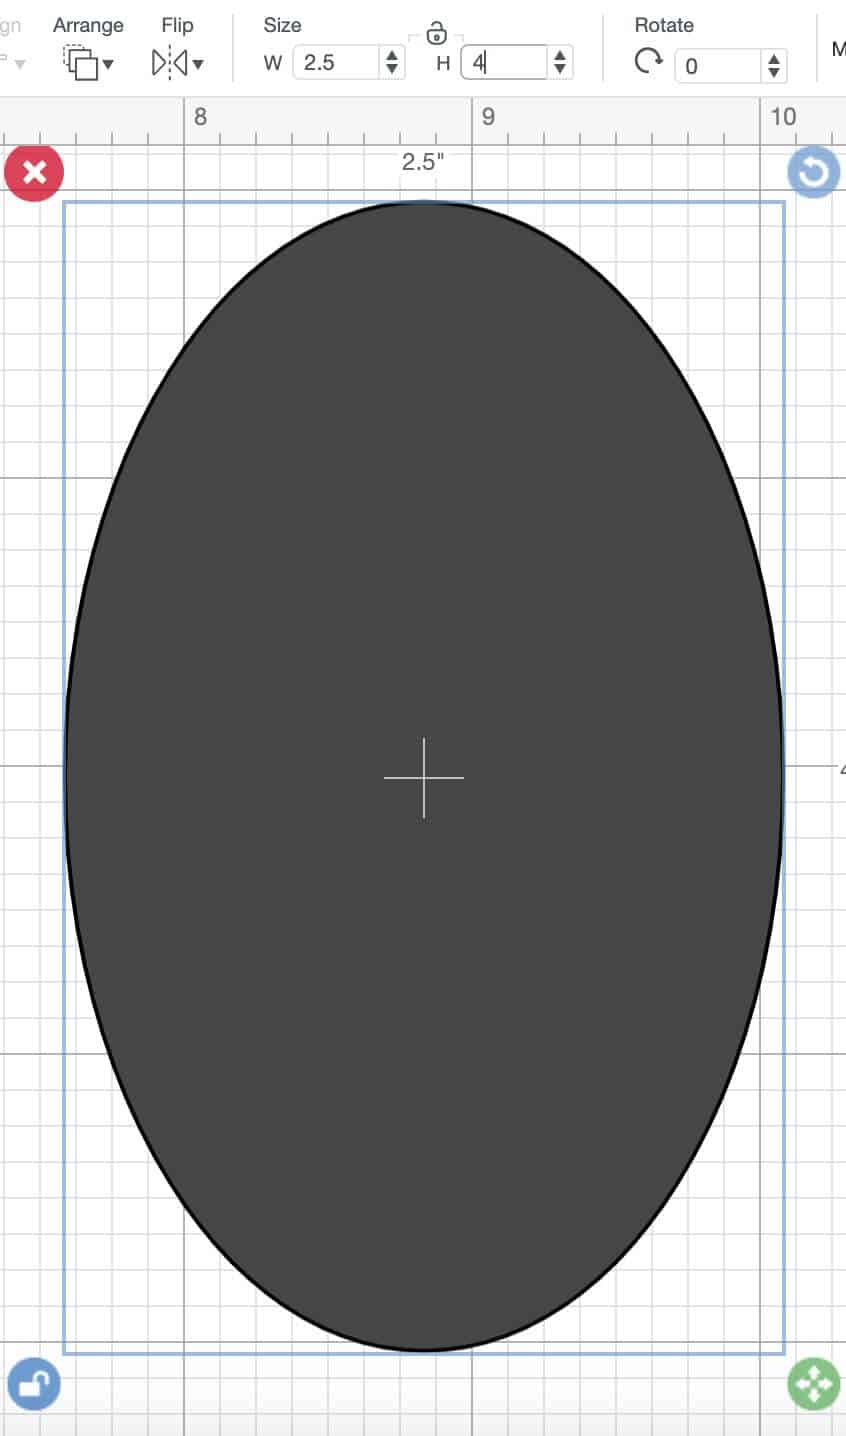
Create an oval in Design Space that size by clicking Shapes, Circle, click on the lock icon in the lower left of the circle and size the oval to your object. To get it to the size of this ear, I typed 2.5 for the width and 4 for the height.
STEP 2: FONT SELECTION
After creating a template, start adding the font and graphics to the oval. This may be the hardest part of most of my projects; there are so many great font options! I typically make a few options and poll my family and the new mom if that’s an option.
The fonts I ended up using on this elephant were Mechanic of the Heart, a free font I found on Dafont online, and Dom Casual Std Regular, a Cricut font in Design Space. The circles and hearts are shapes from Design Space. To create an evenly distributed line of circles similar to my design, just create a circle, duplicate it a few times, select them all, Align Center Vertically and Align Distribute Horizontally. Be sure to leave a clearance from the design and the template, this will help when placing the design on the ear later.

STEP 3: ATTACH LIKE COLORS IN DESIGN SPACE
When satisfied with the font, extra shapes, and position of everything, attach all the similar colors together. All the objects of one color will be attached to each other. This tells the machine to keep these items in position when it cuts the design. One tip here is to hide the color you are not attaching by selecting the eye next to the line item in the Layers menu, then select all that’s left and attach. Do the same for the opposite color.
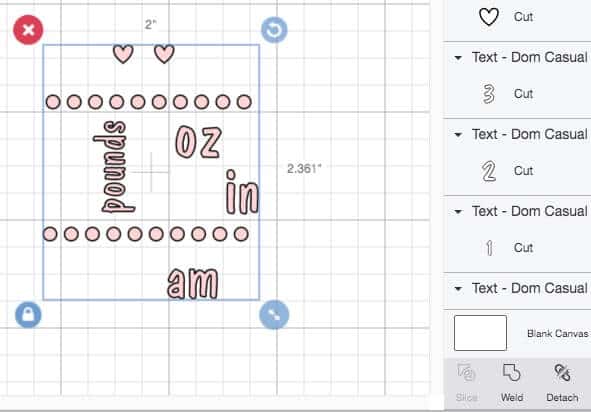
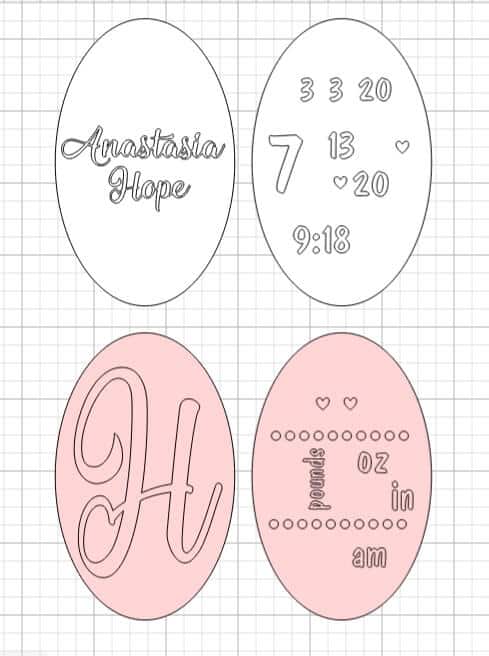
I also like to attach my design to the oval template. This will get cut out, and we don’t really need it, but I use it as a guide for where I will cut my Stripflock transfer sheet when cutting the designs apart. Sometimes if you cut the transfer sheet too small it will leave marks on your project exactly where it was cut. The following picture is what it should look like at this point, it’s now ready to cut.
STEP 4: CUT DESIGN OUT WITH CRICUT
This is the easiest step in the tutorial because the Cricut will do all the work. Place the Stripflock shiny side down on the cutting mat. I used my green standard mat. Set the image to be cut in Design Space by clicking Make, and as with all iron-on materials you need to mirror the image. This is as easy as selecting the toggle that says Mirror and make sure the preview shows a mirrored image.
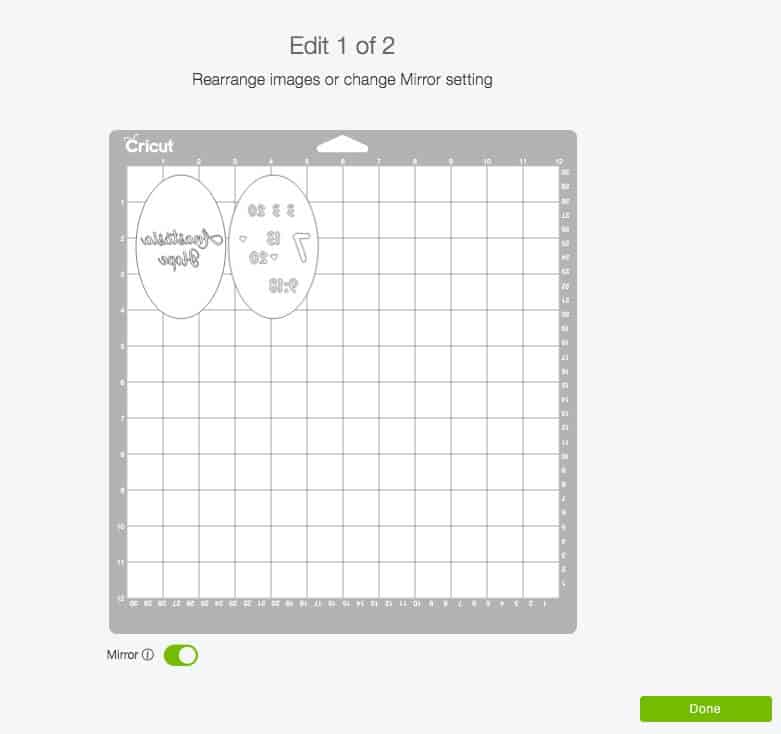
If the image shows a mirrored image of the design on the cutting mat preview, then click Continue and set your material setting to Flocked Iron-On. Design Space will remind you to mirror your image, make sure you mirror! I usually double check, I don’t like to waste material. Then load the cutting mat, double check the shiny side of the Stripflock is facedown! Finally, press the flashing Cricut C on the Cricut to cut the design.
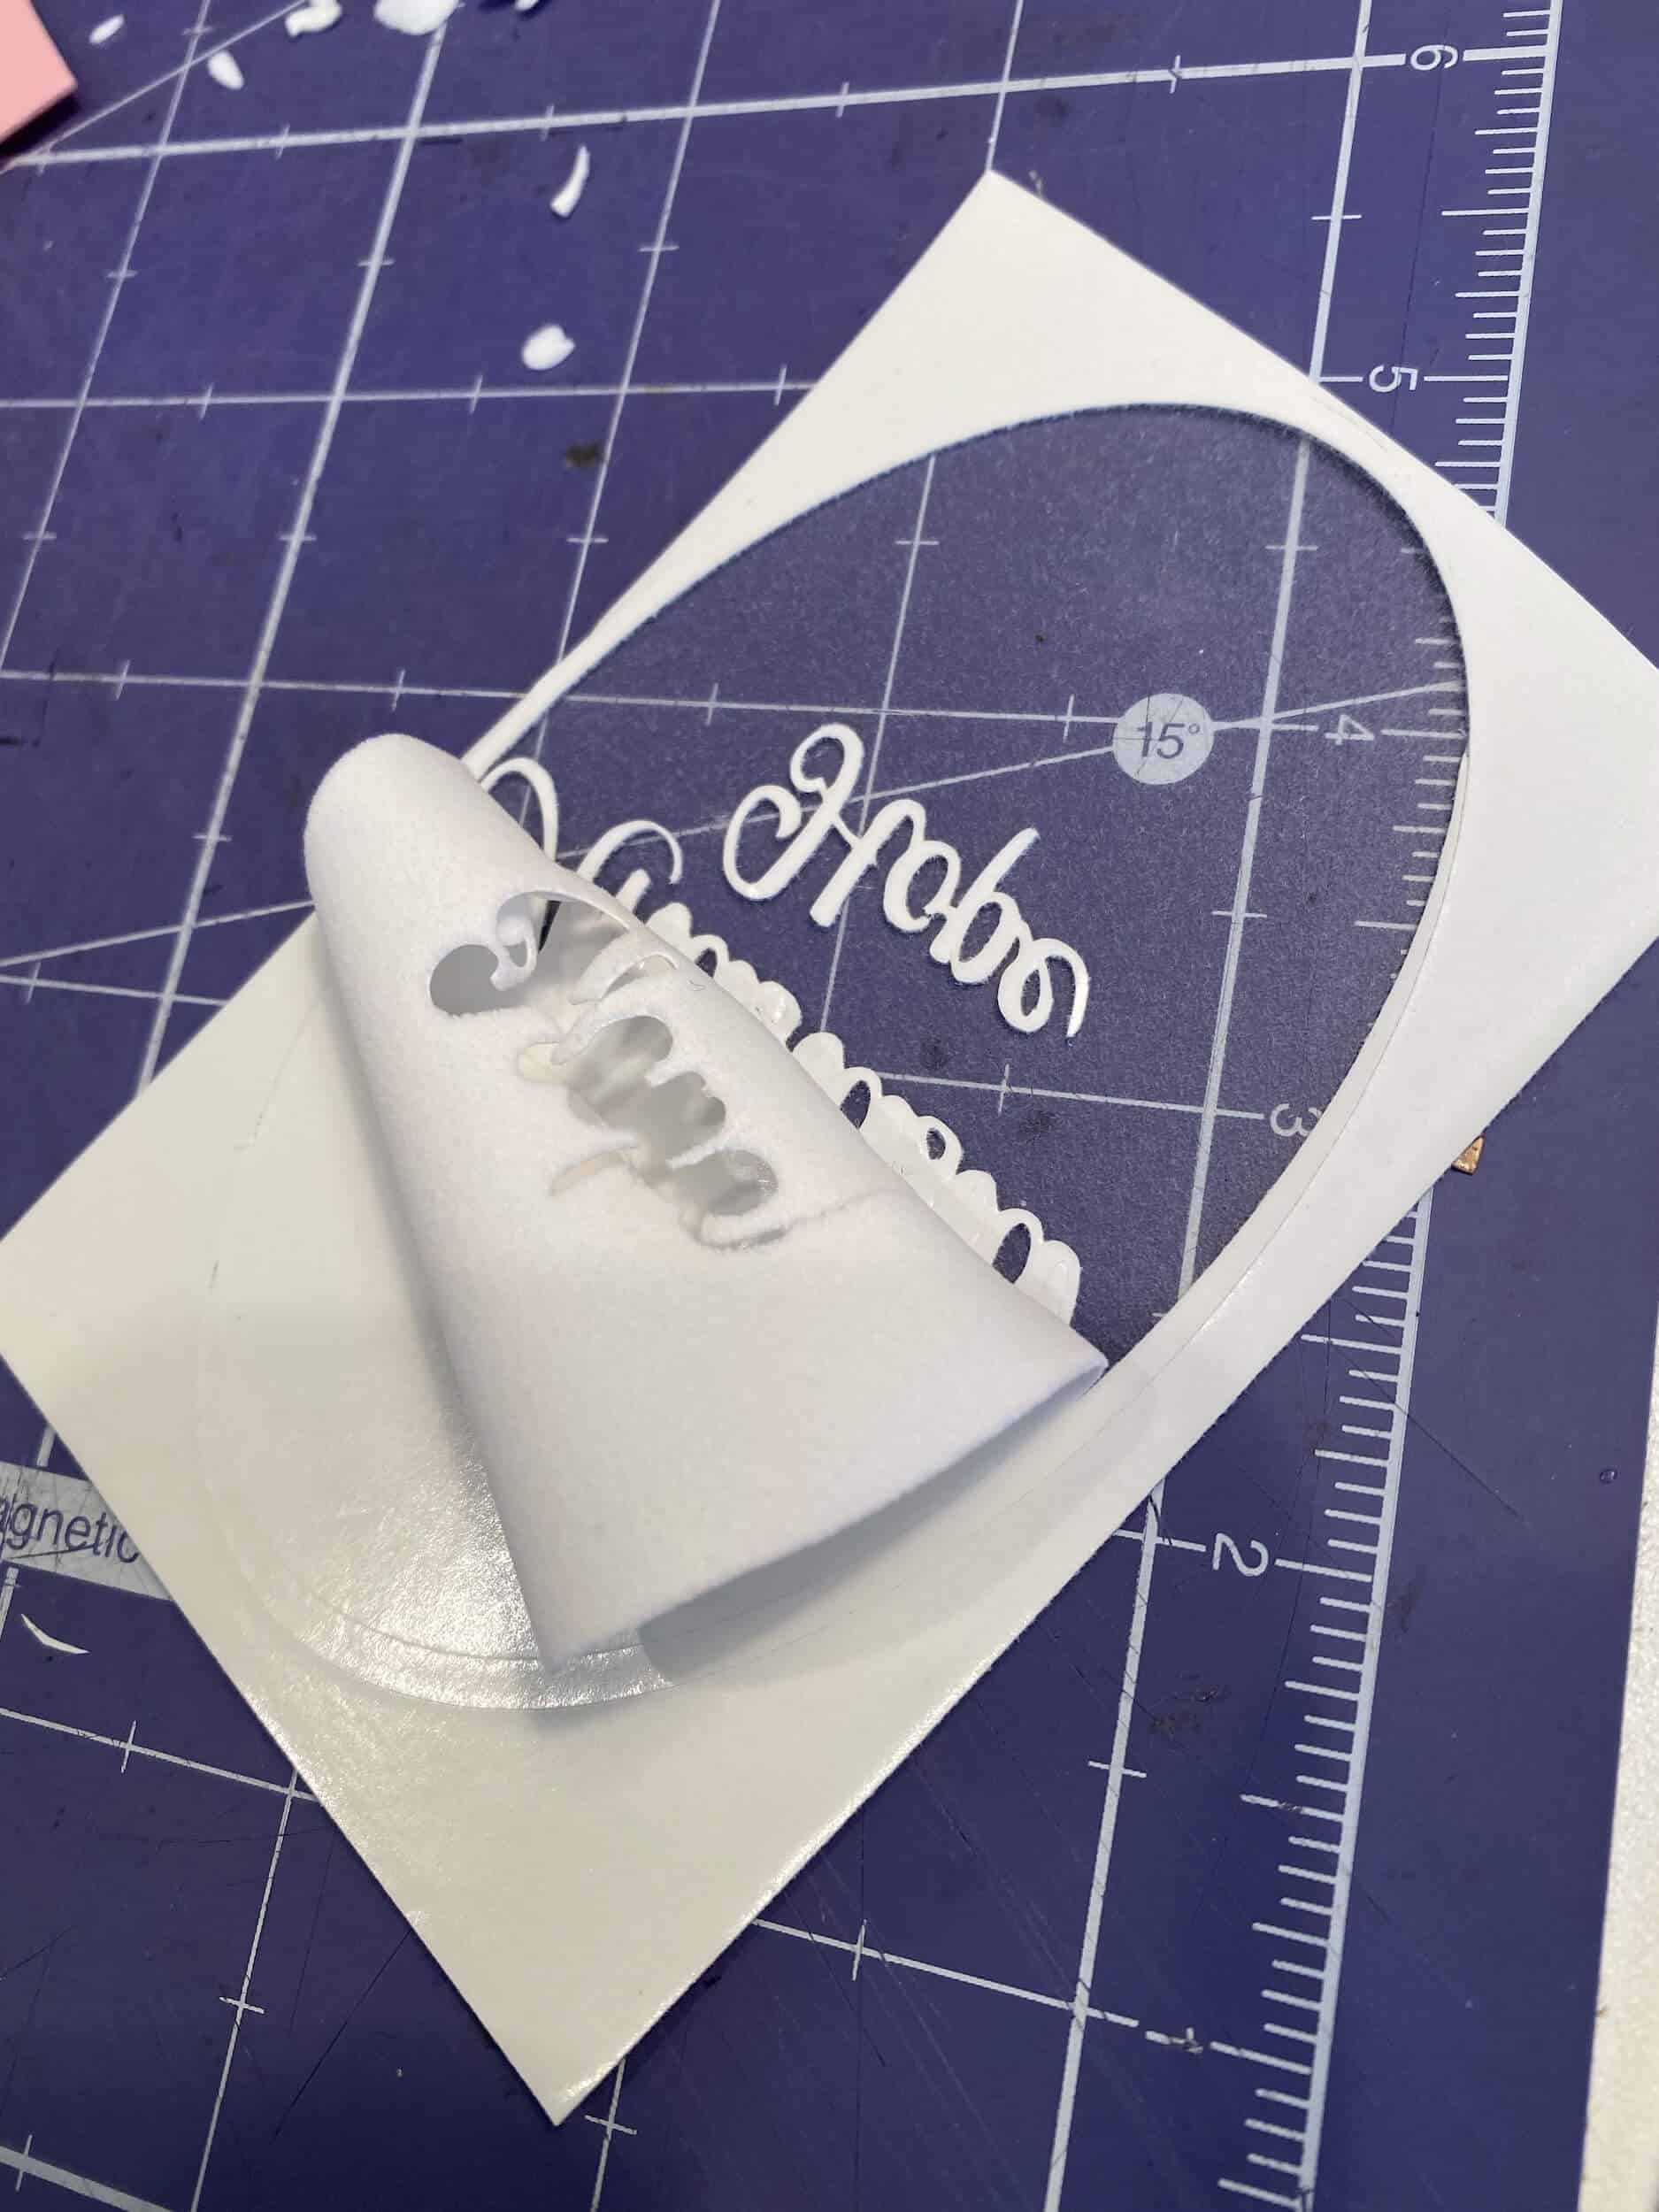
STEP 5: WEED IMAGE ON STRIPFLOCK
After the design is cut out with the Cricut, you unload the mat and remove the Stripflock. It’s possible to weed directly on the cutting mat, but I think it’s easier to take it off the mat first.
I also will cut my designs apart at this time, just to make them easier to work with. Cut the material apart no smaller than the oval template cut, this will make sure it does not leave press marks on the stuffy later.
To weed the design means to remove the parts of the vinyl that you do not want to show up on your final design. So for my design, I removed the background and the insides of the letters.
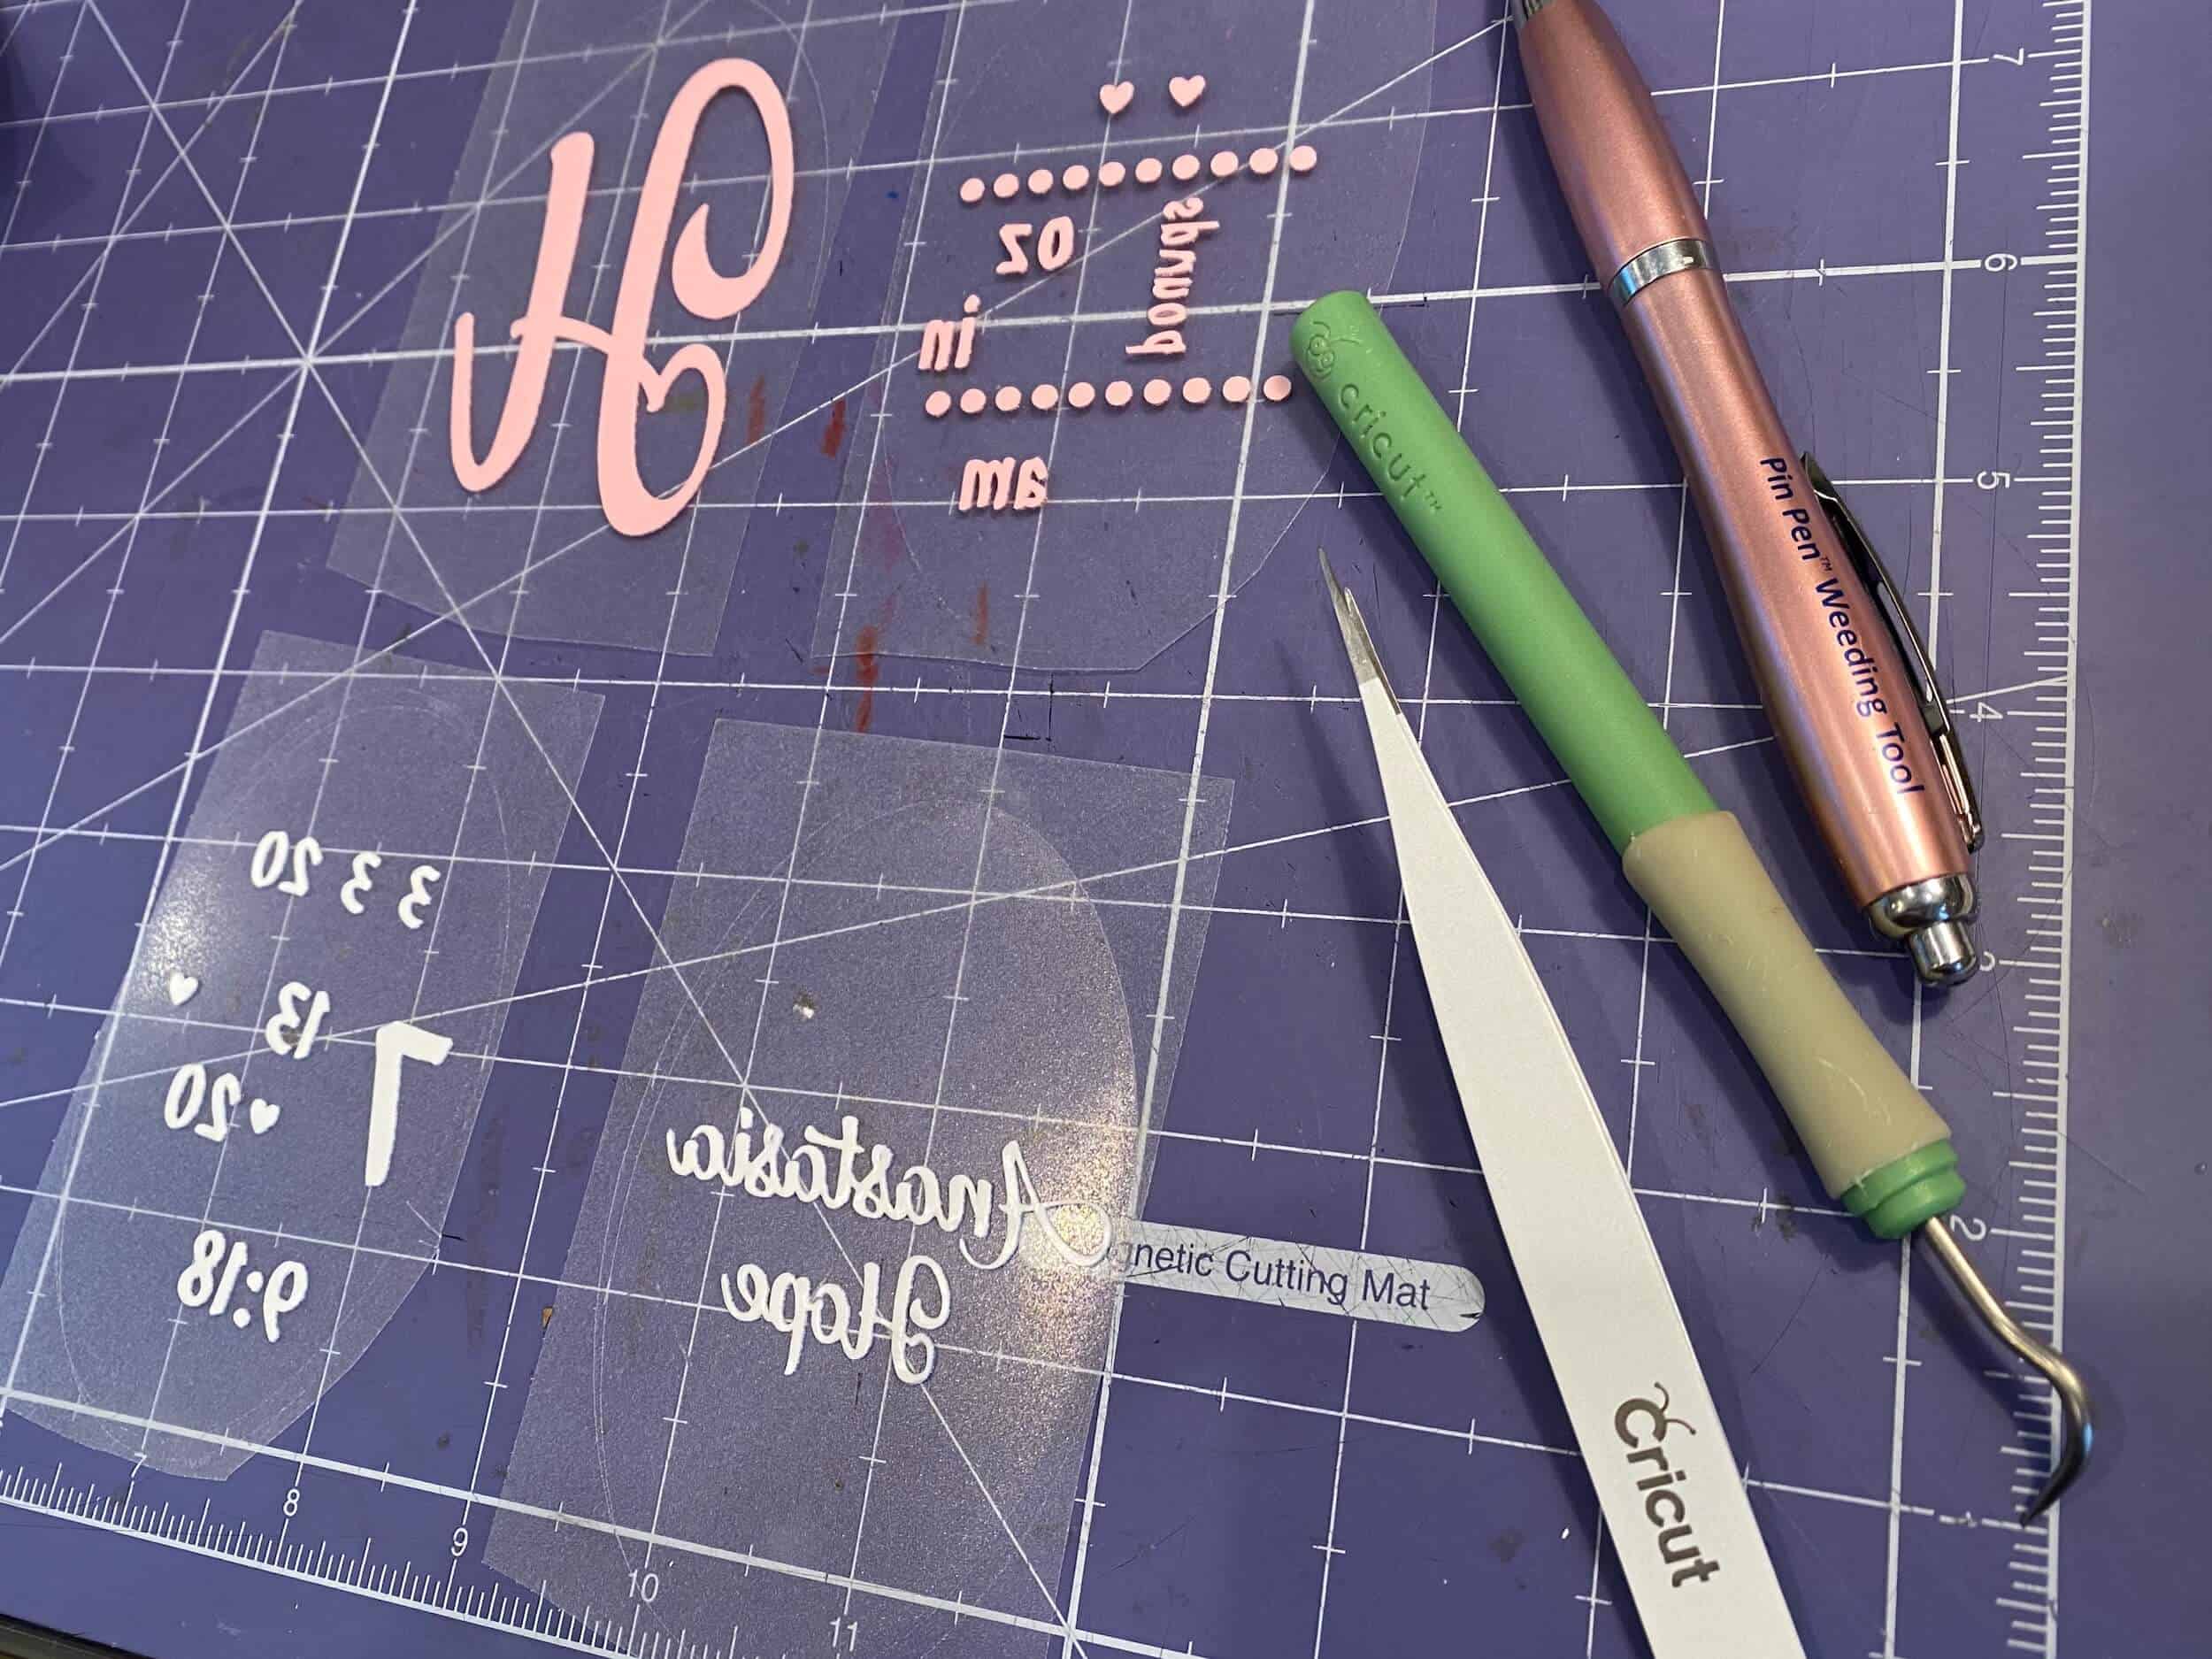
To accomplish this and most weeding projects, some basic tools help to easily get the job done. Like with most projects, it makes a big difference to have the right tools for the job. When the weeding is done, only the design will be left on the sticky transfer sheet.
STEP 6: PRESS STRIPFLOCK DESIGN
Set the heat press to 305 degrees, I used the Cricut Easy Press. A larger press will also work fine, or a household iron can be used (but it’s just a little bit harder to regulate the temperature). Place the weeded design into place to get the correct position and angle if using one. Make the choice now to line it up straight with the elephant’s orientation or on an angle following the curve of the ear. Be sure to make the same choice on the opposite ear.
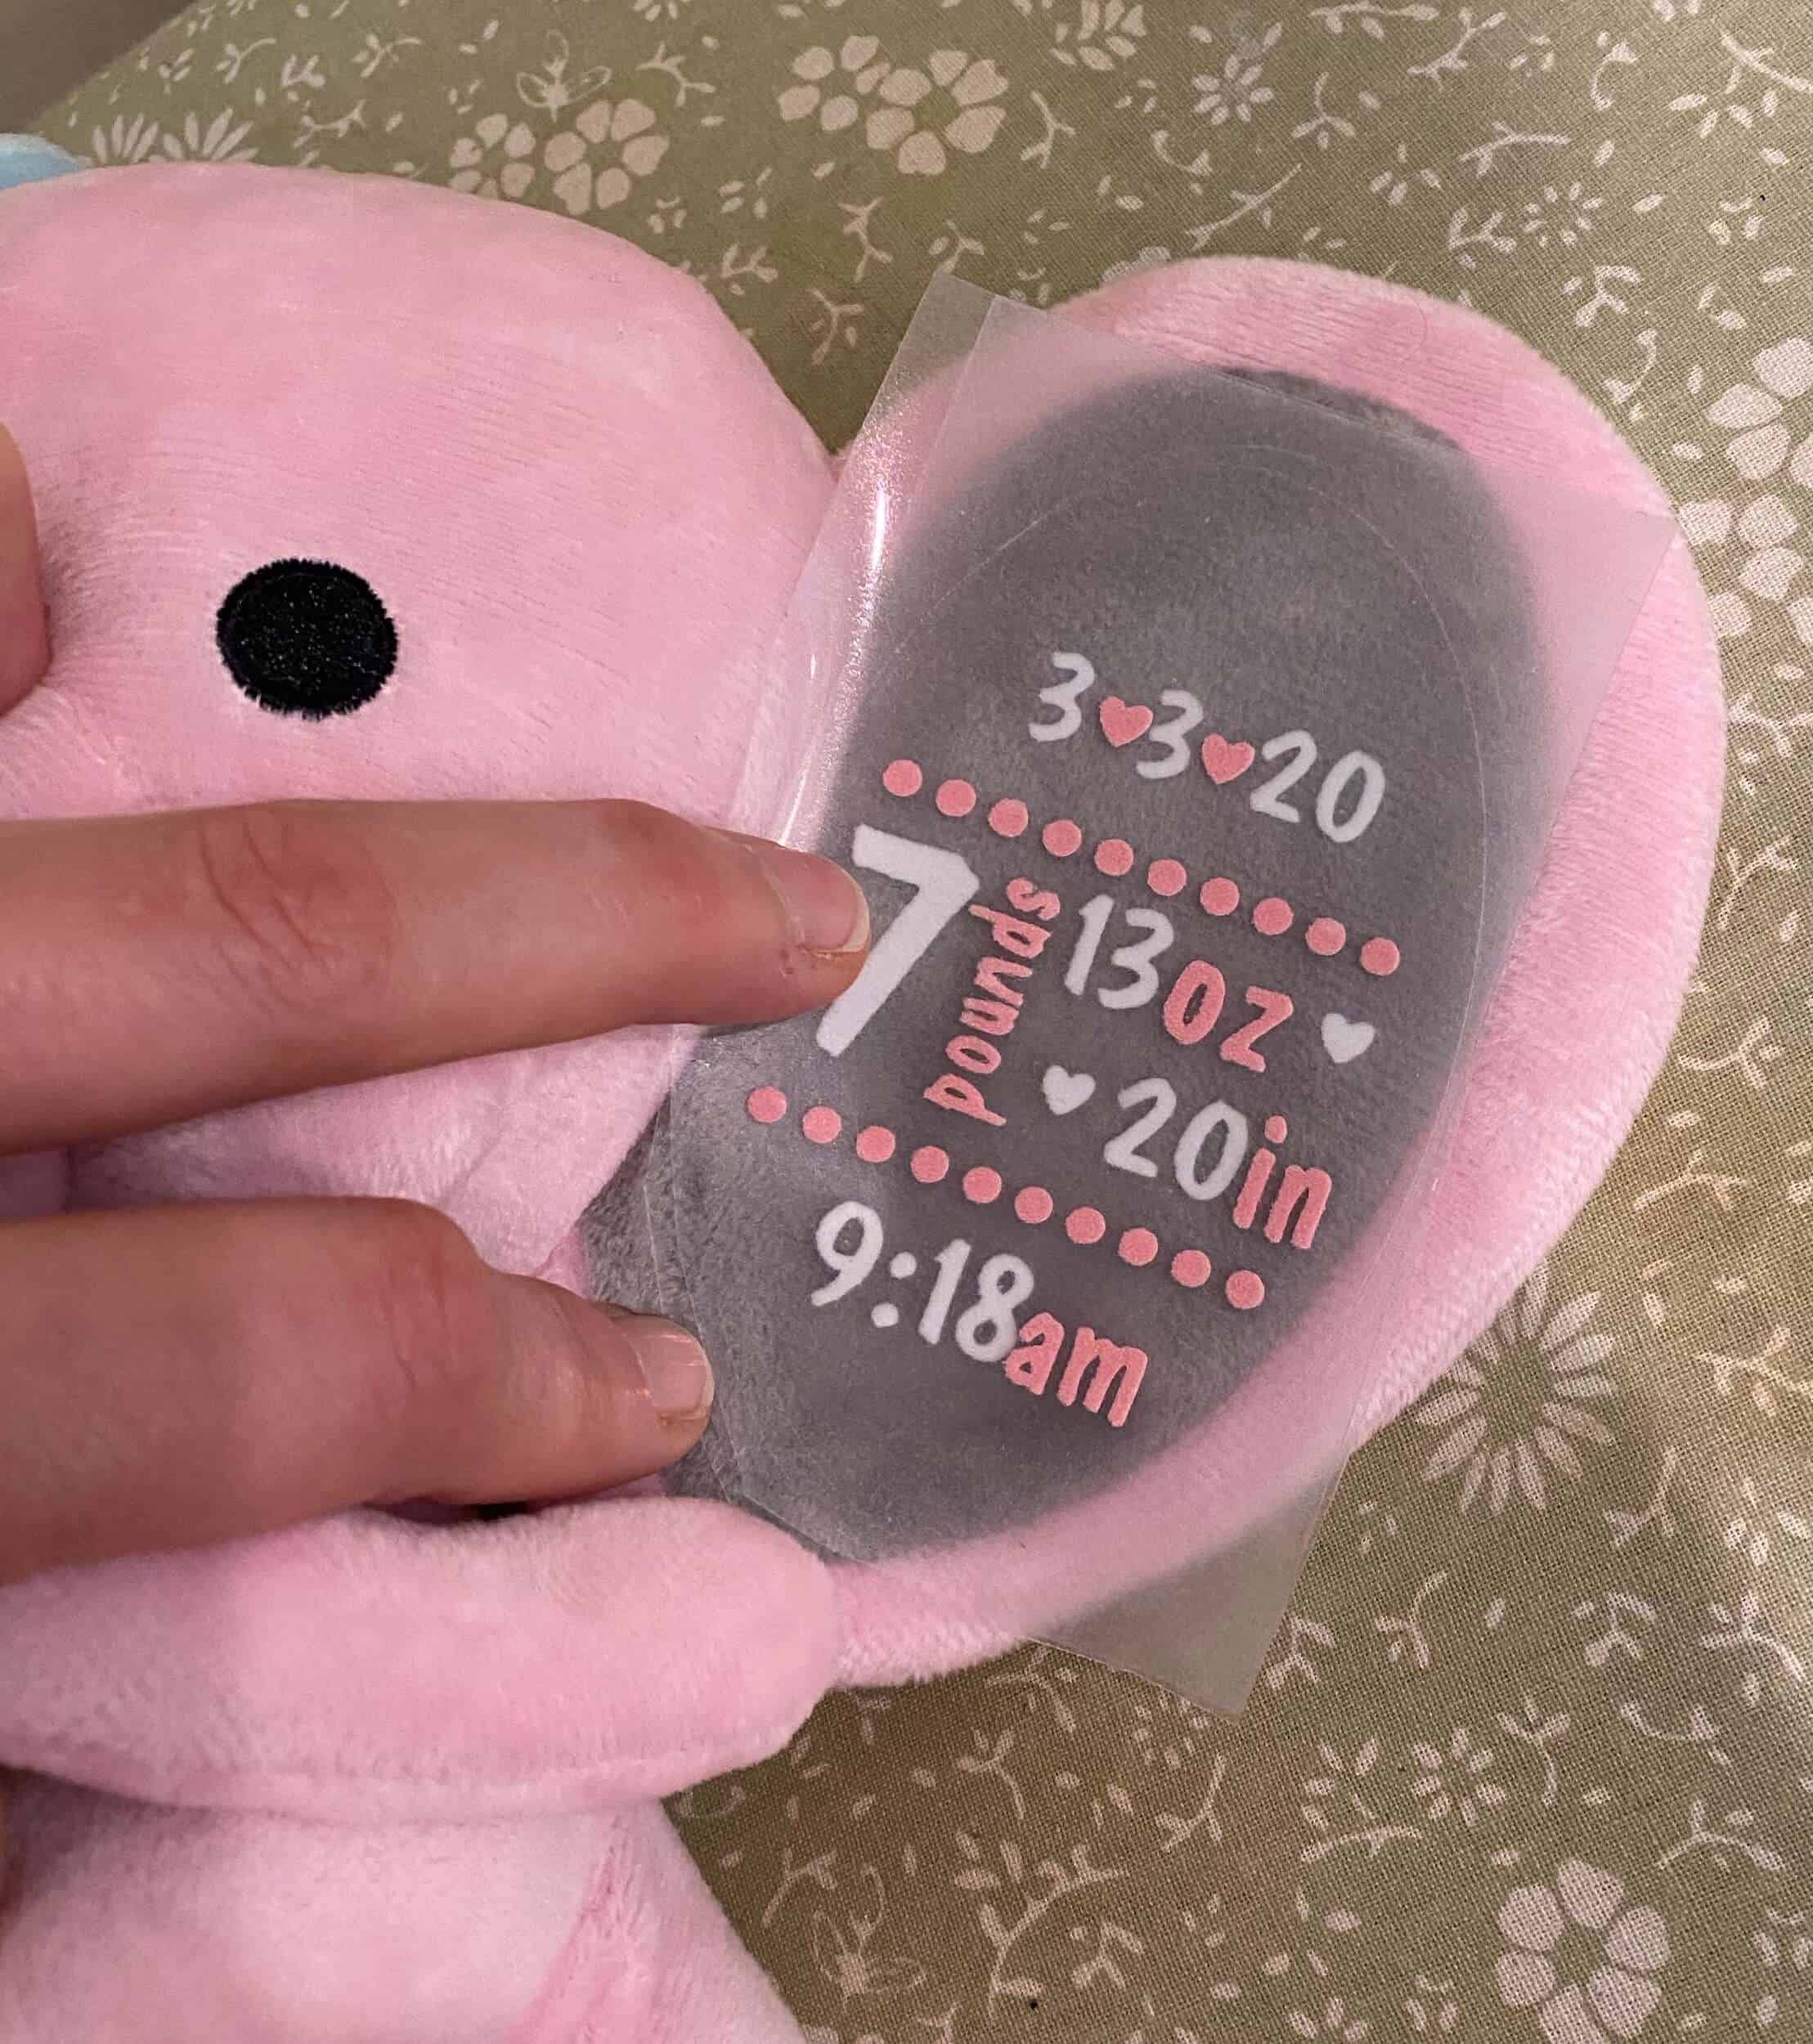
Once it looks good, pick an ear to start on. Place that ear on a flat surface with one of the stripflock HTV designs in place on the ear. Start with the background color, if there is one. I just use my ironing board and have the elephant’s body hang off of the board to get the ear flat. I use my body to wedge it into place during pressing so that it doesn’t move. Cover the stripflock transfer sheet with the teflon protective sheet if you have one. Place the heat press on the ear while applying pressure.
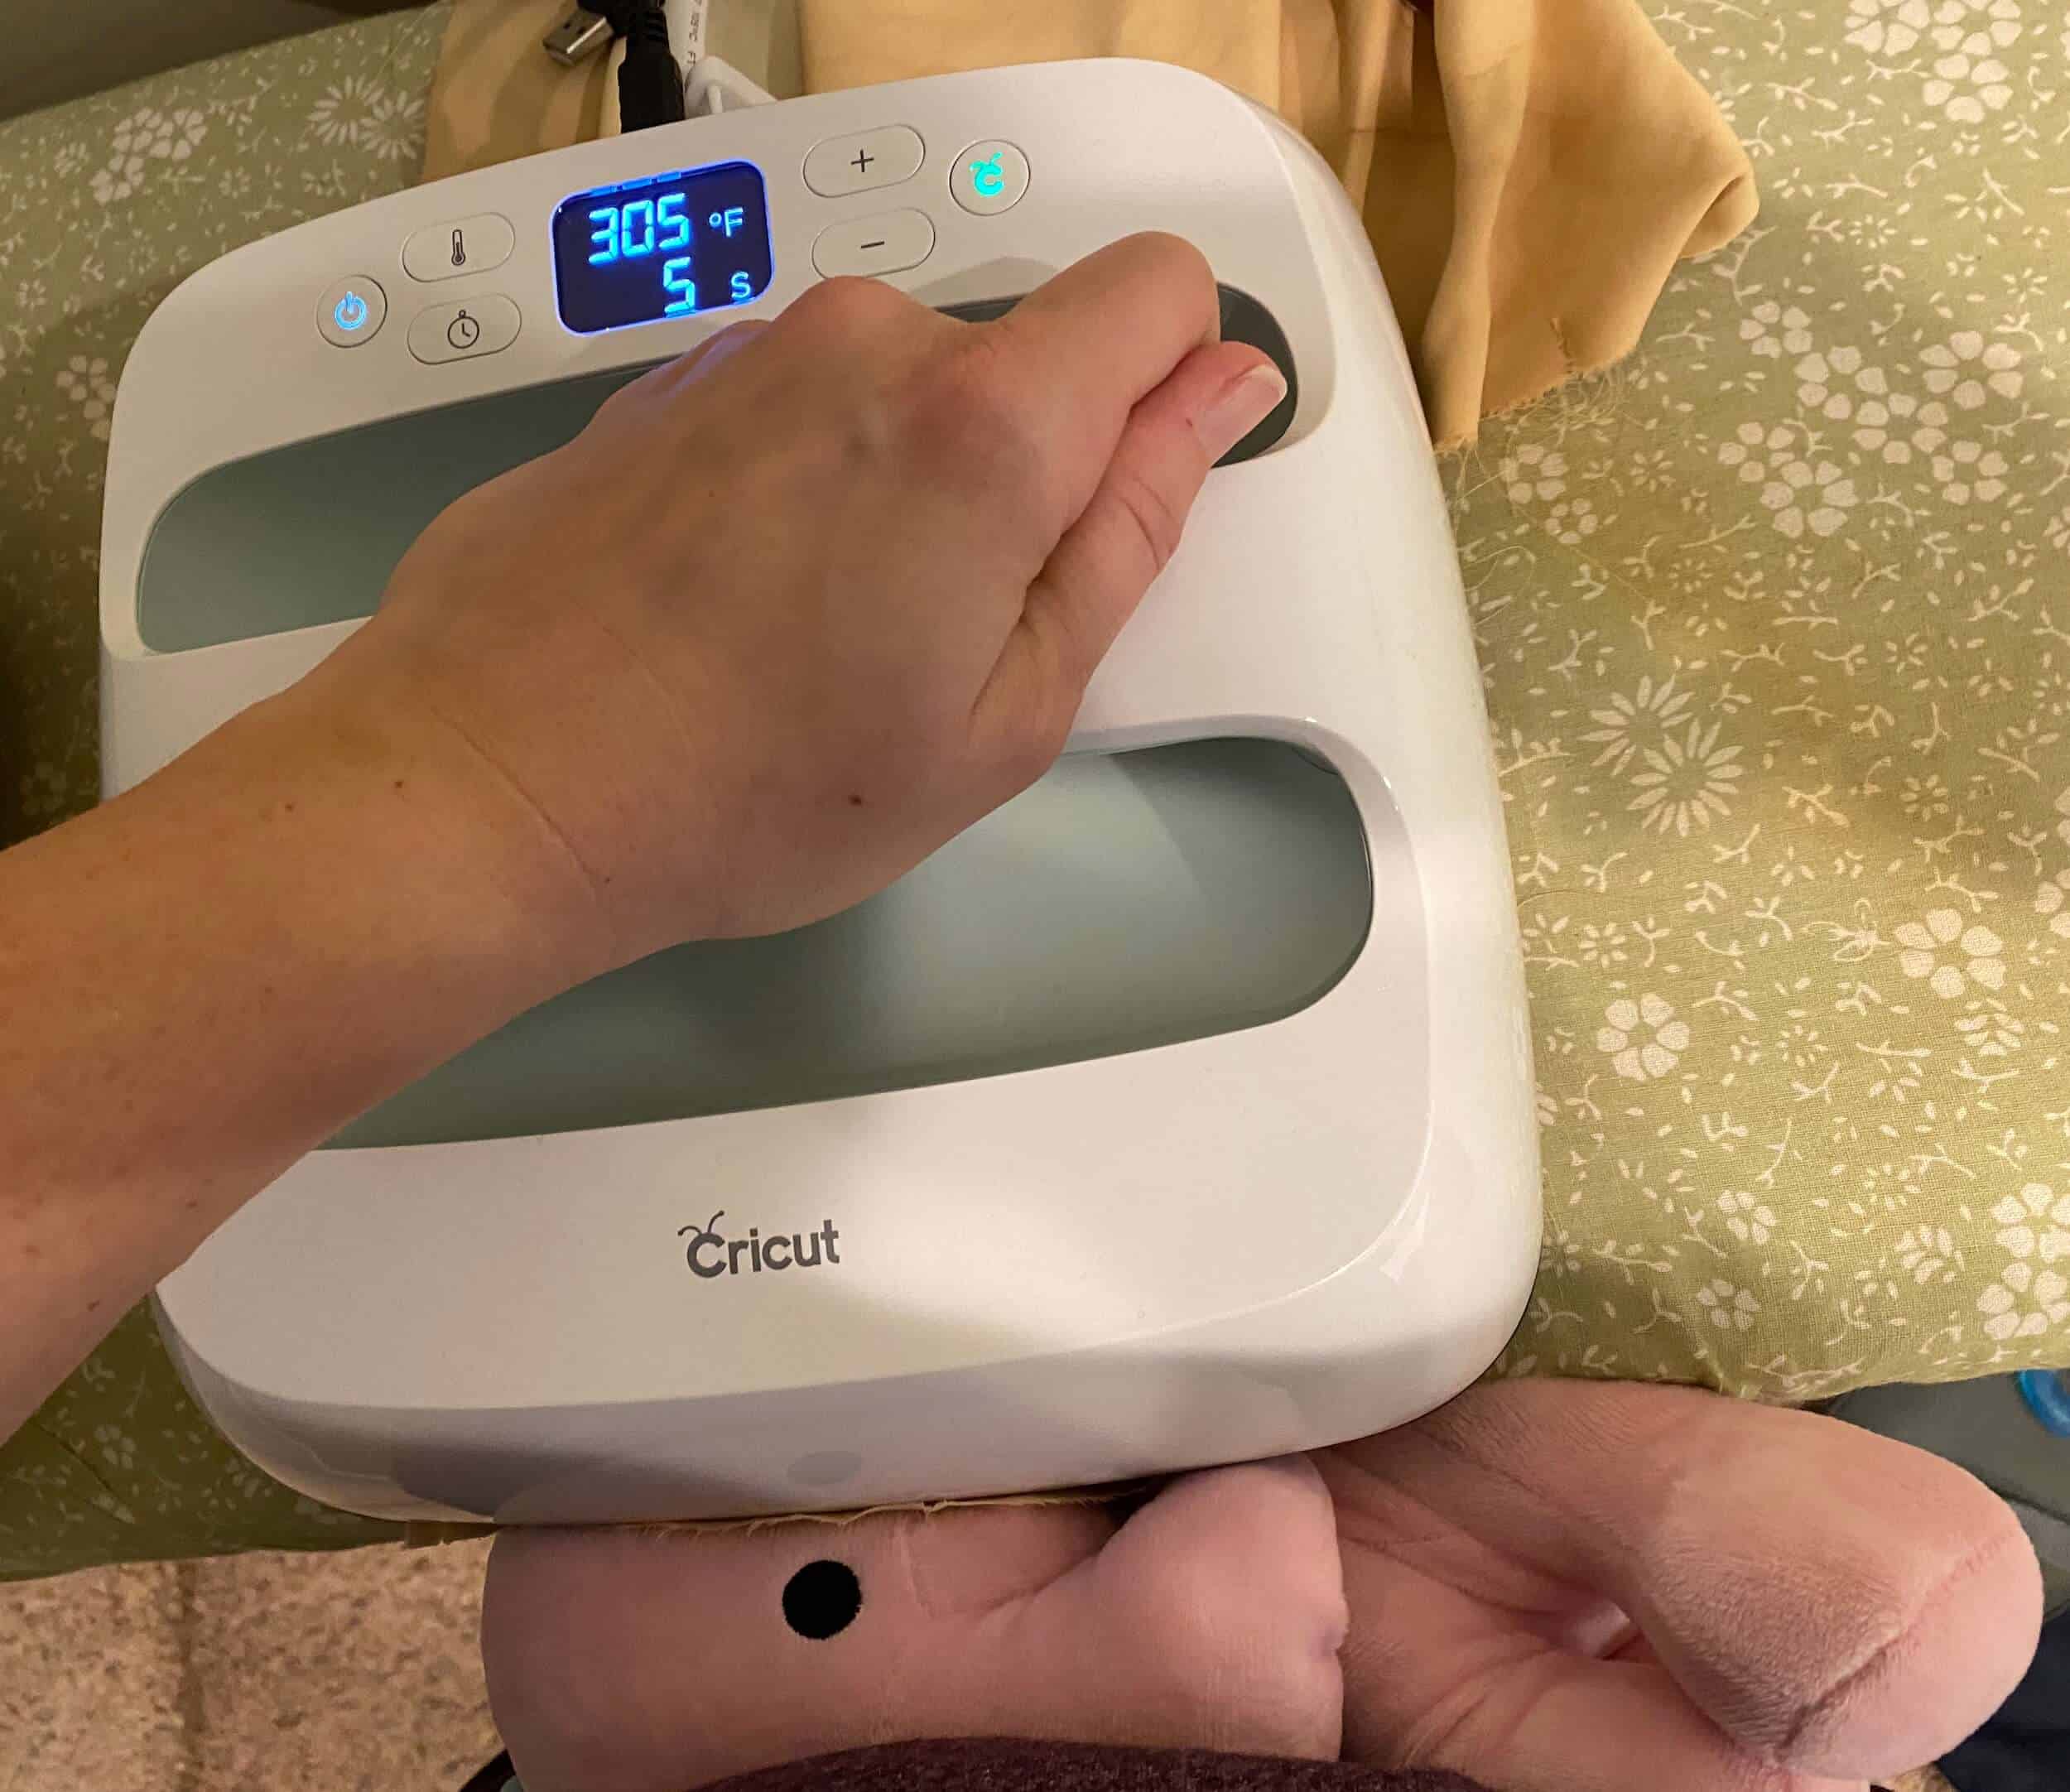
For the first color I use half the time recommended for pressing Stripflock on a plush surface, so just 15 seconds. Then carefully remove the transfer sheet and place the next layer on, put it into place, cover with a protective sheet and press it again for the full 30 seconds. Make sure to apply pressure on the heat press and the ear evenly. Repeat the steps for the second ear and the Elephant Stuffy is done!
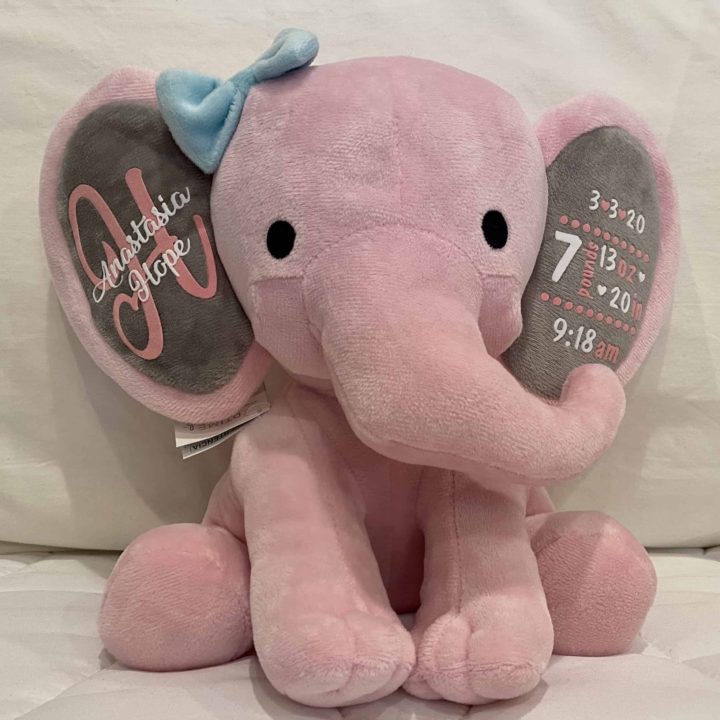
Hope you enjoyed this tutorial, now go get crafting!
I hope you enjoyed this tutorial, if you have any questions feel free to reach out. I’m happy to help any skill level, after all, I was once a lost beginner too! We can all help each other out.
Related Cricut crafts:
- Cricut Basics for Beginners
- Vinyl Decals
- Reverse Canvas
- Waterslide Decals
- Etched Glass
- Free Resource Library
Surprise someone with an elephant stuffy today!