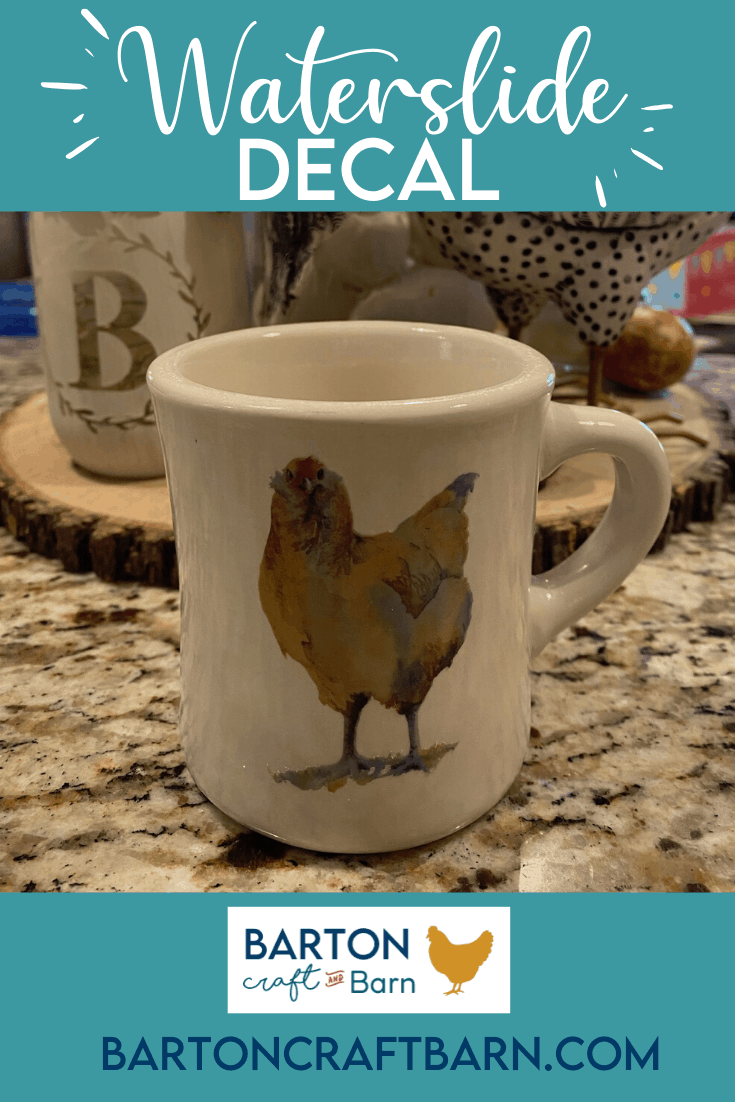
WATERSLIDE DECAL TUTORIAL – NO HARM NO FOUL
This tutorial will cover the application and removal of a waterslide decal to a ceramic mug. I not only made this cute little mug once, but twice, as a few mistakes were made in the process. I thought I would take the time to share my slip-ups so you can avoid such mistakes. Also to let you know it’s possible to remove a sealed waterslide decal, and I’ll show you how.
The hub’s birthday was coming up, and if you know anything about him, he loves his chickens! He would rather stay home and be a farmer, but that would not support the sweet gig of early retirement I have set up for myself! 
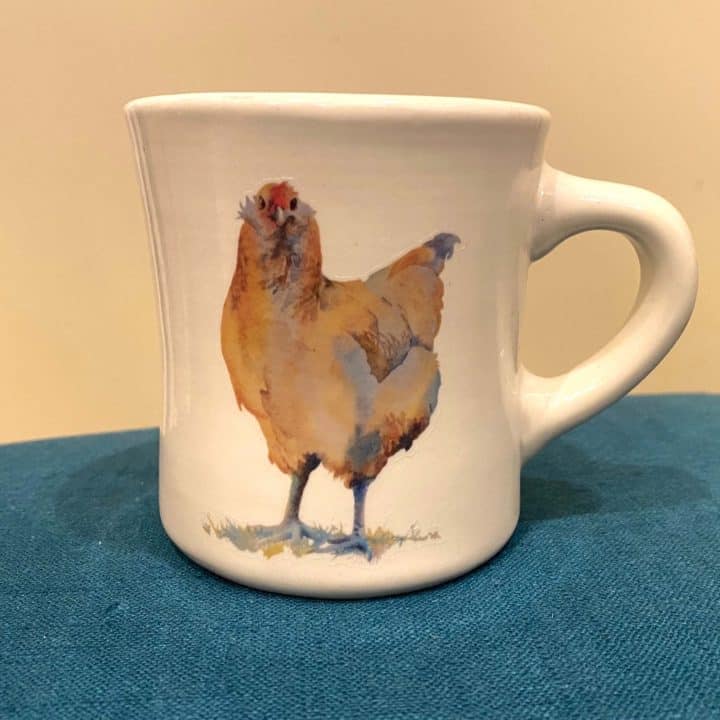
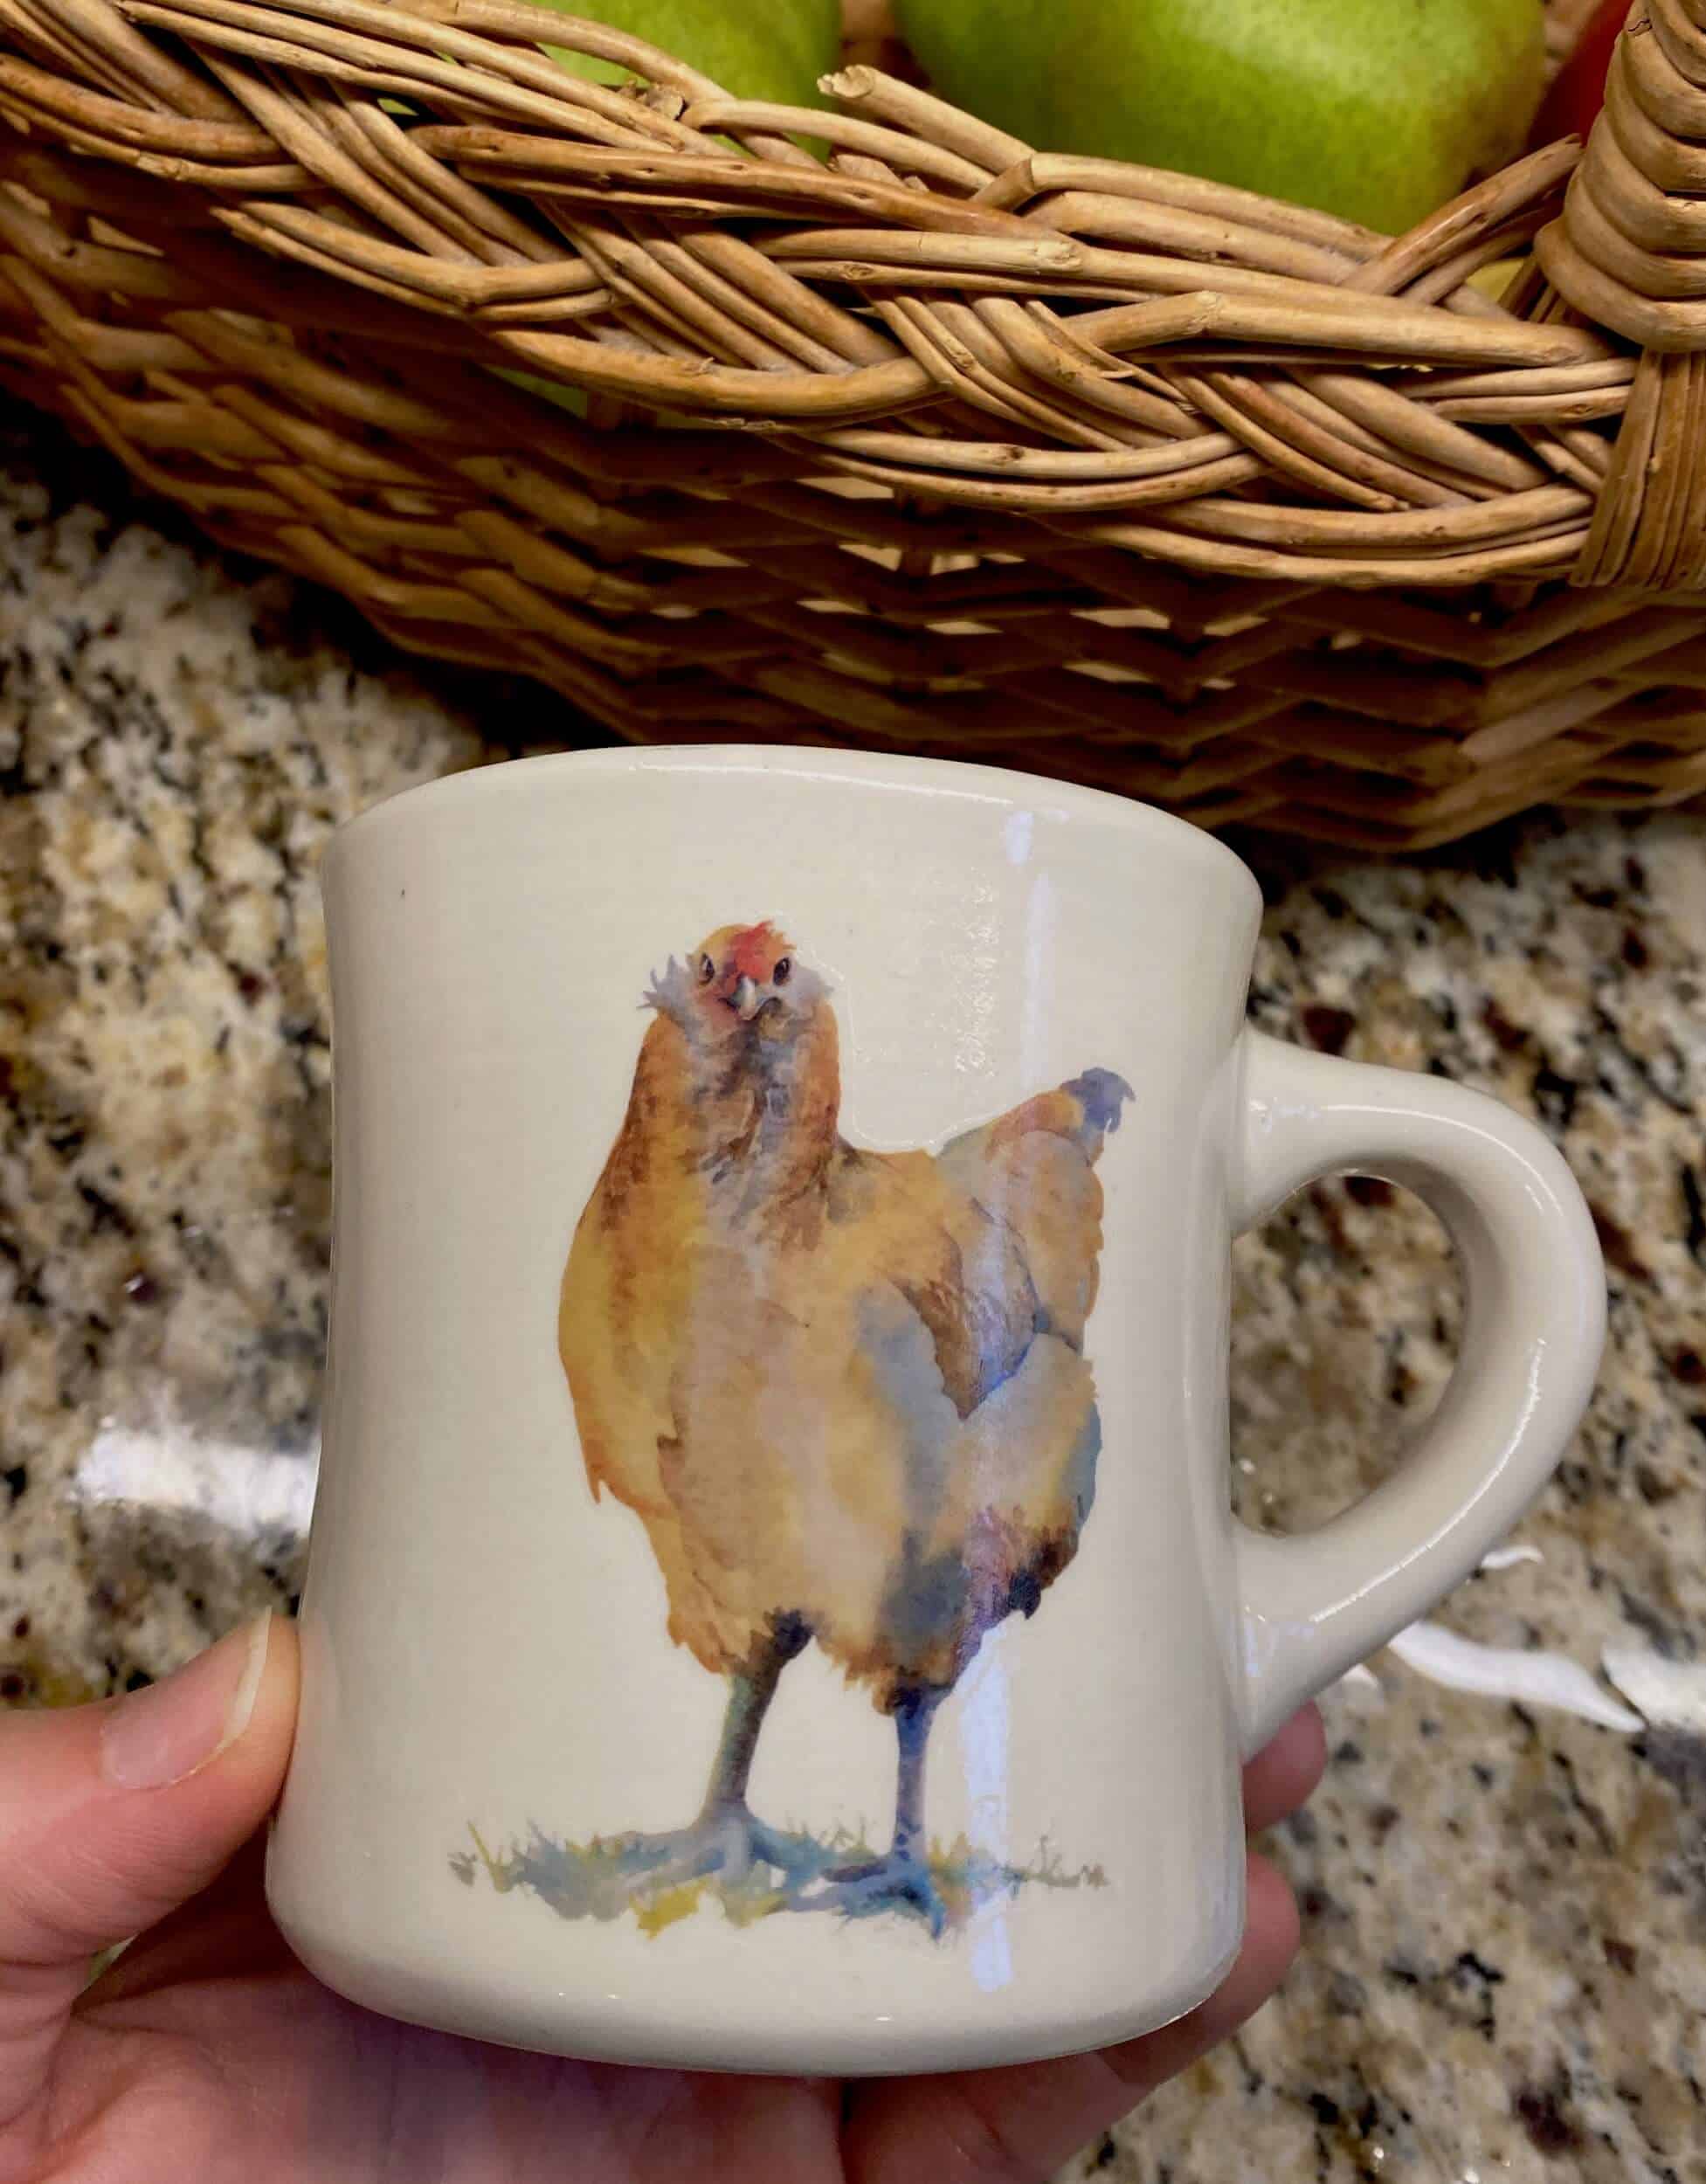
For his birthday I made this waterslide decal of Bruiser (a watercolor chicken painted by my super-talented sister-in-law) to adorn his favorite mug, I think he loved it.
This page contains a few affiliate links. Using these links, I earn a small commission at no additional cost to you.
You can apply a waterslide decal on most smooth surfaces like my ceramic mug, glass, plastic, or metal. For this project you will need an image for the decal, a smooth surface to apply it on, waterslide decal paper for inkjet or laser printers, gloss acrylic sealer spray, rubbing alcohol, and a method to print and cut the decal out (I used an HP Officejet 8022 printer and the Cricut Maker, but other cutting machines will work just fine, or even scissors).
Materials needed to make a Waterslide Decal
- Image for the decal (find Bruiser in the free resource library!)
- Smooth surface to apply it on (in my case I used a ceramic mug)
- Waterslide Decal Paper for Inkjet Printers (or Waterslide Decal Paper Laser Printers)
- Gloss Acrylic Sealer Spray
- Cricut Maker (or another cutting method if your feeling lucky)
- Cutting Mat
- Water and a bowl, or something to fully submerge decal in
- Rubbing Alcohol
- Paper Towel
- Decent Printer with Ink (I used my HP inkjet printer)
HOW TO MAKE & APPLY A WATERSLIDE DECAL
Waterslide Decal Tutorial
You can apply a waterslide decal on most smooth surfaces, for this project I applied Bruiser the chicken to a ceramic mug. You can find a copy of Bruiser in my free resource library. I cut my image to transfer on the Cricut Maker, but other cutting machines will work just fine, or you can even cut with a steady hand and scissors.
Materials
- Image for the decal
- Smooth surface to apply it on
- Waterslide Decal Paper for Inkjet Printers
- (or Waterslide Decal Paper Laser Printers)
- Gloss Acrylic Sealer Spray
Tools
- Cricut Maker (or another cutting method if your feeling lucky)
- Cutting Mat
- Water and a bowl, or something to fully submerge decal in
- Rubbing Alcohol
- Paper Towel
- Decent Printer with Ink
Instructions
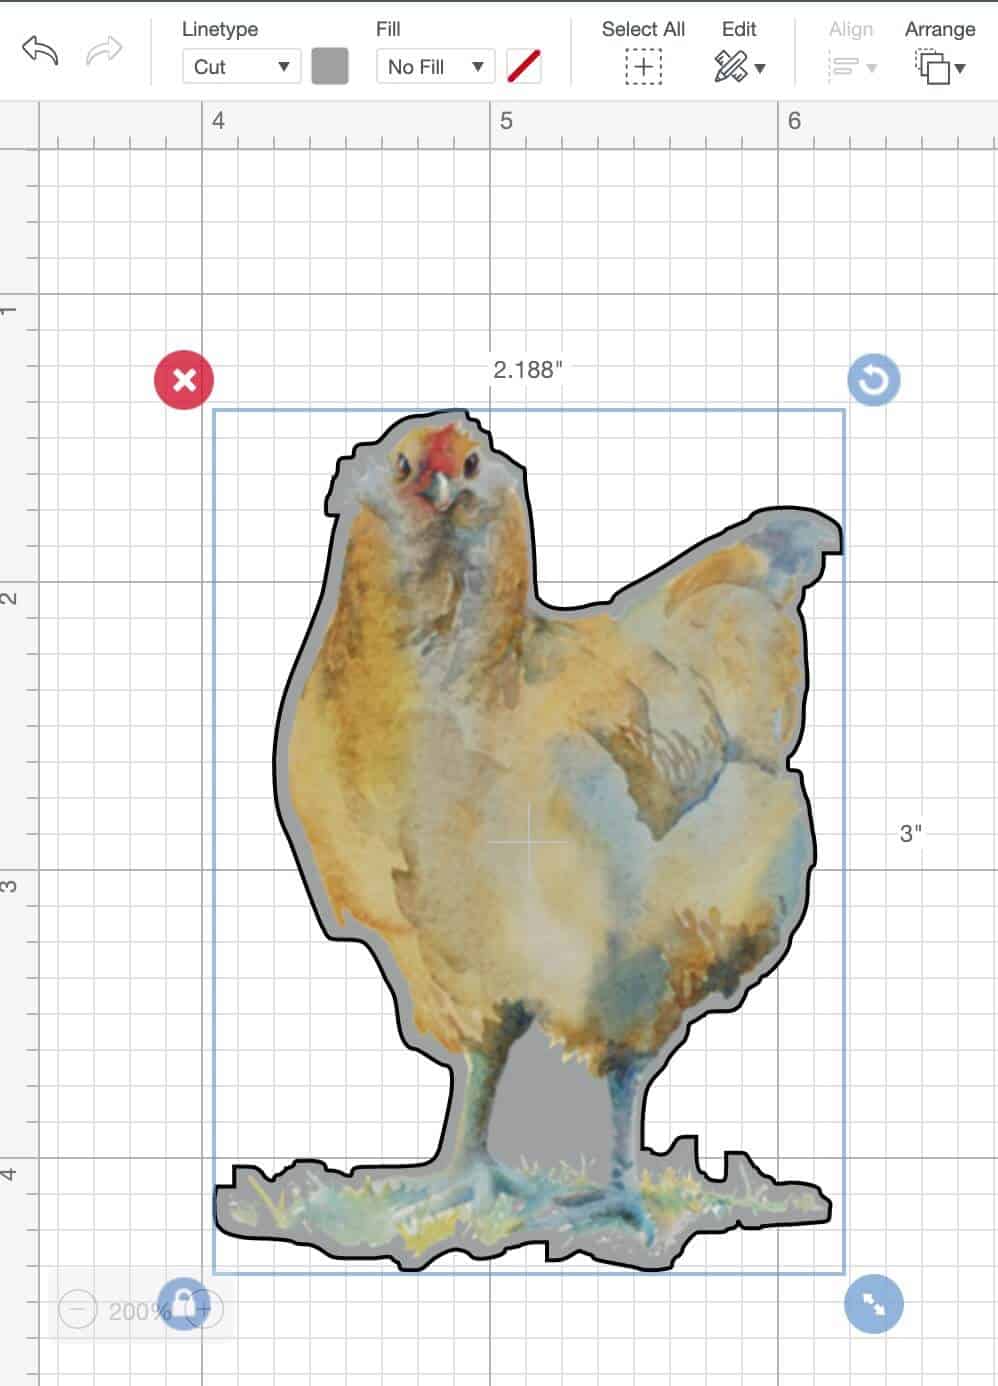
STEP 1: UPLOAD IMAGE TO DESIGN SPACE
Upload the image for the decal in Cricut Design Space and size it to the correct size for your end product, in this case my ceramic mug. It’s important to note that the decal will leave a little edge that you can feel, much like a hard plastic sticker.
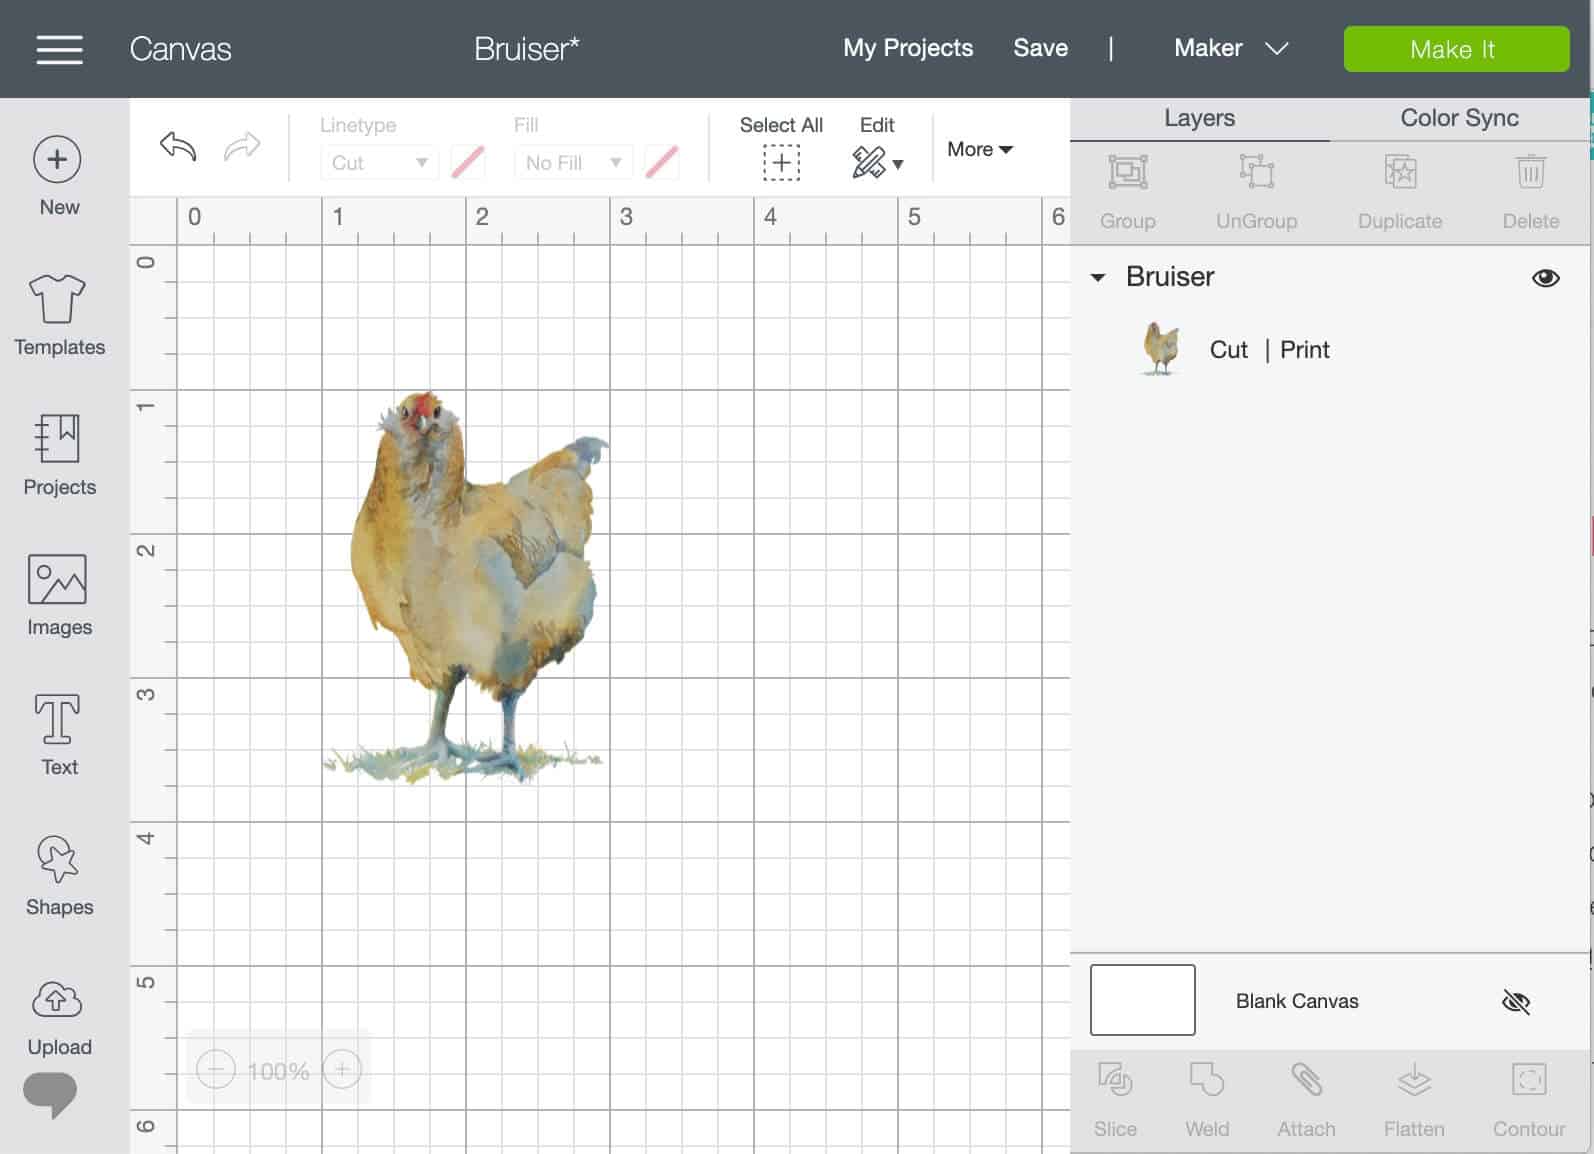
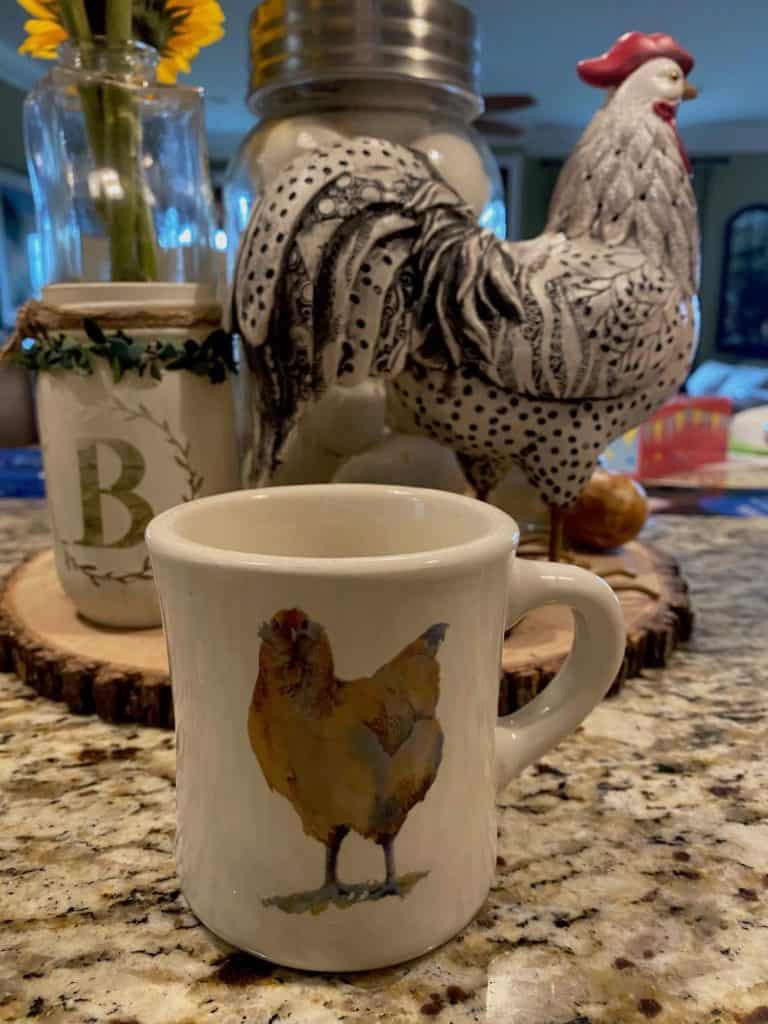
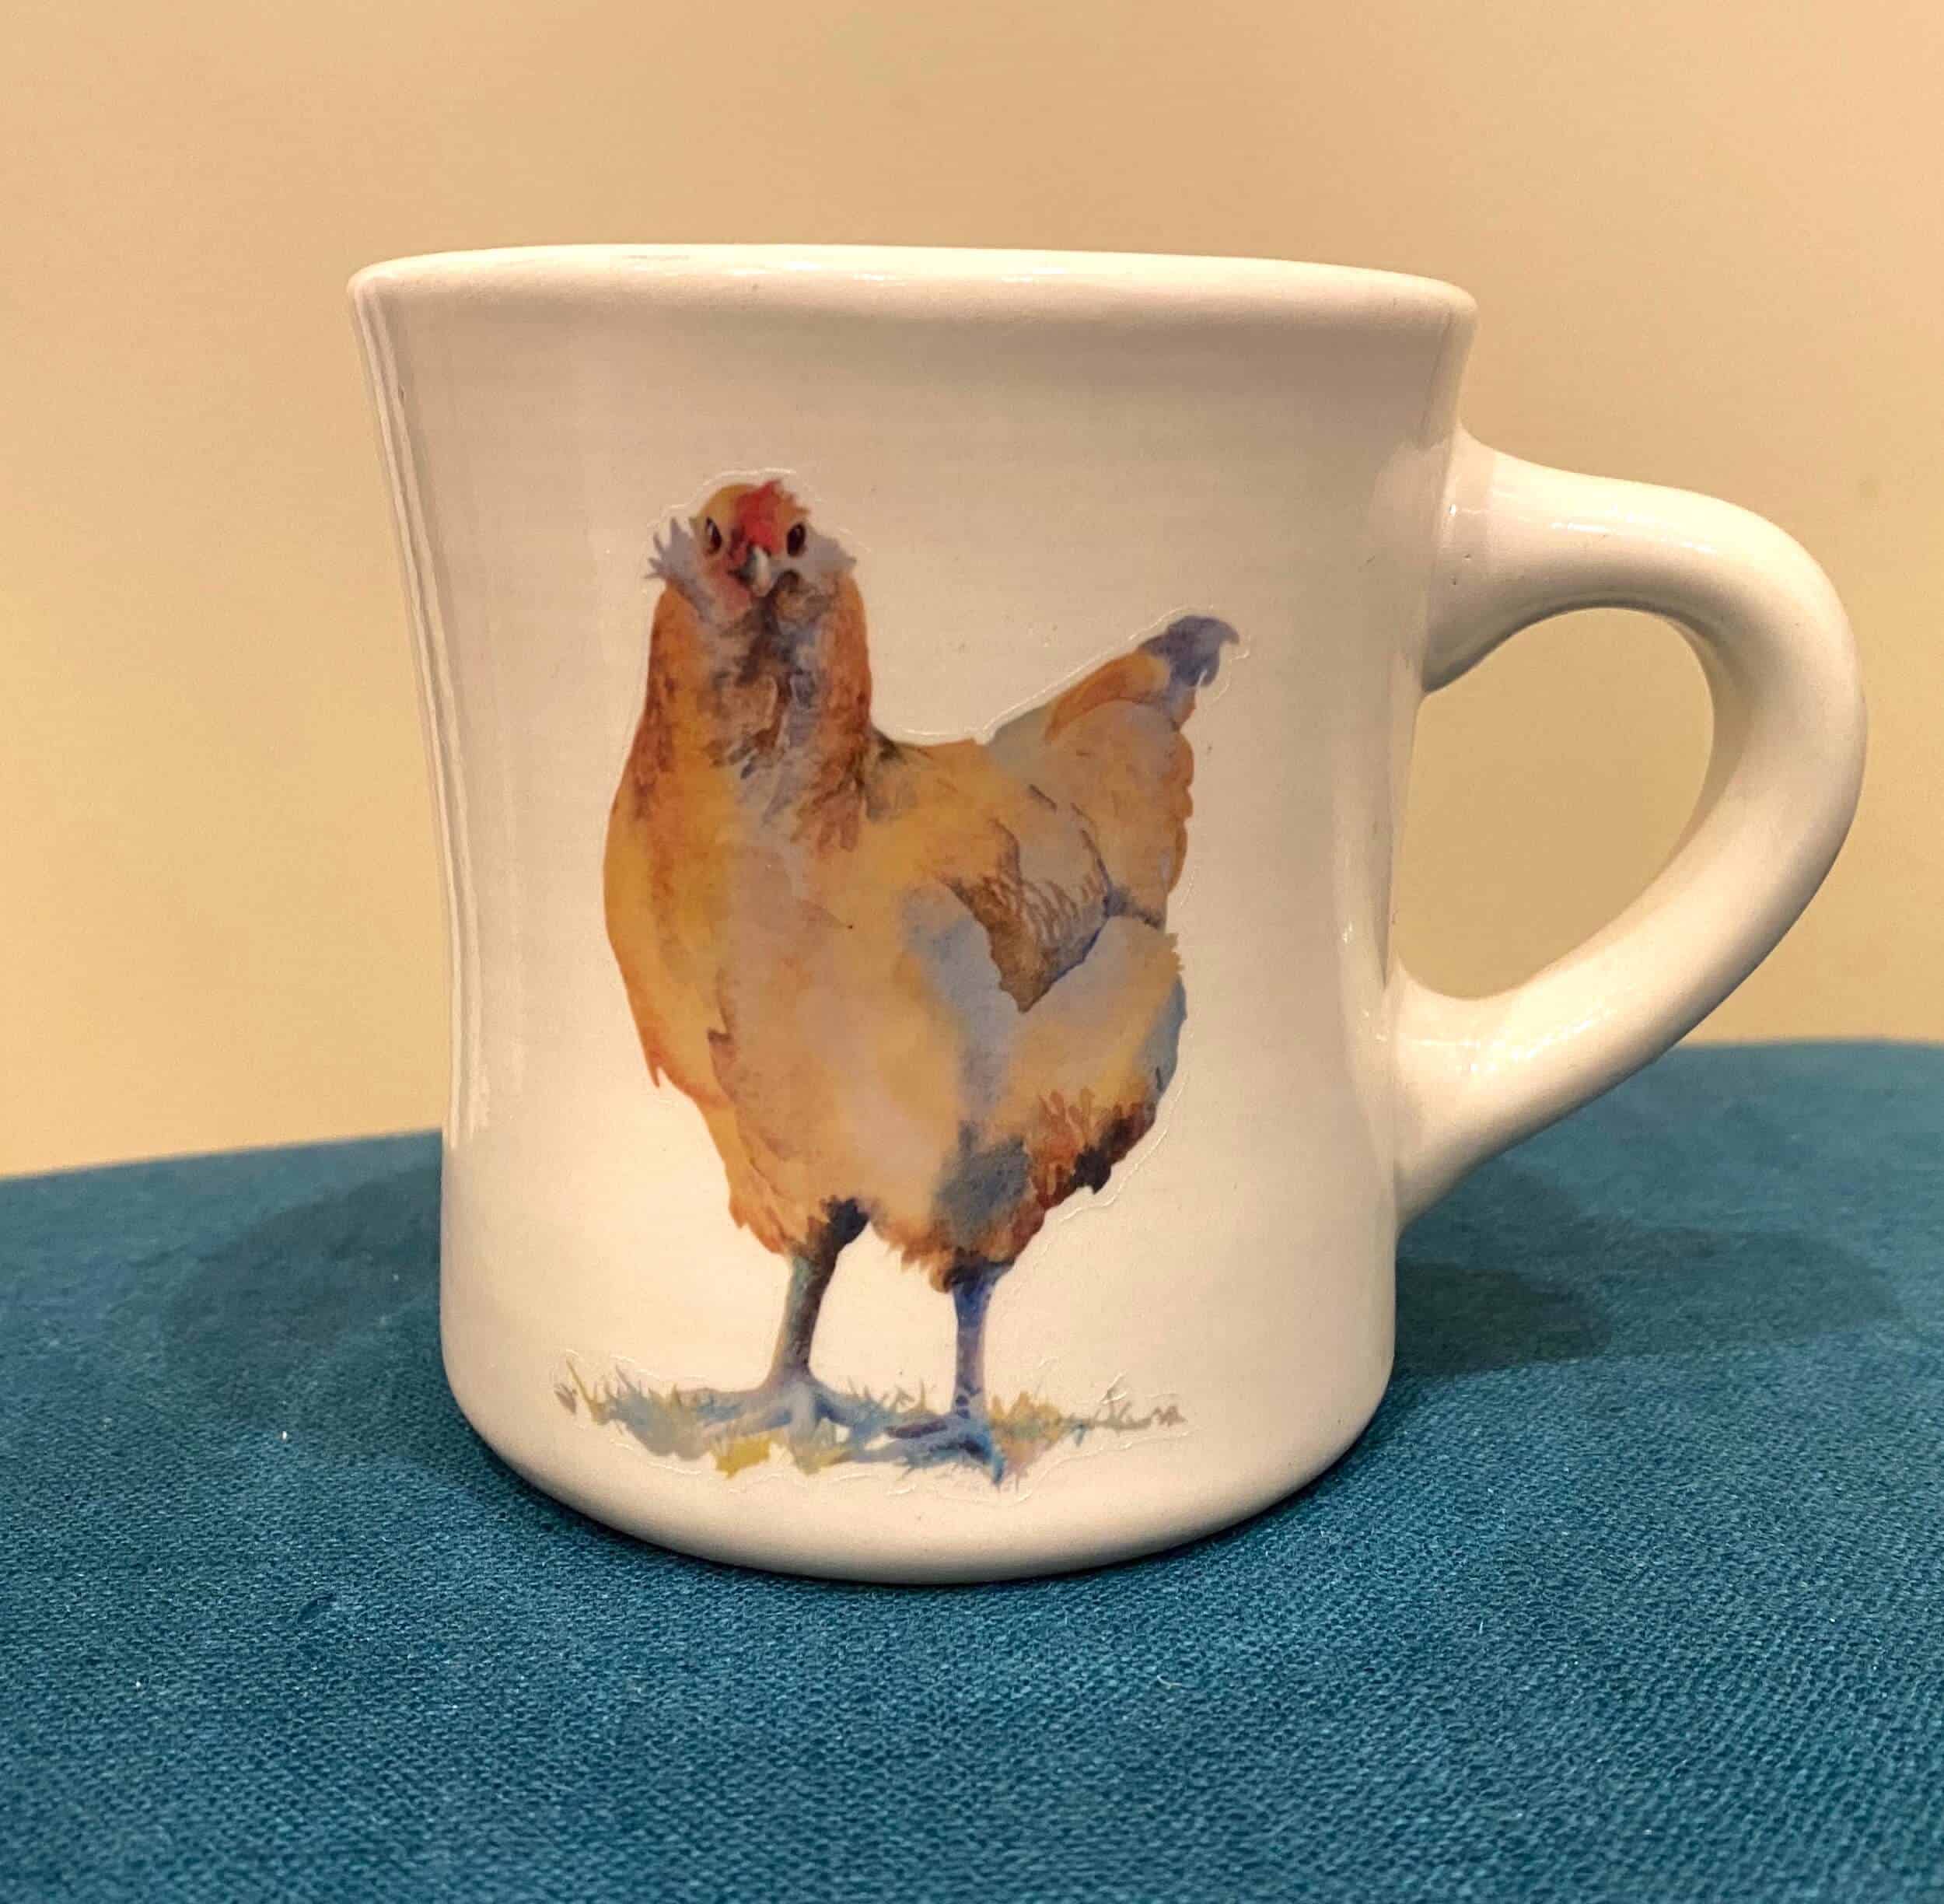
Note: Under the lessons learned category, the second time I made Bruiser, I made sure to size & place him lower so his head wouldn’t be touched when sipping.
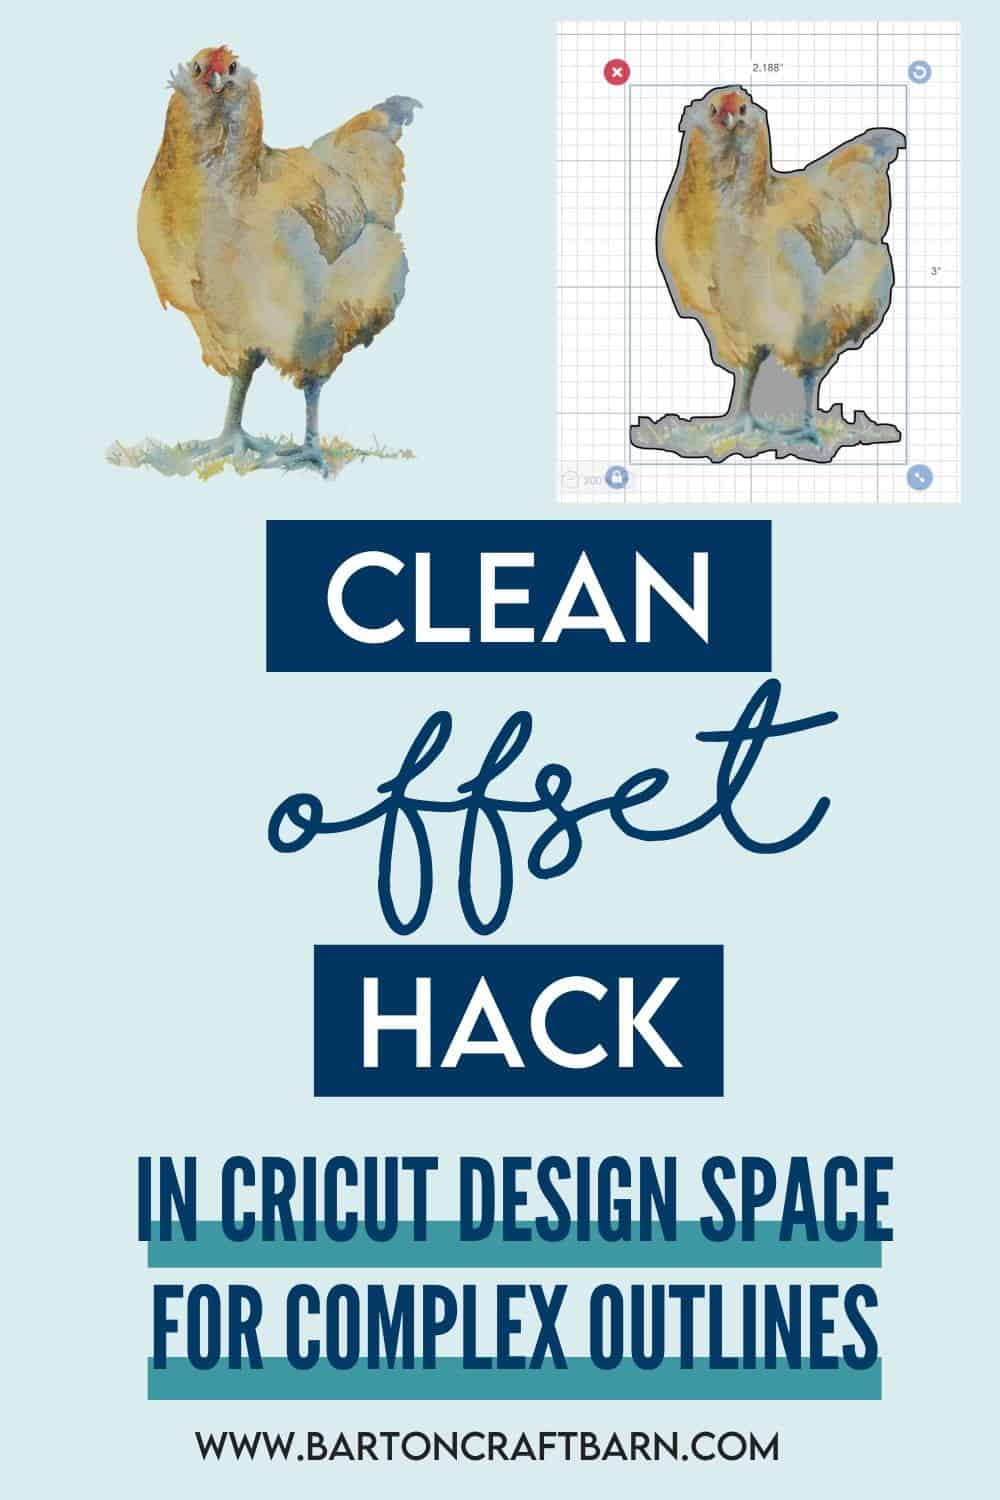
STEP 2: CREATING AN OFFSET IMAGE IN DESIGN SPACE
The waterslide decal instructions say to leave space around the image when you cut it out. You can easily do this with scissors if you have a steady hand, or you can create an offset border with the offset feature in Cricut Design Space. In either of these cases, you can skip ahead to Step 5 of this tutorial.
The image of Bruiser (found in the free resource library) has a jagged outline and doesn't offset pretty in Design Space, so we are going to create our own offset. This can be quickly done in a drawing program like Adobe Illustrator or Inkscape, but I’m going to assume you do not have those programs and give the instructions to make it right in Design Space.
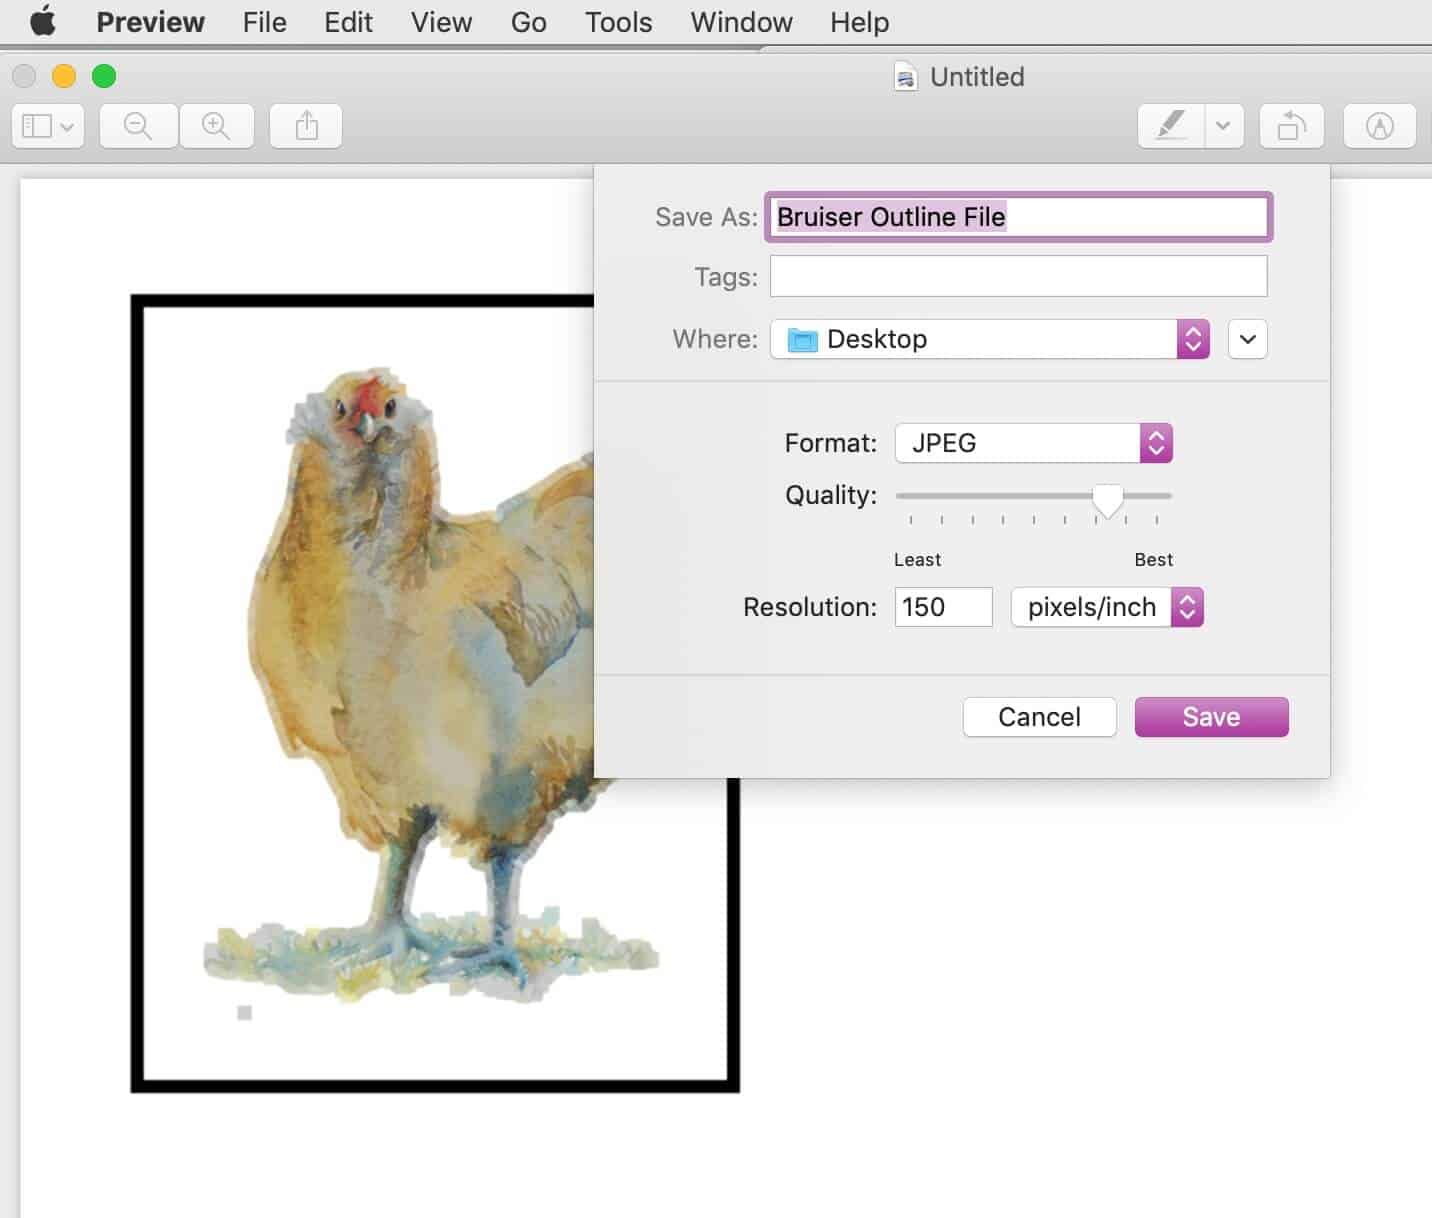
Send the image we uploaded in Step 1 to print by clicking Make, Continue, toggle Add Bleed on and Use System Dialog, then Print. The computer’s Print Dialog box will likely appear behind Design Space, so you will have to minimize Design Space to send it to the printer. (I can’t tell you how many times I forget this part and watch the “working” circle spinning around while I think about what my next move is before I realize I need to minimize Design Space to see the box!)
Don’t print yet, just create a PDF from this screen. I chose open in preview and then saved as a JPG file. The image will look strange with a fuzzy outline.
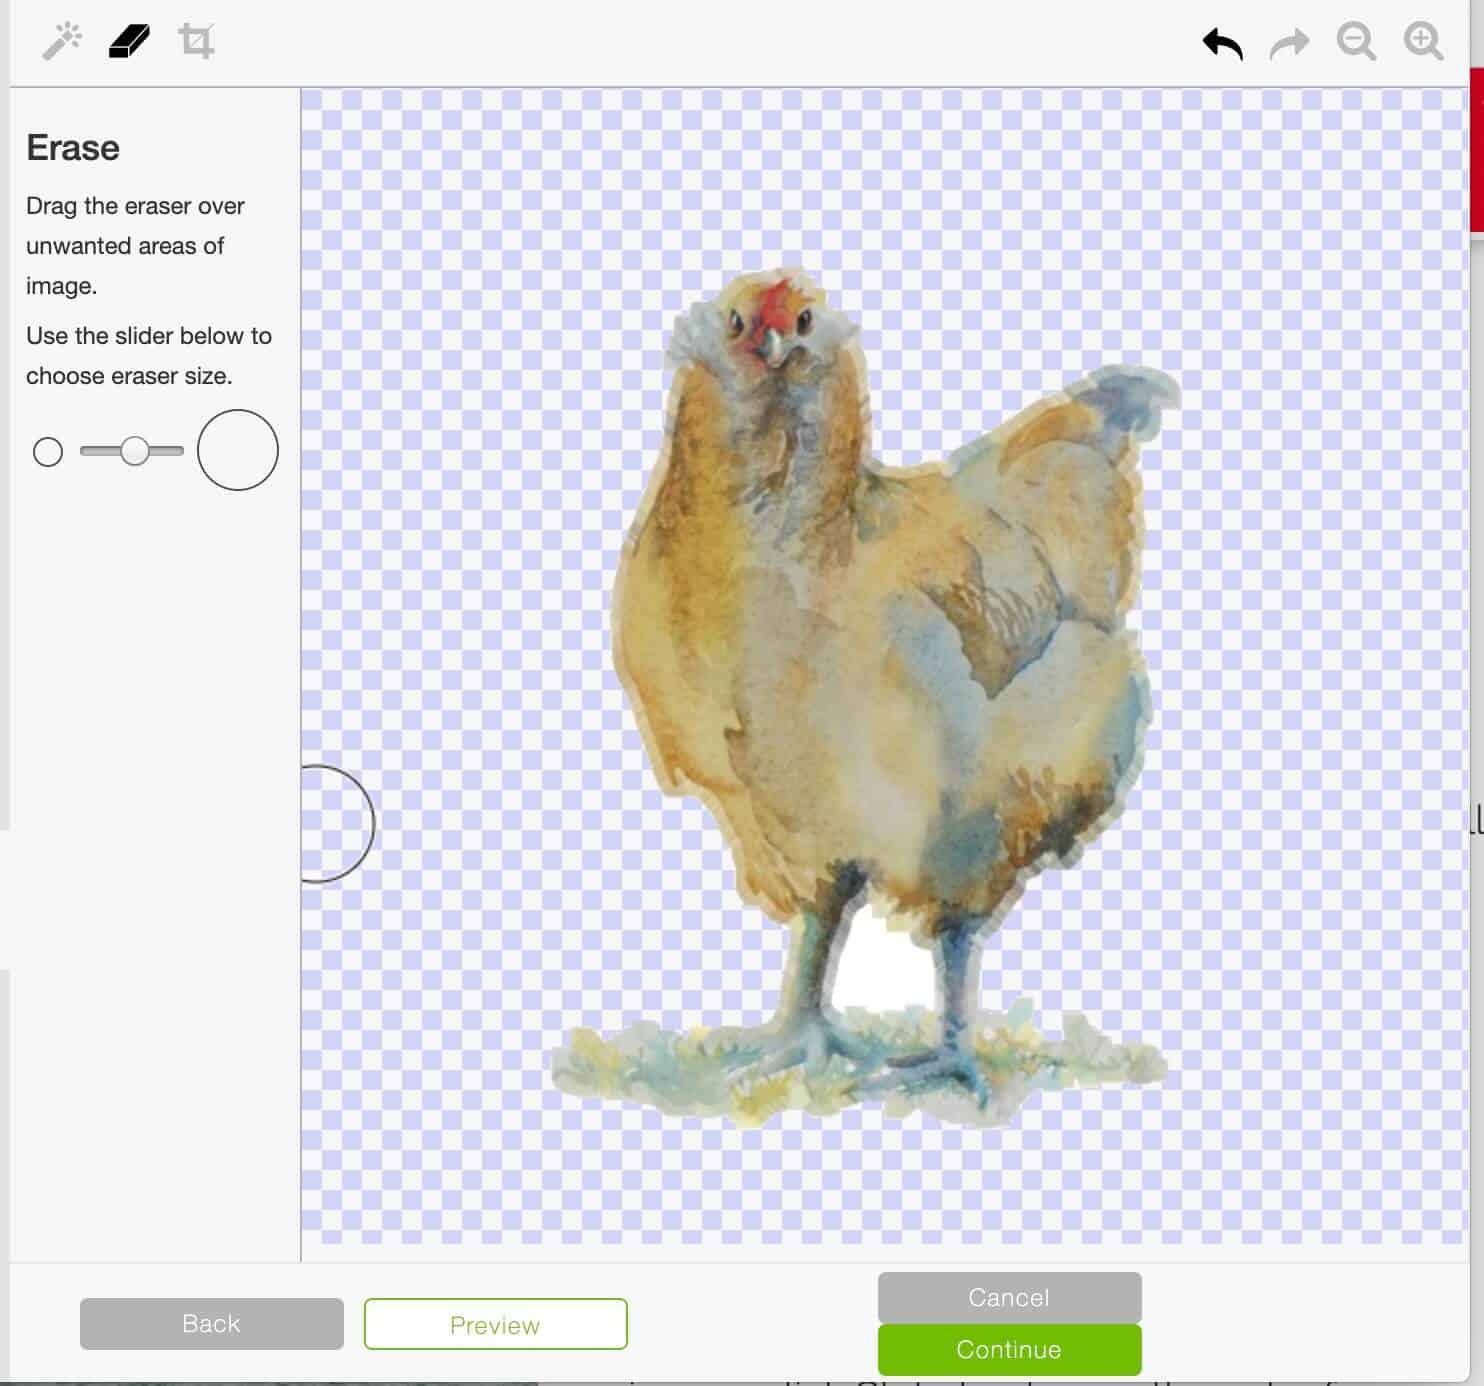
Go back to Design Space and Cancel the cut. Click Upload to bring in the JPG we just created. You will need clean up the image by selecting Complex, Continue, then using the Select & erase wand and erase tools to clean up the image and remove the black rectangle surrounding the image. When you have the image only click Continue and Save, notice I didn’t remove the area between his legs to keep the cut out simple and decal smooth.
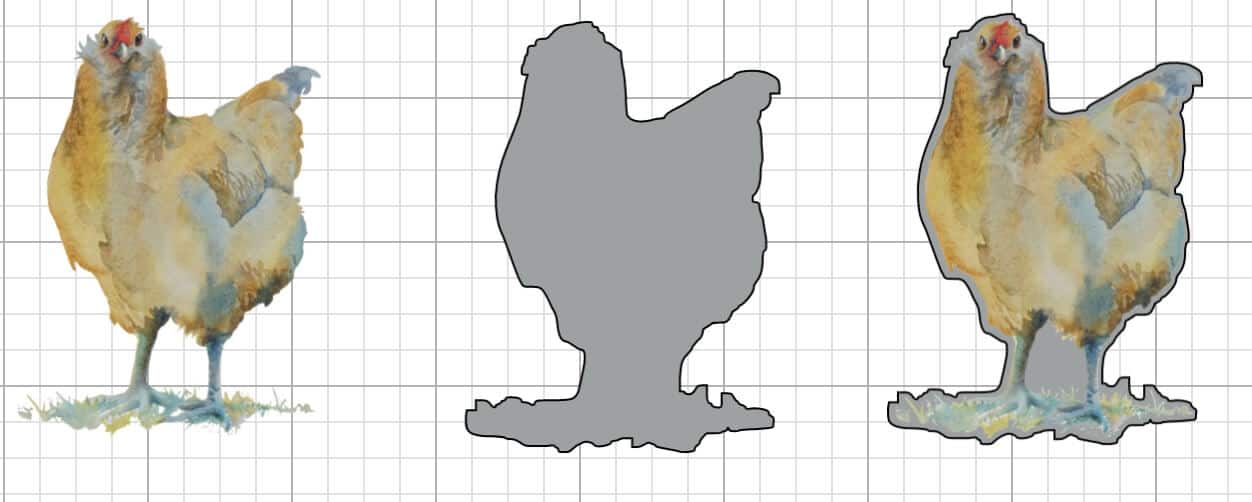
STEP 3: OFFSET TO PRINT IN DESIGN SPACE
Insert the offset image into Design Space, if you used another drawing program you will have to upload it first. Overlay the offset image directly on top of the original image in Design Space, it might help to arrange the image layers to see what you are doing. Select the offset image and change it to a Cut action by clicking on Fill drop-down menu and select No Fill.
STEP 4: ATTACH & PRINT DESIGN SPACE IMAGES
Select both images and attach them, then when you are satisfied with the size click Make It, then click Continue and then Send to Printer. The Printer Setup dialogue box will come up, this time toggle the Add Bleed to off and the Use System Dialog on and click Print. Again you may have to minimize Design Space to send it to the printer. Use the best quality glossy photo setting for the best results. Double check that you loaded the waterslide decal paper so that the image will print on the glossy side of the paper, yep I made that mistake too!
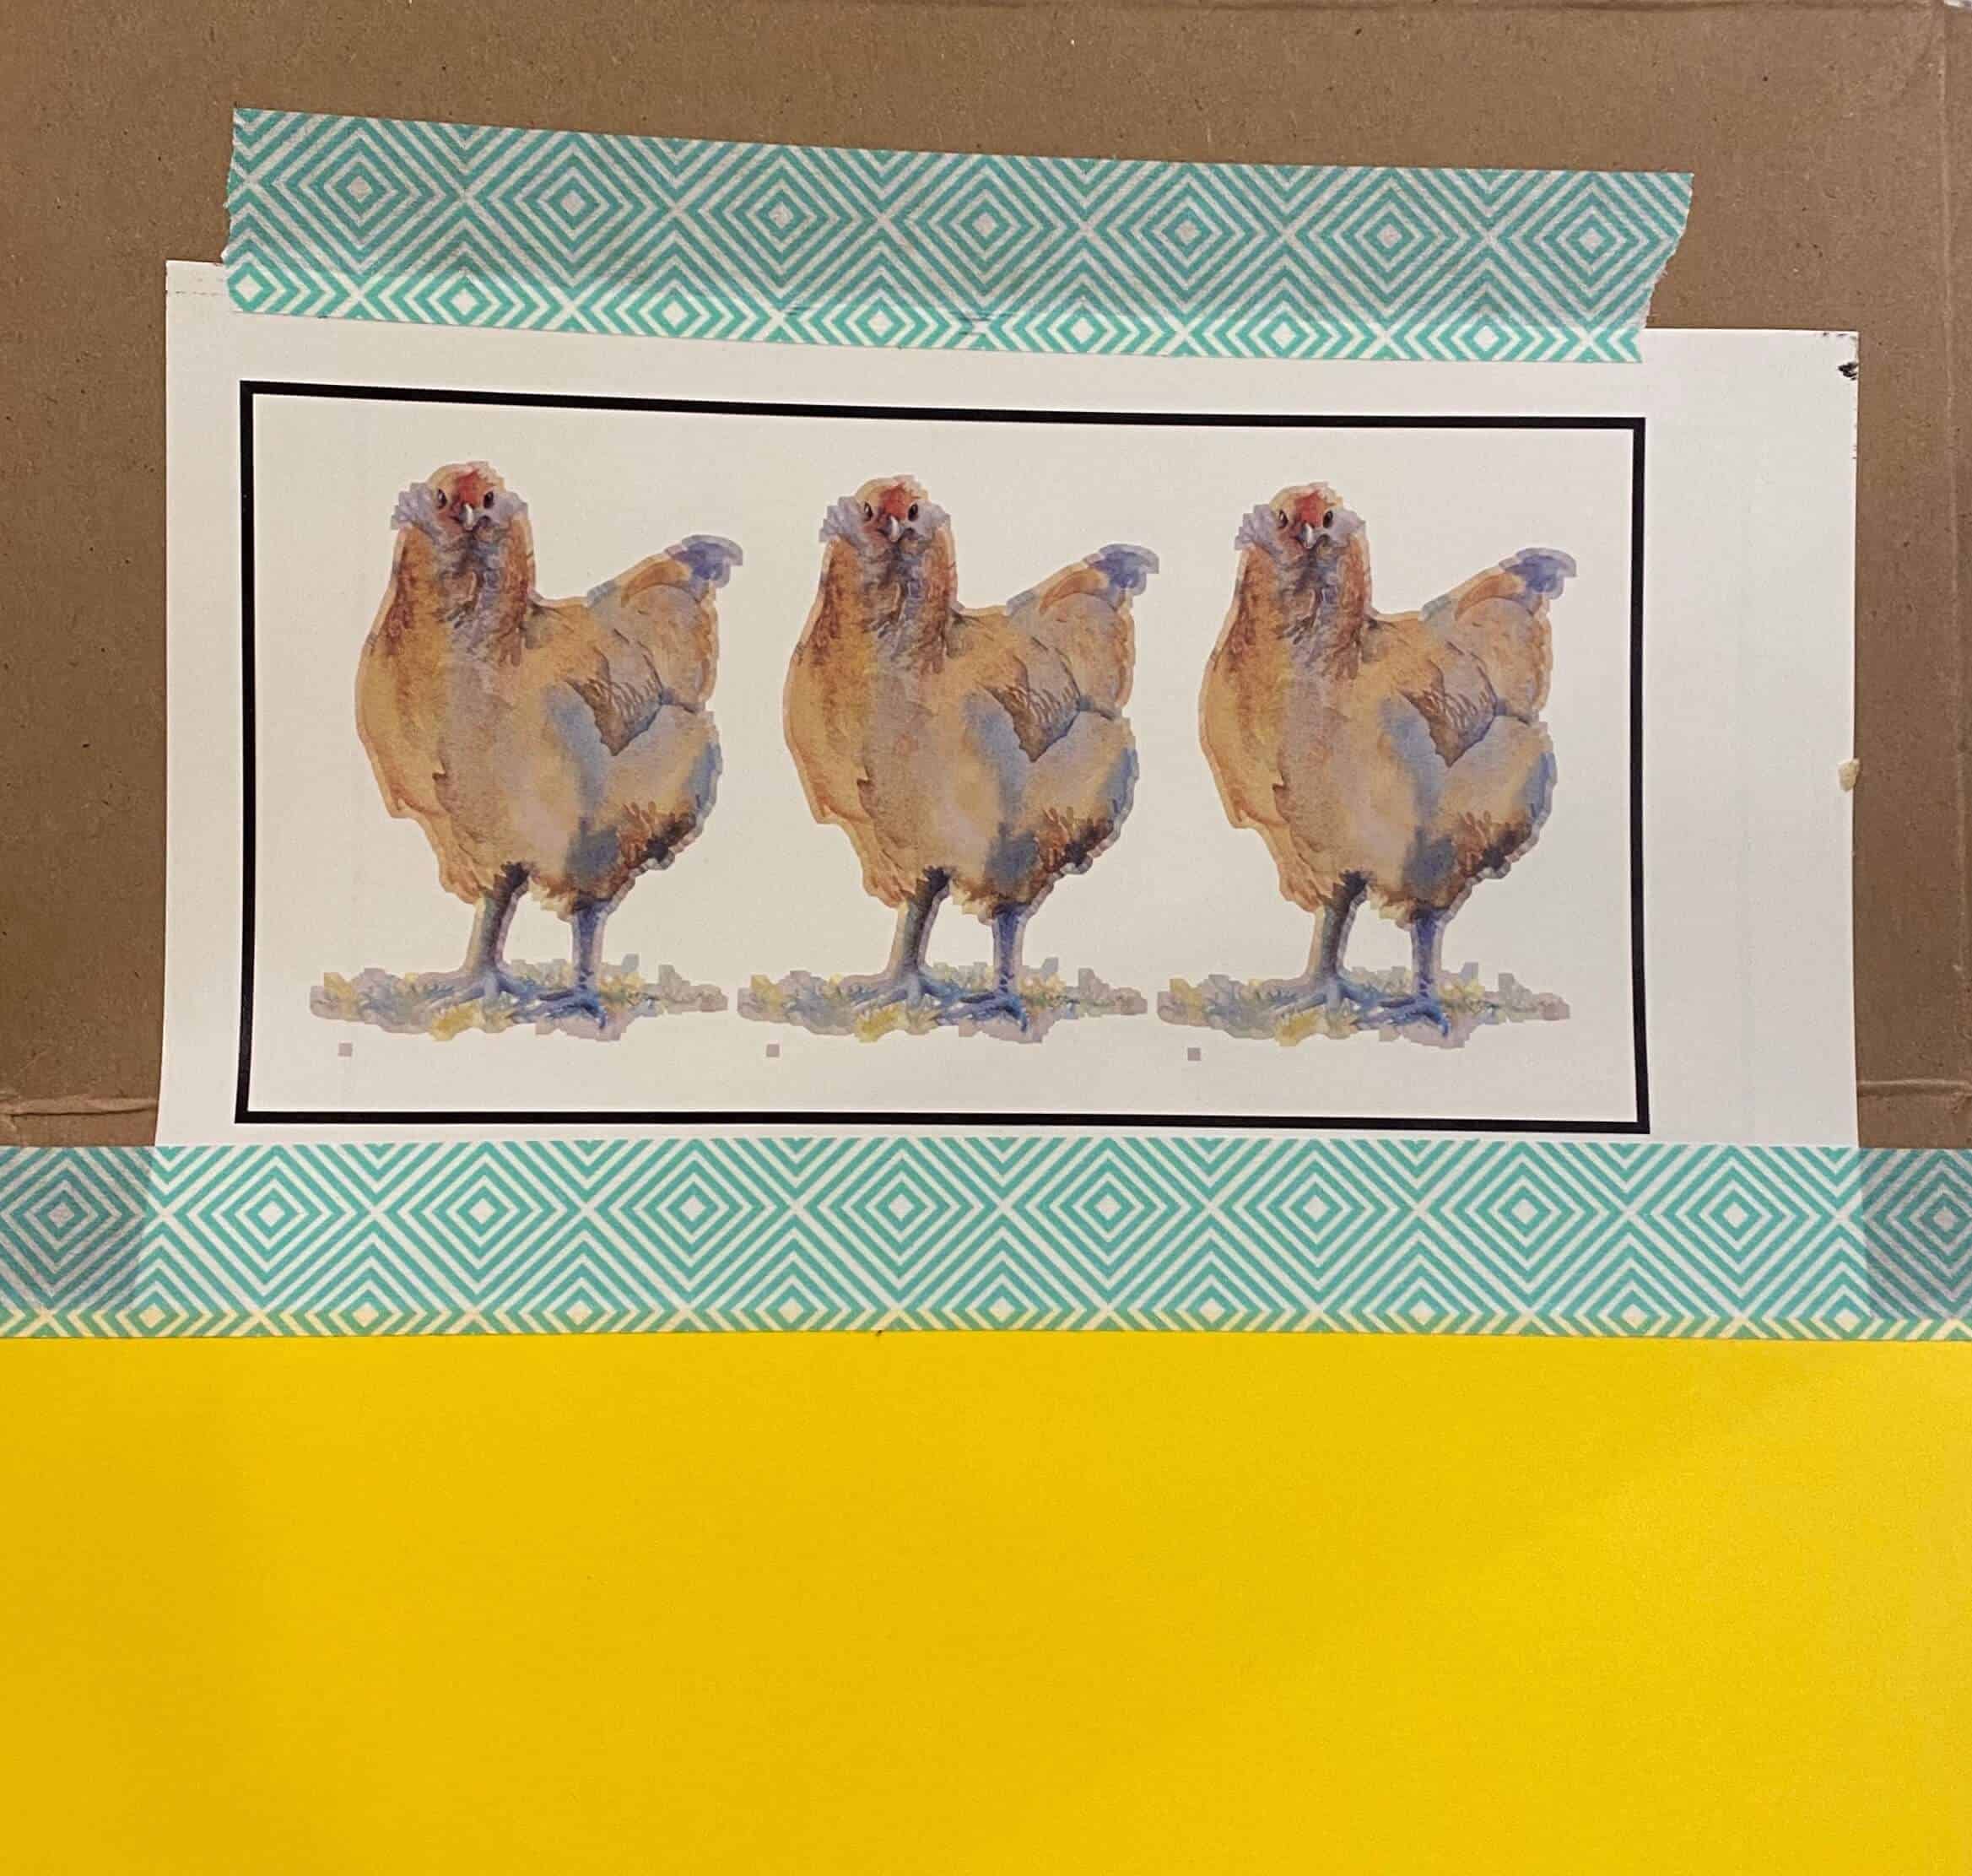
STEP 5: ACRYLIC SPRAY WATERSLIDE PRINT
The next step is to spray the printed image with glossy acrylic spray. I taped off the image so I could reuse the other side of the waterslide decal paper, I’m not a big fan of wasting (especially when it comes to my craft supplies). I sprayed it outside to avoid the fumes. After the 3 coats are completely dry you can move onto the next step. Note that the instructions for my paper said do not wait more than 12 hours between spraying and applying because the backing paper will be harder to release from the decal.
STEP 6: CUT DECAL ON CRICUT
Place the printed, sprayed, and dried waterslide decal paper onto a cutting mat (I used my green standard mat) and load it into the cutting machine (with a fine point blade installed). In Design Space select Medium Cardstock and cut the image out. Now the image is ready to apply the decal to your surface.
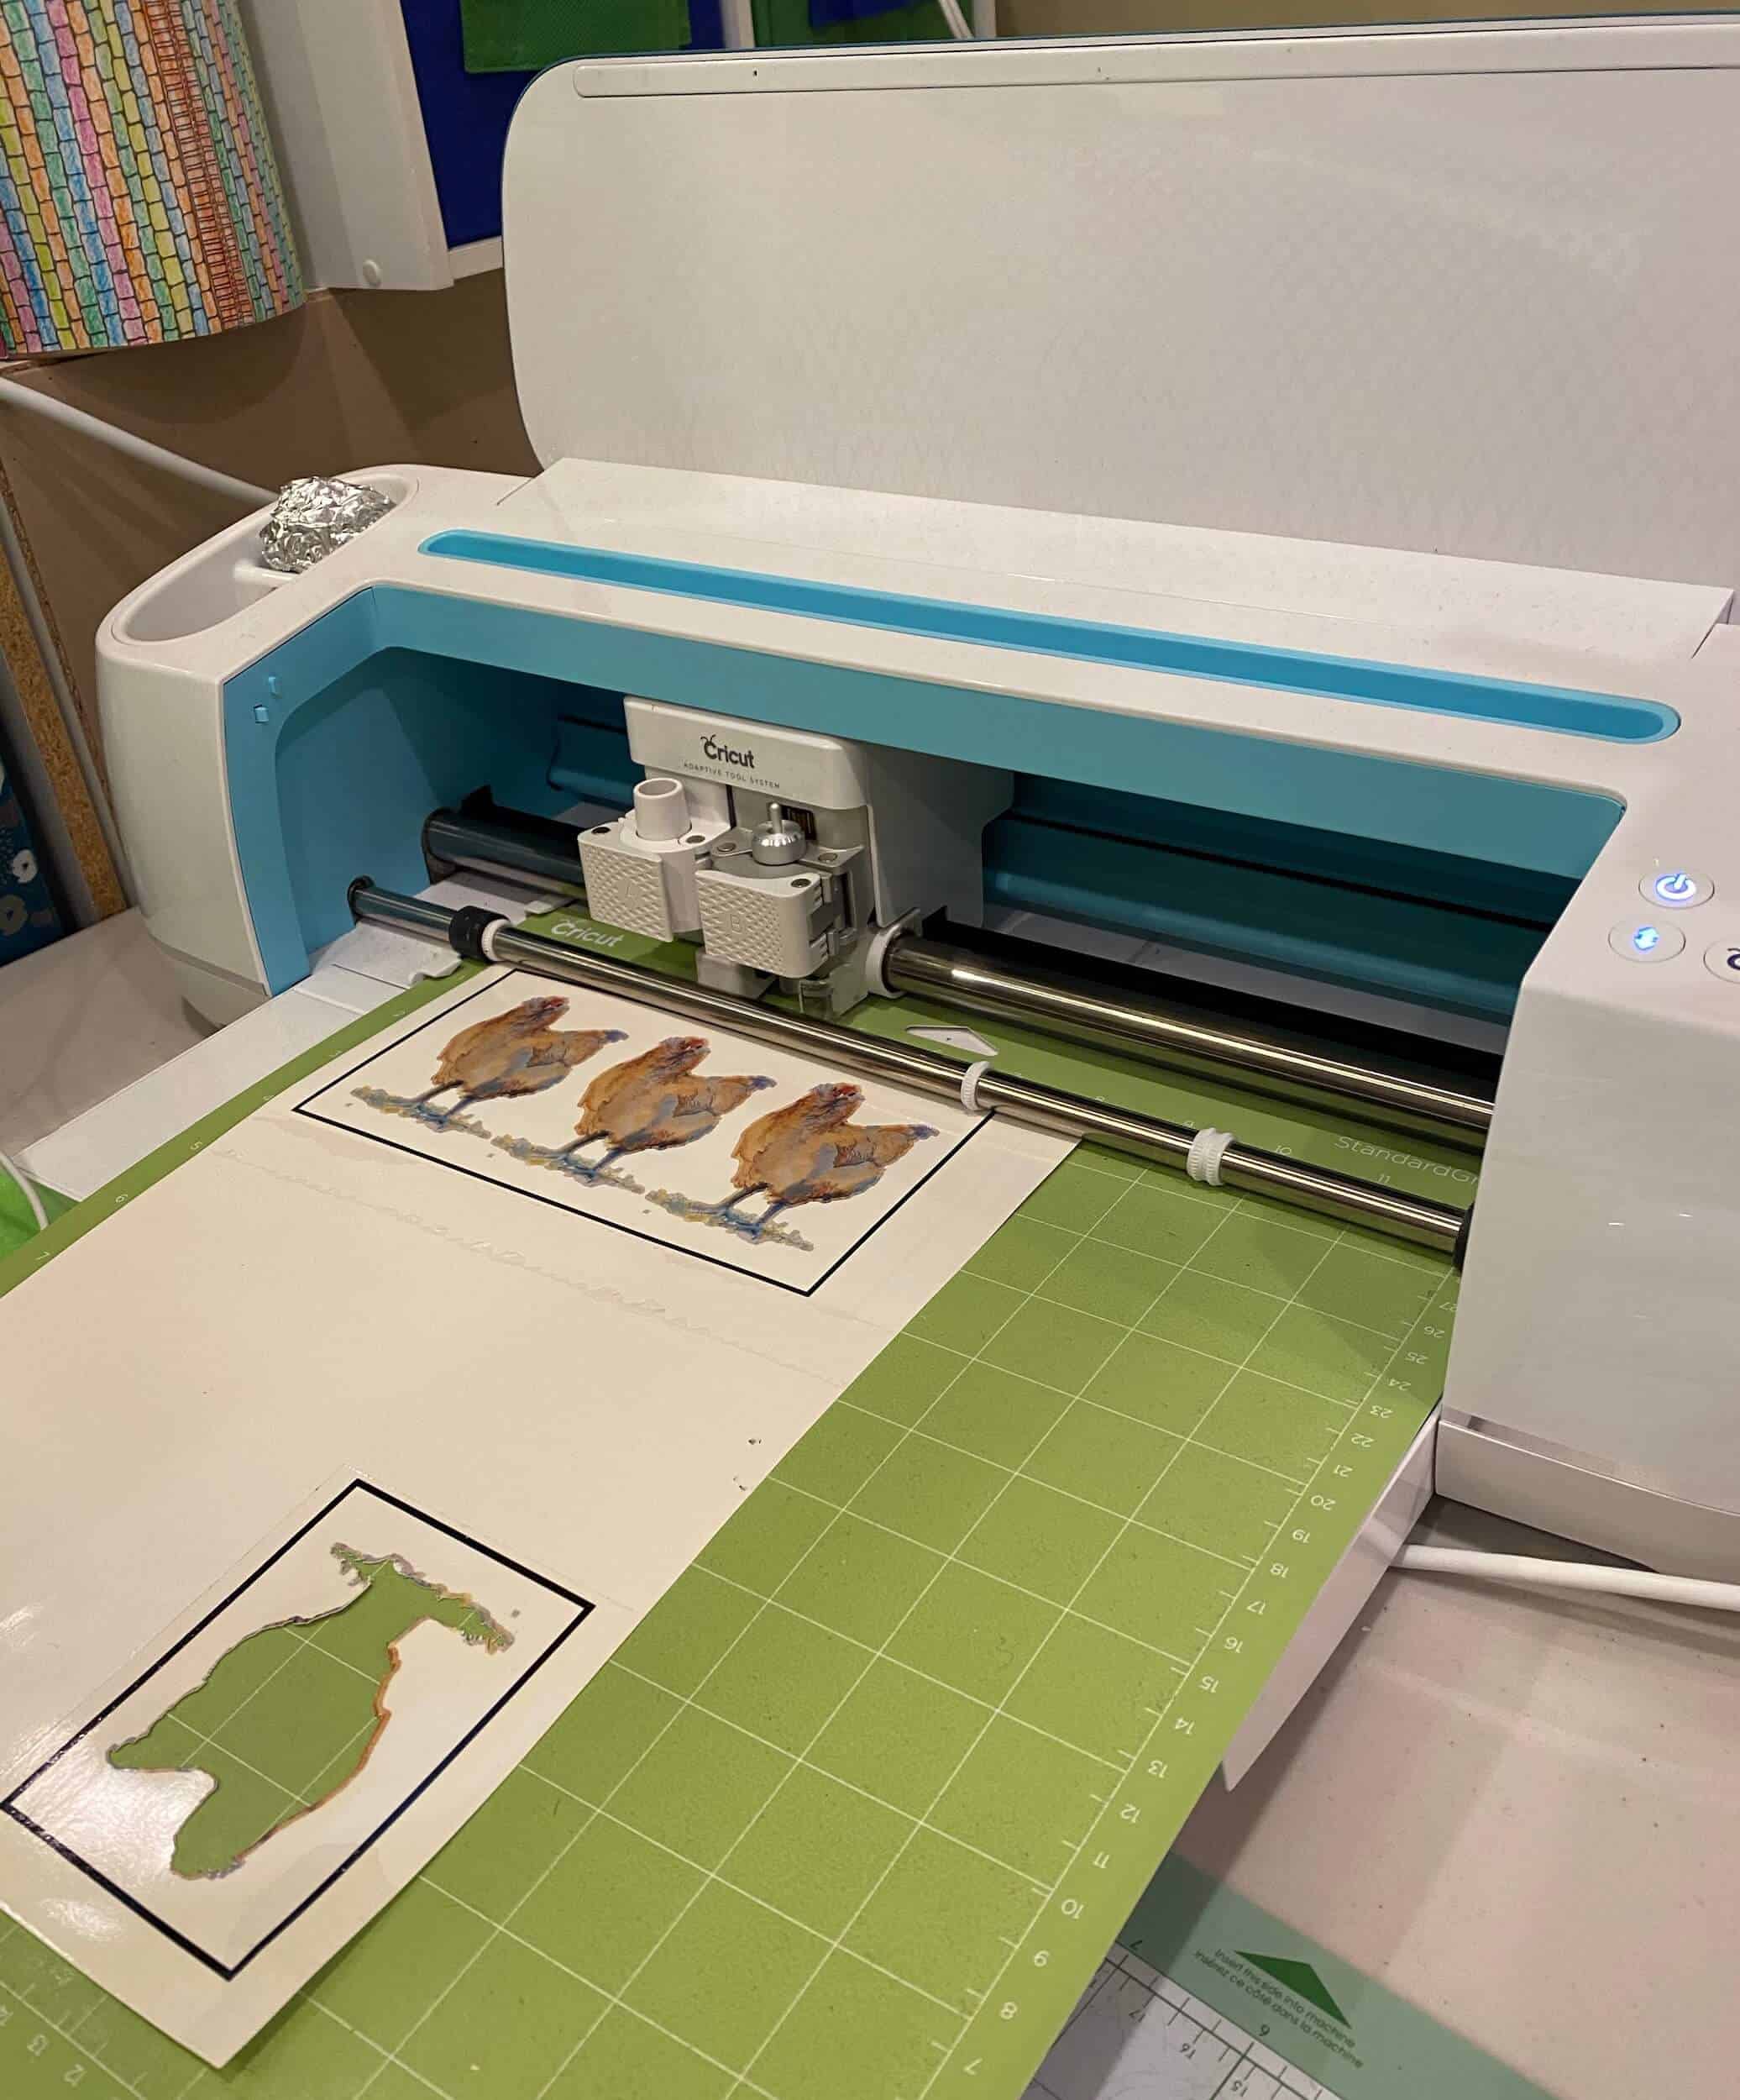
I printed a few decals just in case something happened during the application process I didn't want to repeat all the steps!
STEP 7: APPLY WATERSLIDE DECAL
Make sure the surface you are applying the waterslide decal on is completely clean. The best way to do this is to wipe the surface with rubbing alcohol. The cut-out decal will need to be submerged in water for about a minute before applying it to your surface. While the decal was submerged I rinsed the surface of my mug, I think it helped to start with a wet surface.
After about a minute of soaking carefully remove the waterslide decal and put it in the desired location. The waterslide decal is very delicate and tears easily, don’t ask me how I know. I started on the left side and held the top of the decal down while sliding the paper off under the image to the right.
Be careful and go slow, don’t worry if you don’t get the image exactly where you want it to end up as it will slide into the place you wish pretty easily while it’s wet. When it’s in position gentle wipe the excess water with a paper towel.
Get all the air bubbles and wrinkles out. Take your time on this step because this is the last time to work out a smooth surface. Allow this to dry for a couple of hours.
STEP 8: SET OR SEAL WATERSLIDE DECAL
The waterslide decal needs to set if your surface was glass or ceramic by baking it in an oven at 230 degrees for 15 mins. For other surfaces you may wish to apply an epoxy layer or spray sealer, this will depend on the surface and what the project will be used for.
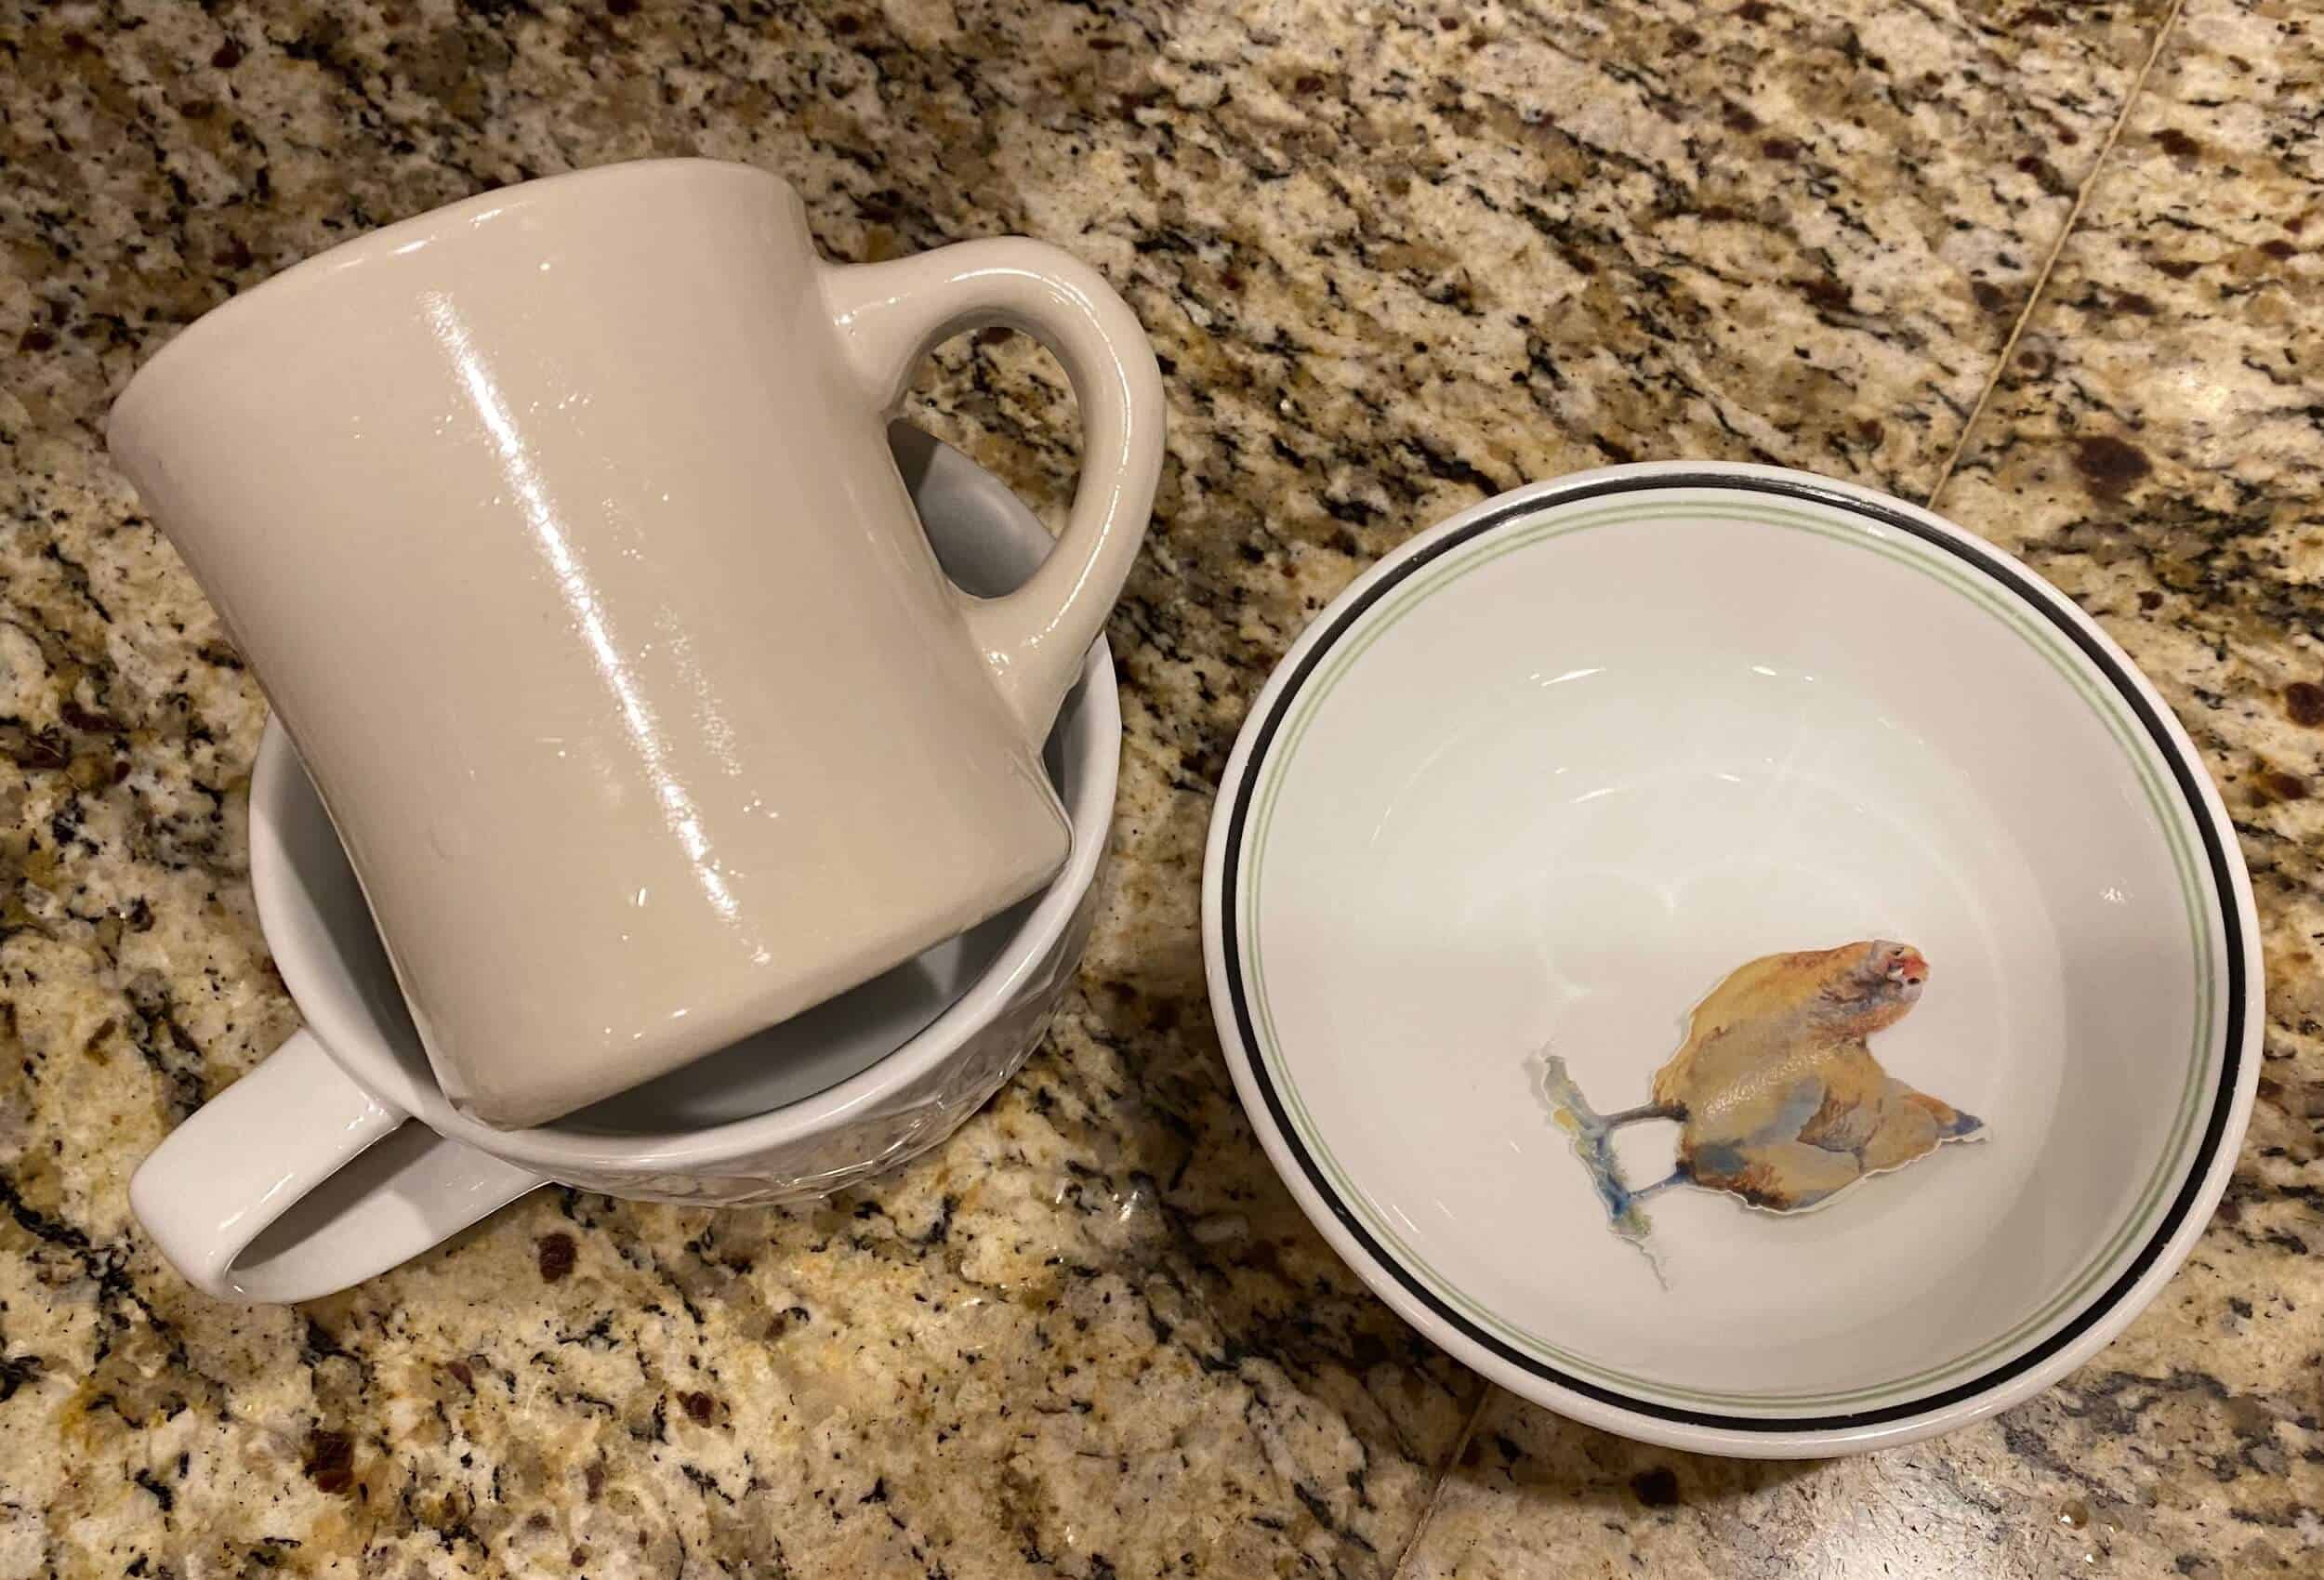
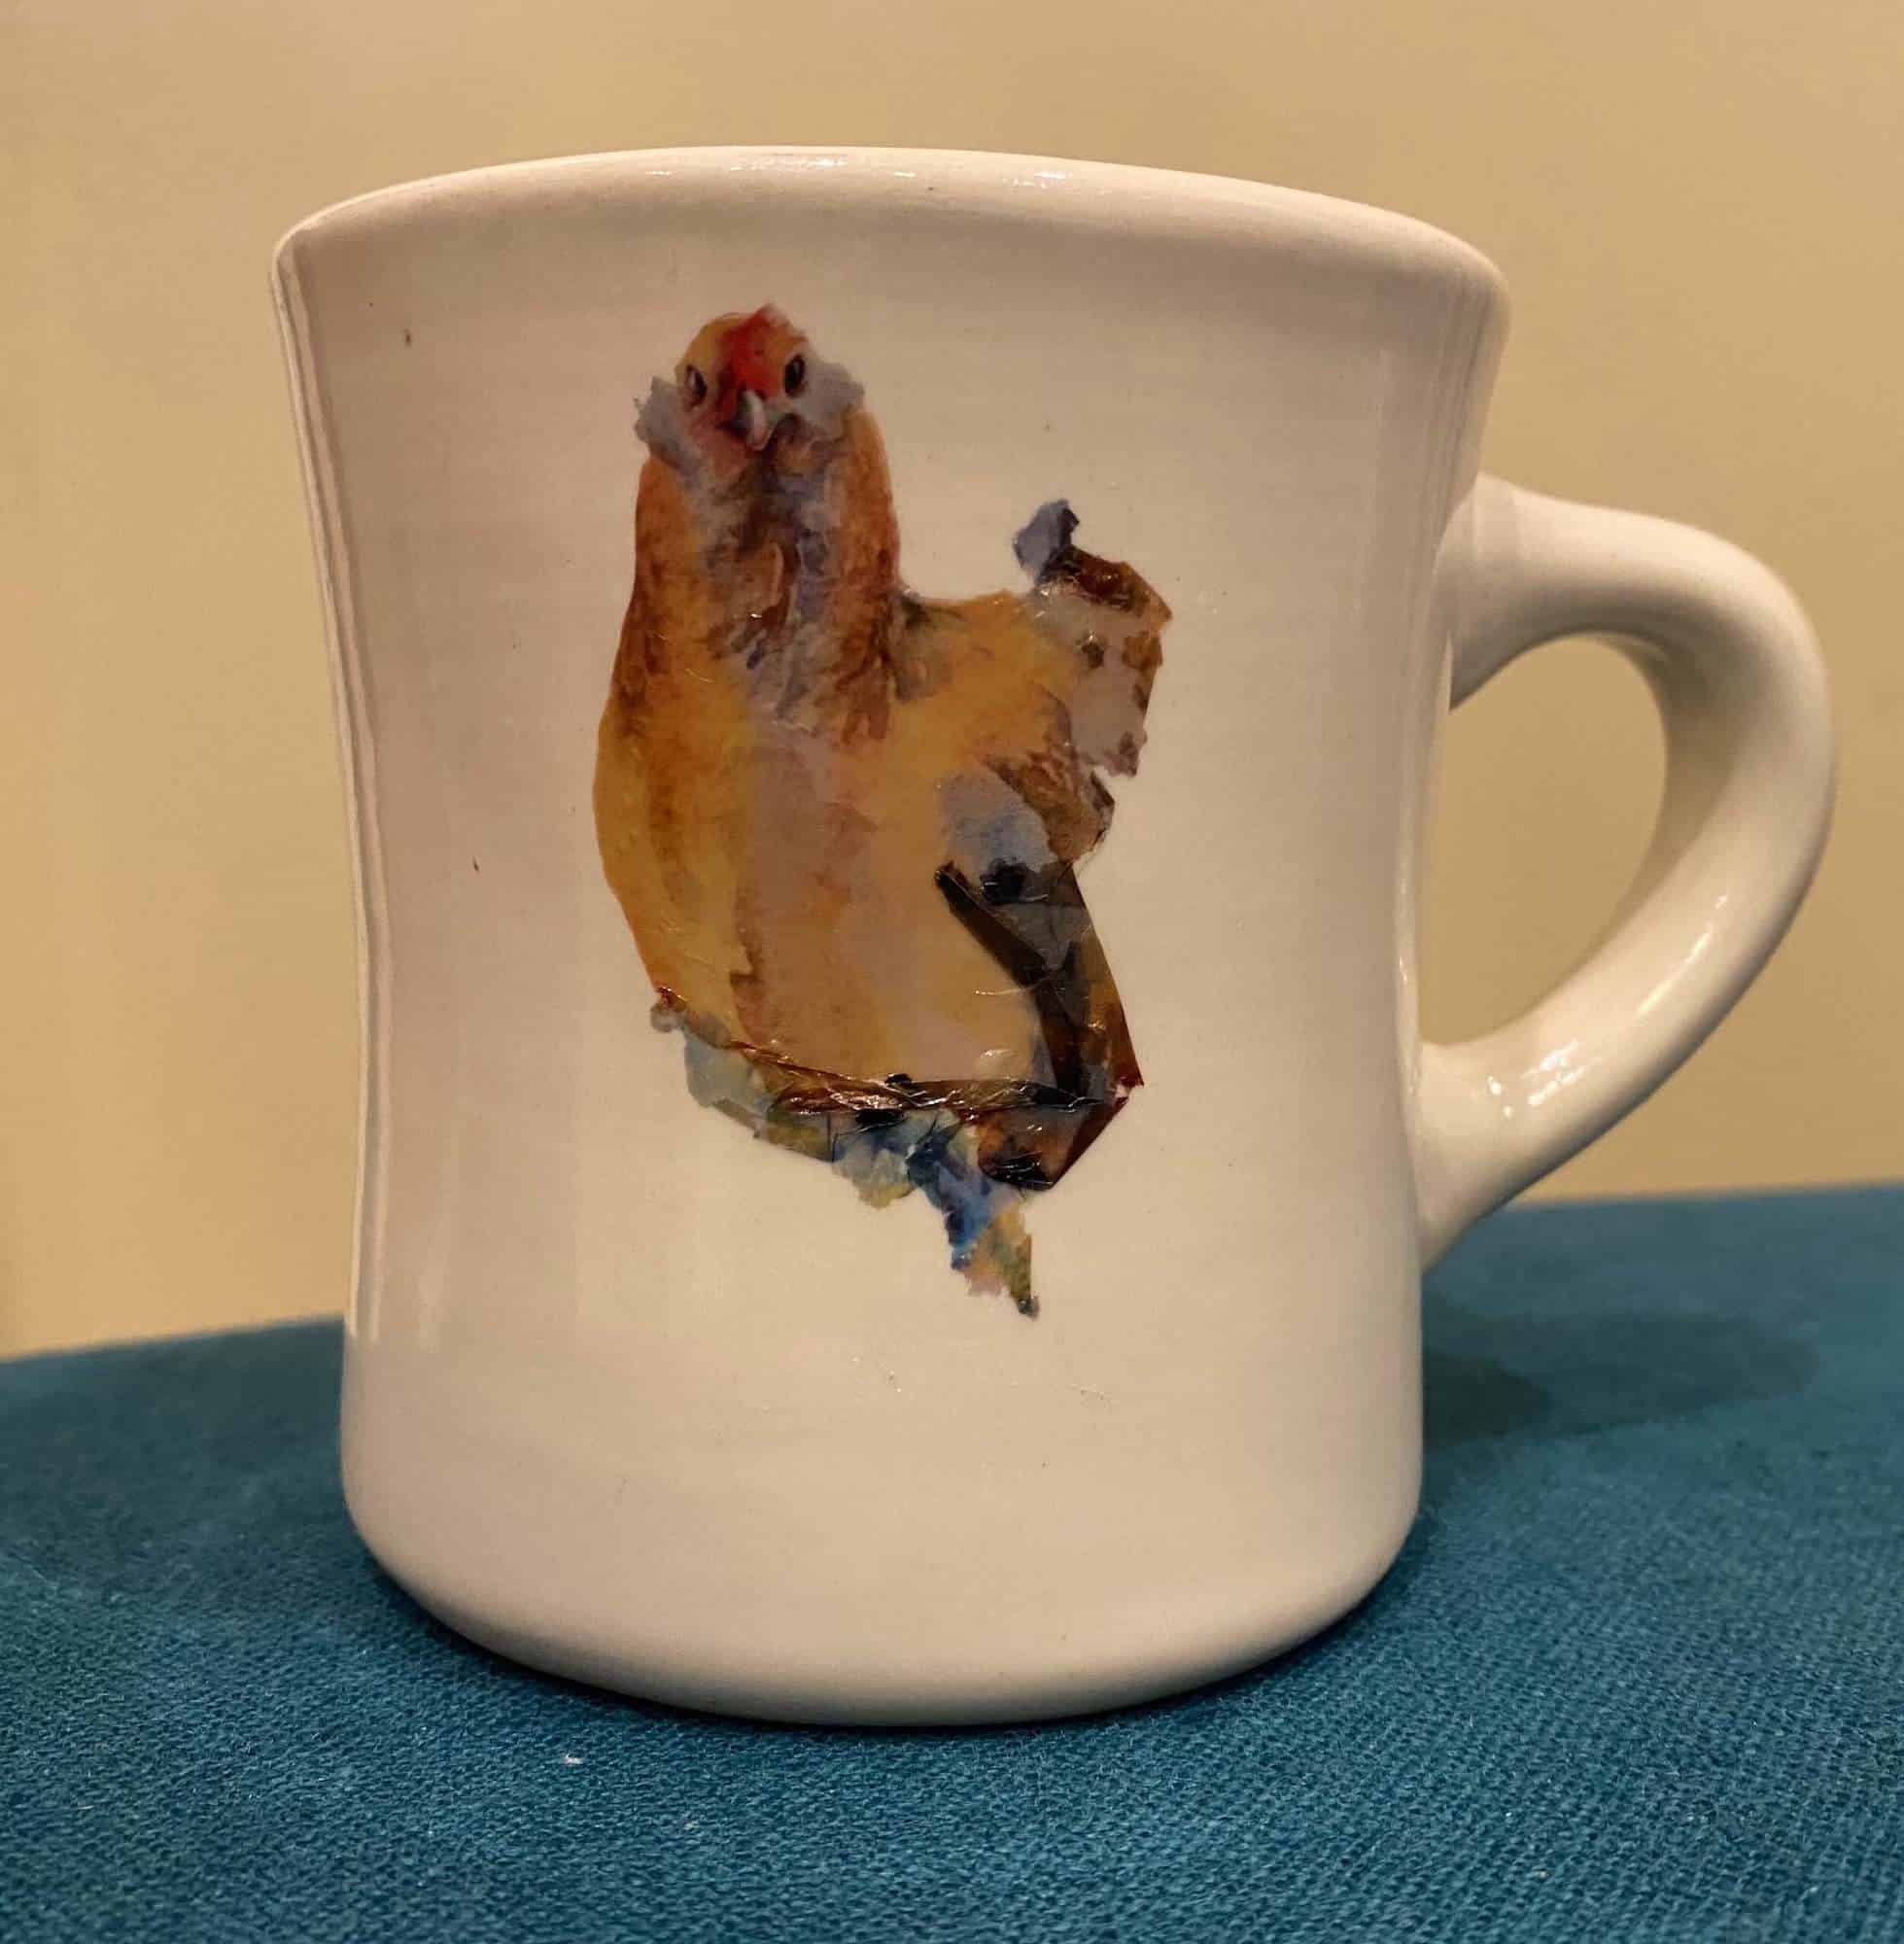
It’s important to note that this little cutie is not dishwasher safe! We had an accidental dishwashing. (To be clear I will never complain about someone else doing my dishes no matter what gets messed up or even broken!!) You can see below that Bruiser was in rough shape. So if you wonder what will happen if you put a waterslide decal in the dishwasher, wonder no more…
It also gave me an opportunity to move the decal down a bit to avoid lips from touching the decal and to answer the question below.
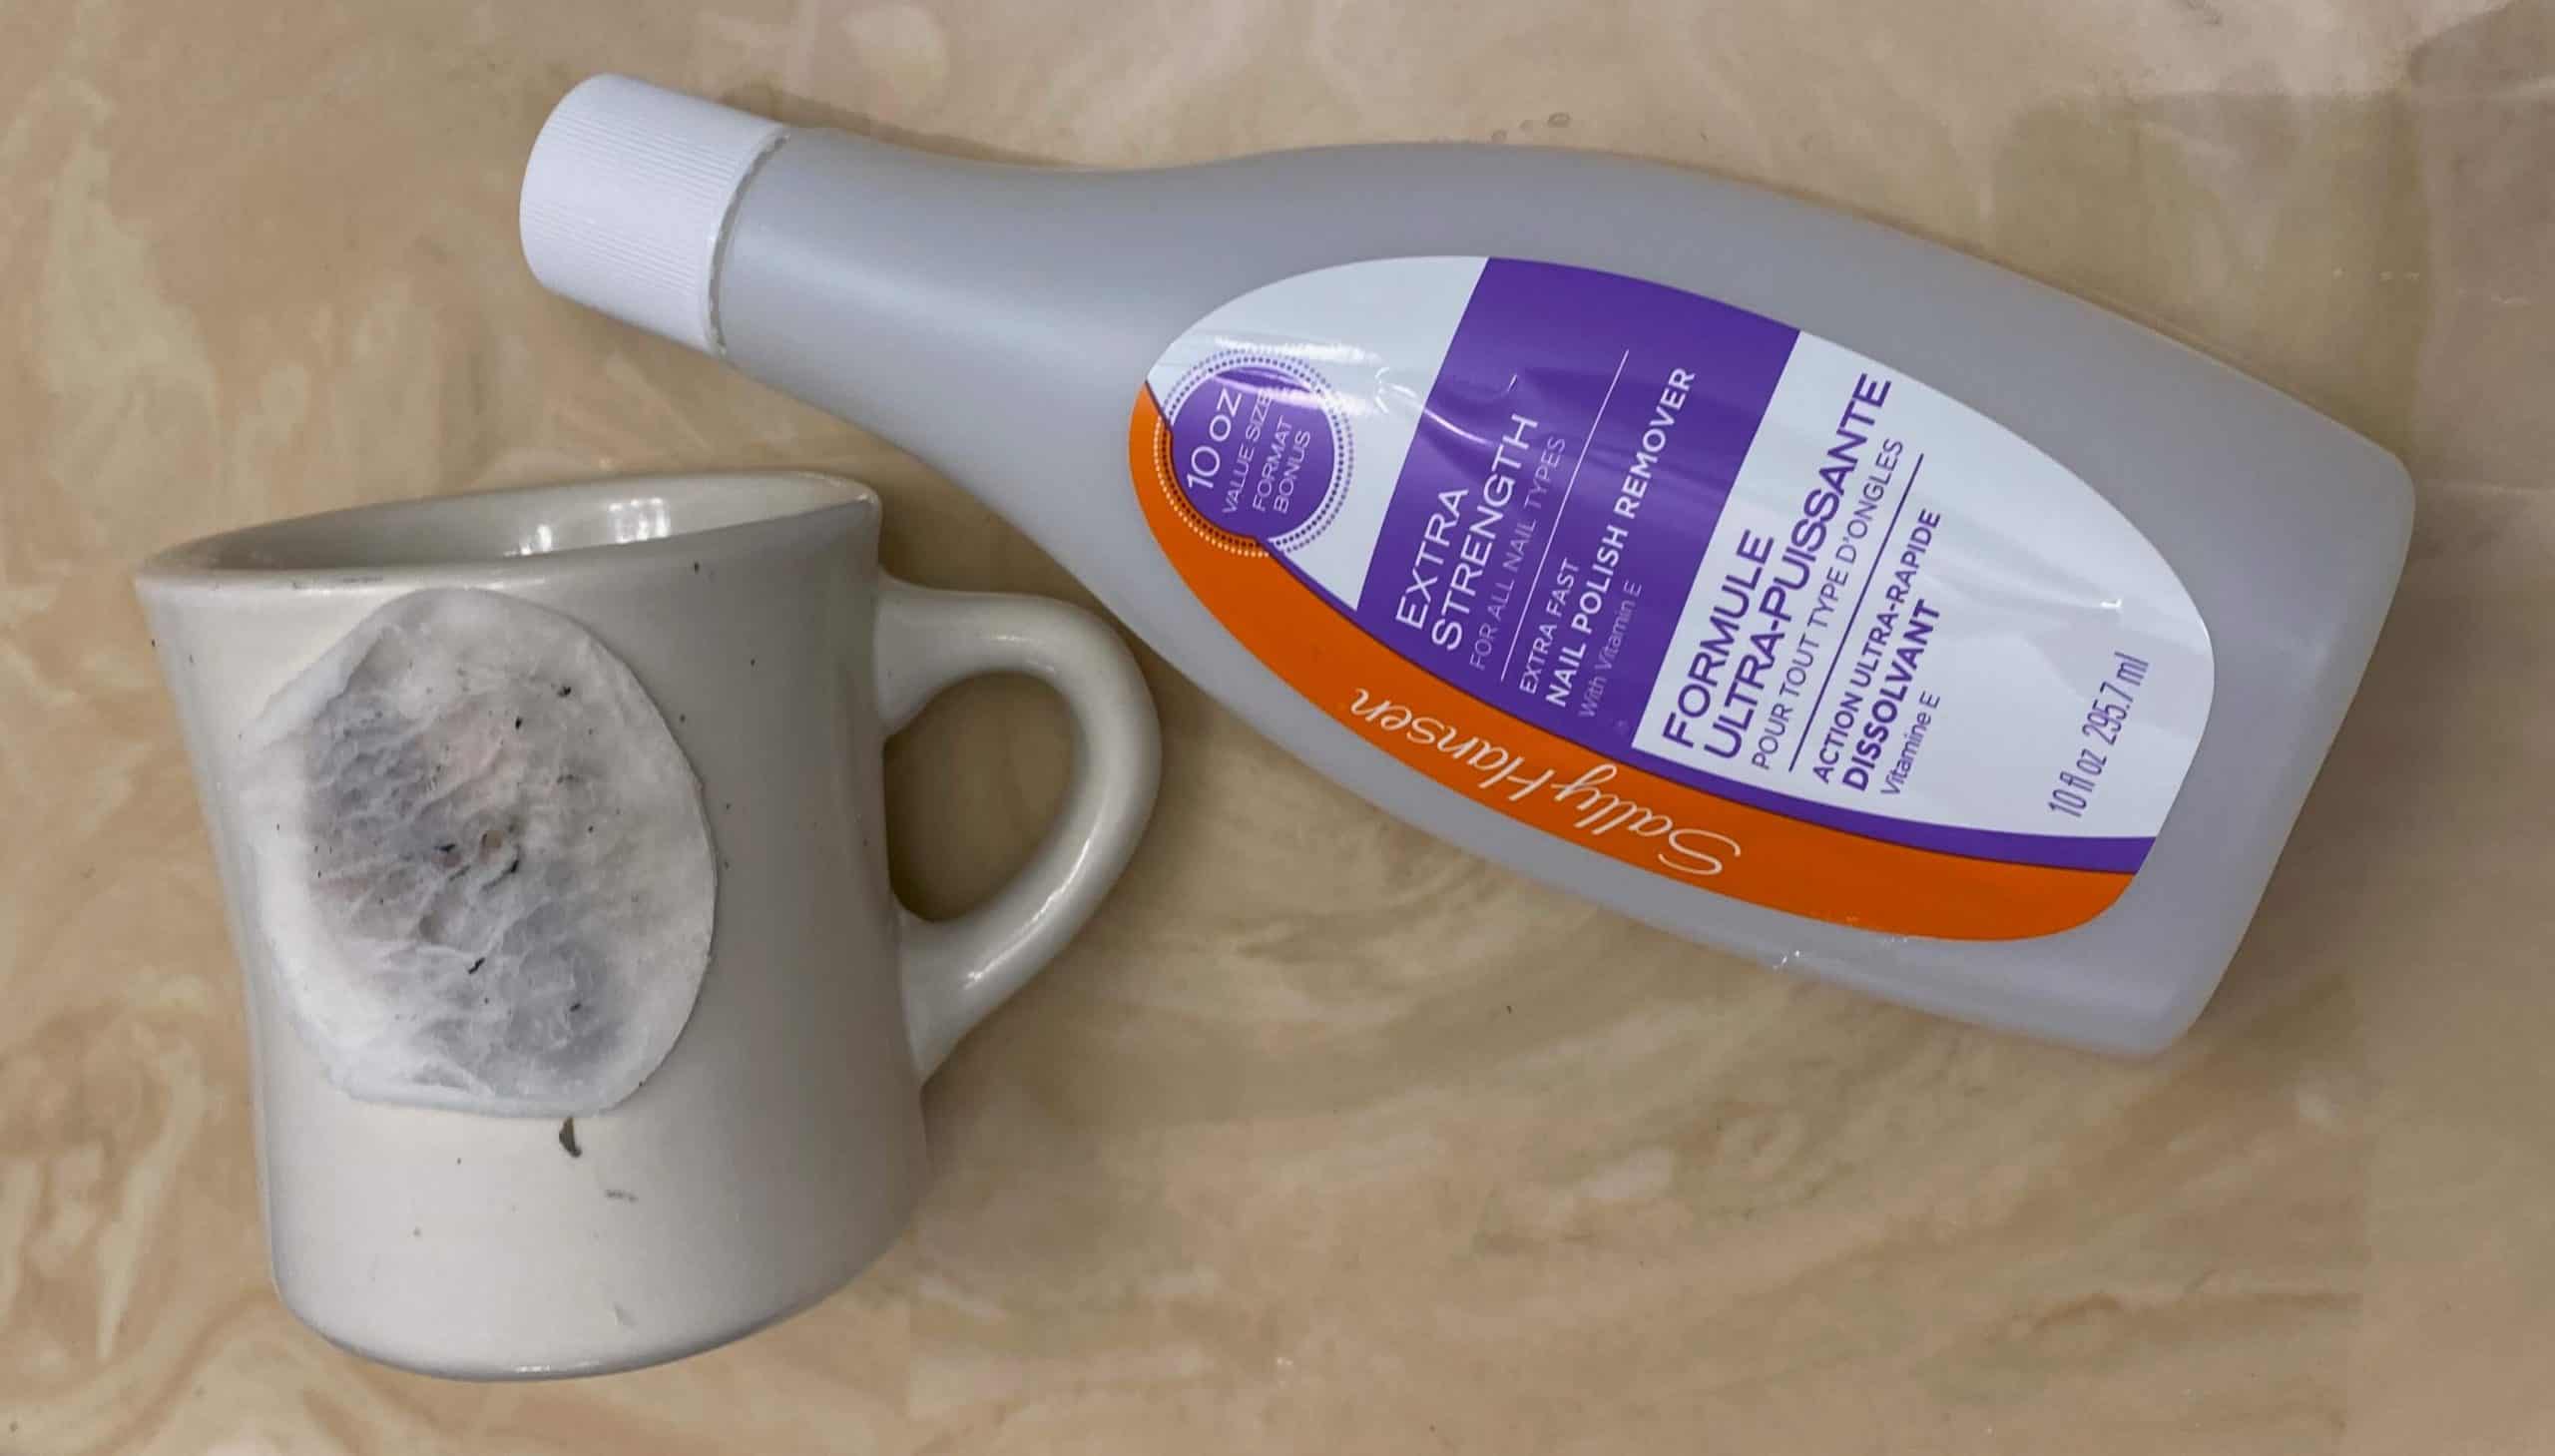
HOW TO REMOVE SEALED WATERSLIDE DECALS
The answer is nail polish remover! I let a saturated cotton round sit on it a few minutes and it wiped right off.
I also read the directions on the waterslide paper (what a concept!) and noticed the instruction to leave space around the image you are transferring. So for the second time around I added steps 2-4 to create an offset outline that are included in this tutorial.
Moving the image down and including the offset around the image was much nicer in the end, and how I should have made it in the first place – no harm no foul! Don't be afraid to make a mistake, did I ever tell you how sometimes I burn the bacon?
Hope you enjoyed my tutorial, now go get crafting!
For access to the watercolor image of Bruiser the Chicken and other printables and cut files visit the free resource library by subscribing below.
If the instructions for creating an offset were at all confusing, I’ve included this short video clip below for the exacts steps taken in Design Space. It will cover all of the necessary clicks to get from image to offset. Let me know if you have any questions!
Related Cricut crafts:
- Cricut Basics for Beginners
- Vinyl Decals
- Elephant Stuffy
- Reverse Canvas
- Etched Glass
- Free Resource Library
Make a Waterside Decal Today!