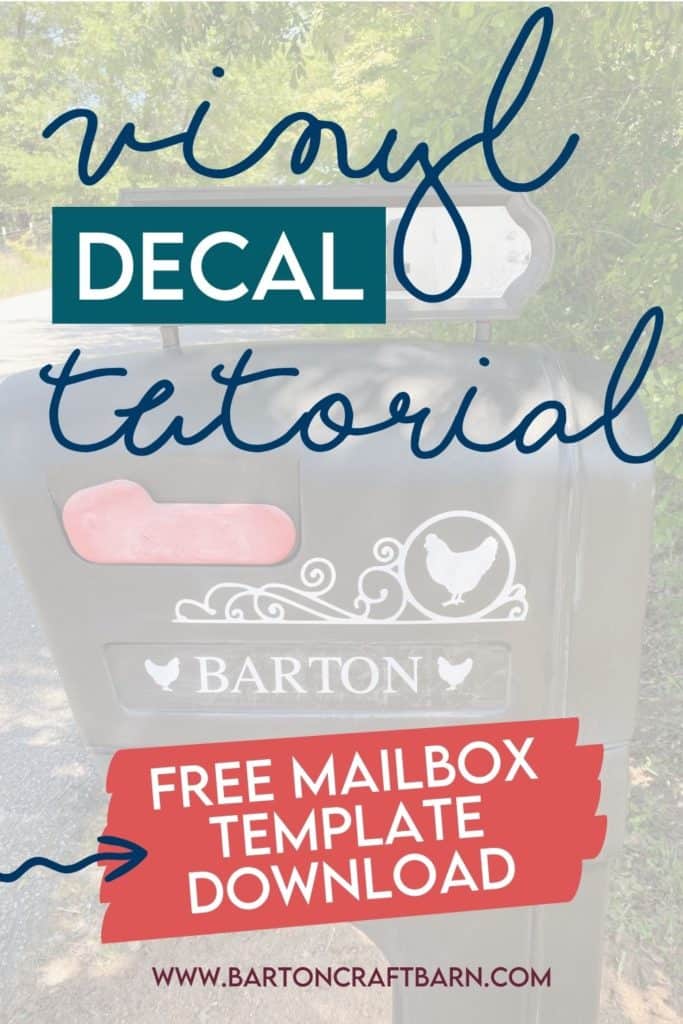
Vinyl Tutorial & Mailbox Makeover
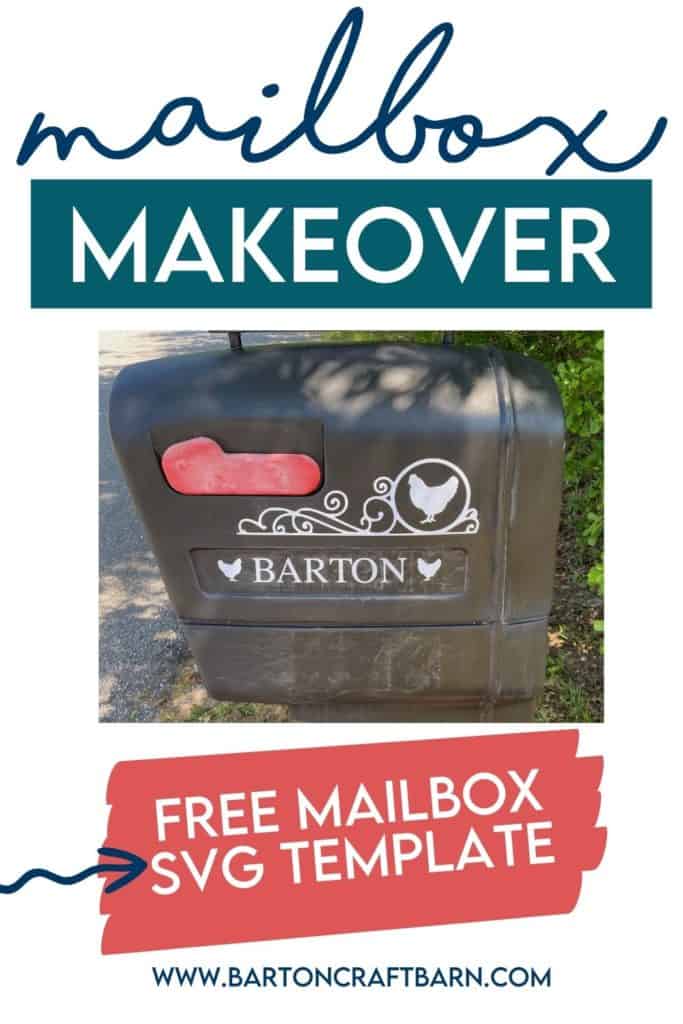
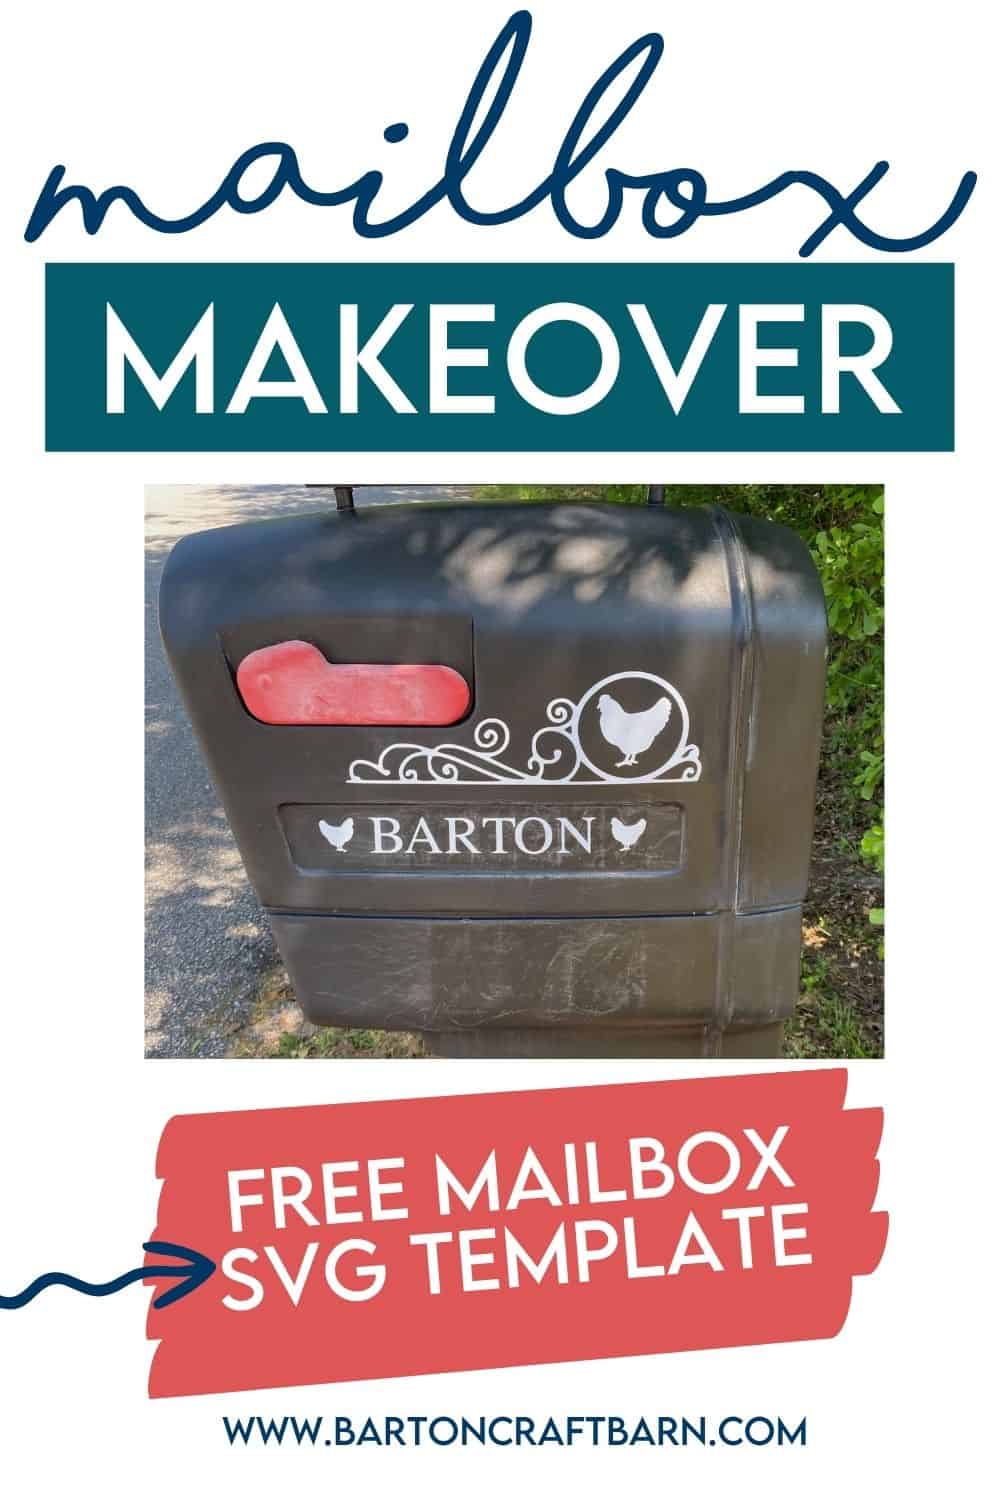
Below find step by step instructions on creating and applying vinyl decals using a Cricut cutting machine. Included are examples of where I apply vinyl decals and a specific example of the complete process I used to design, cut and apply personalized decals to my previously boring black plastic mailbox. You can find some free SVG files in my free resource library to get you started on making decals of your own.
There are affiliate links in this post. I earn a small commission from qualifying purchases at no extra cost to you.
Where to Apply Vinyl Decals?
I love applying adhesive vinyl to all kinds of things to add personalization or personality. After I got a little crazy with my vinyl additions around the house, one of my kids told me that not everything needs vinyl. I tend to disagree, but I do try to limit myself so I don’t come off as a crazy Cricut lady.
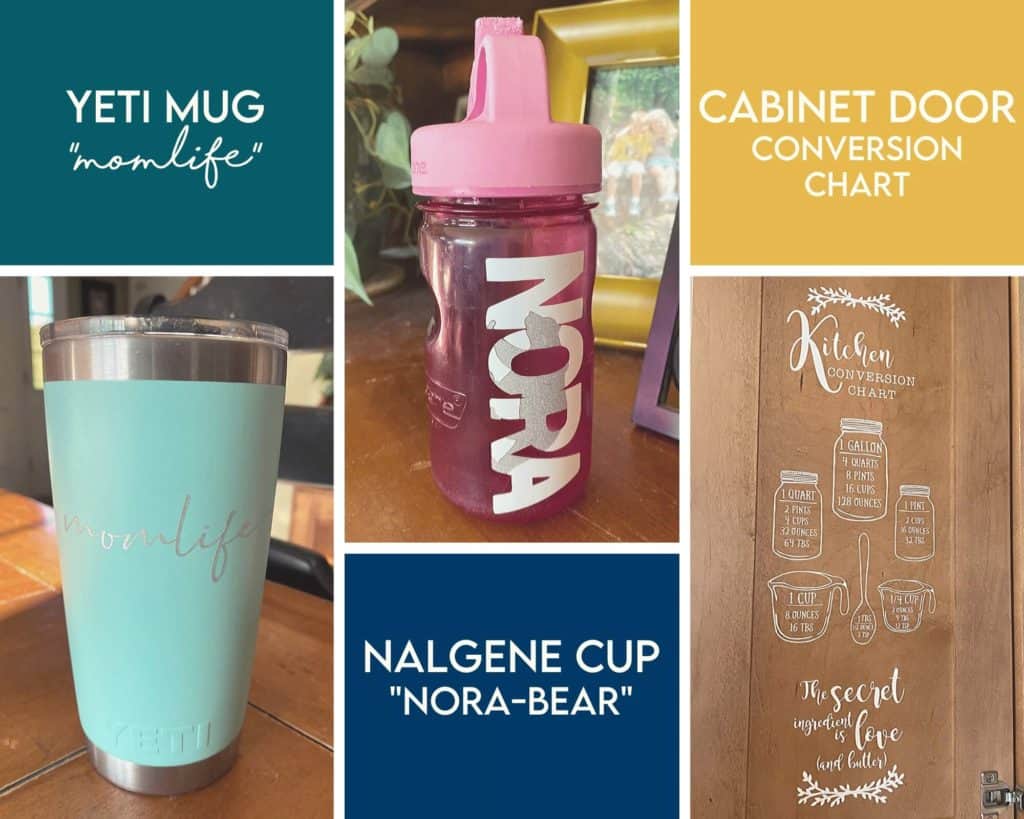
It took me forever to commit to a vinyl design on my favorite coffee mug. It wasn’t until a friend asked me to make her a few mug decals when I thought, wait why don’t I have anything on my mug?!?
I just couldn’t think of a saying or design that I wanted to look at every day, and yes I have this mug with me every day! When my friend was so excited to see the decals on her mug I decided to join in on the excitement. (Thanks for the inspiration Heather!) I also figured that I had to ability to remove and replace if I really grew sick of looking at it.
I’m so glad I did, I love it and it makes me smile every time I see it! I settled on the word “momlife”. It’s a good word for my current season of life. I love how it turned out. I used Cricut shimmer vinyl and after much deliberation settled on Marthin font. (Note that after about a year of handwashing this mug the Cricut shimmer vinyl lost it’s top layer and became dull.)
Sometimes choosing a font for a project takes me forever. For more information on Cricut basics, choosing and downloading font check out my Cricut Basics for Beginners. I’m impressed at how well permanent vinyl stays on, especially with the tiny features in the design. I keep waiting for it to peel, but it keeps surprising me. See the mug below along with my daughter’s water bottle and kitchen conversion chart on the inside of my kitchen cabinet.
Adhesive vinyl application is easy enough for a beginner, and was one of the first projects I made with my first Cricut compatible with Design Space. I used to have one of the ancient of days cartridge Cricuts, and let me tell you, the ability to use a computer with the Cricut opens up a whole new world!
For this first project I used white removable vinyl and a memorable quote from movie The Princess Bride. It’s applied above the door that leads out of the house. It’s pictured below along with a vinyl outdoor sign I applied blue & red letters to for our AWANA club. This sign is holding up well in its outdoor location in our SC heat, and looks as good as the day we hung it. Permanent vinyl is pretty amazing!
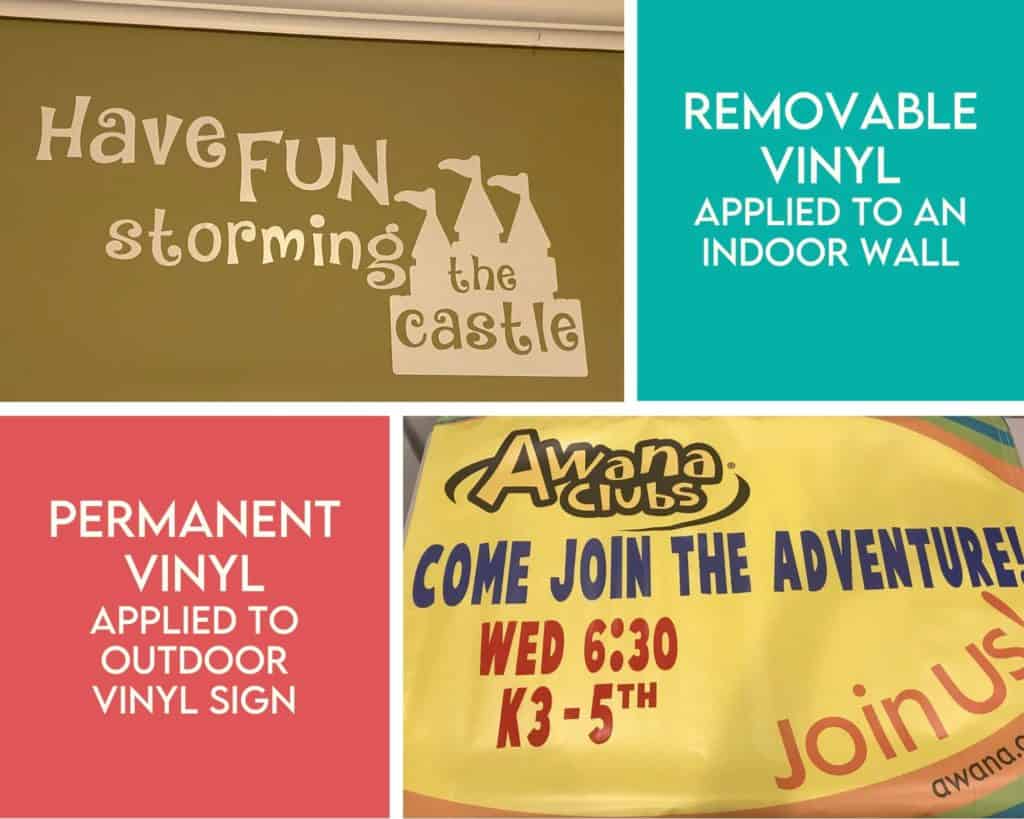
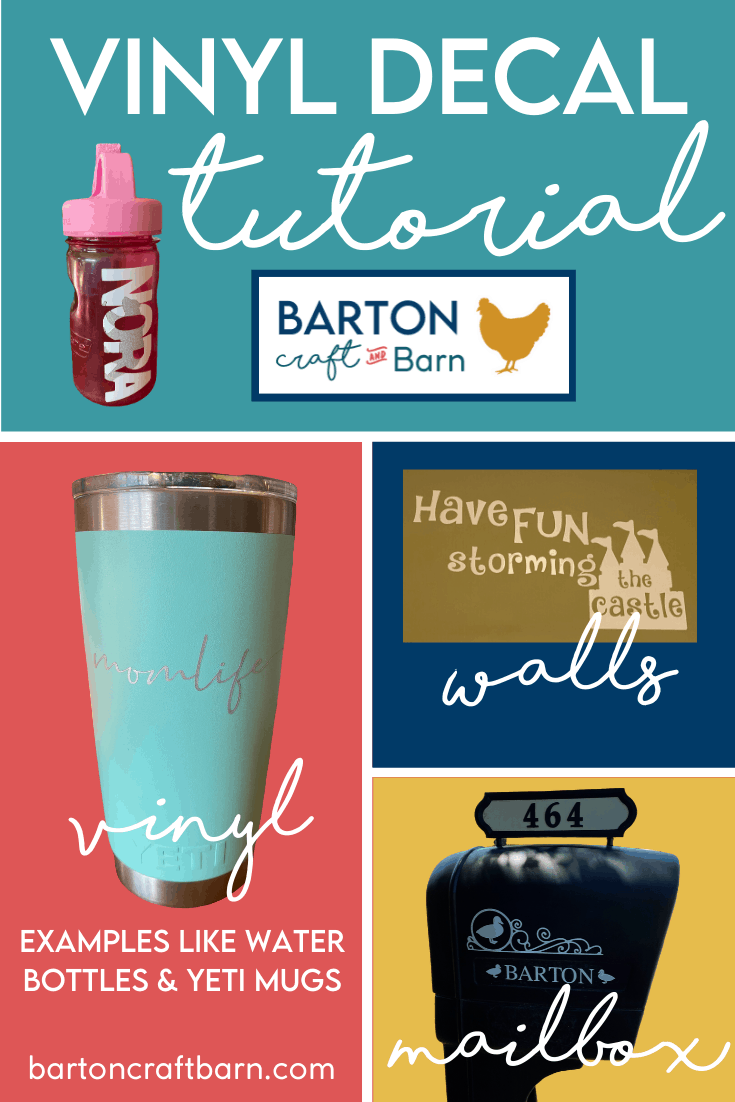
Adhesive vinyl is like a sticker with a colored side and a paper backing side. The paper backing covers the adhesive side of the vinyl. You can apply adhesive vinyl to many different surfaces including, but not limited to, glass, metal, plastic, ceramic, canvas, and wood. Basically, if it’s a smooth surface then you can usually apply vinyl on it. The examples shown above are on my yeti mug, inside a cabinet door, a plastic water bottle, an interior wall, and on an outdoor vinyl sign.
Mailbox Makeover with Vinyl Decals
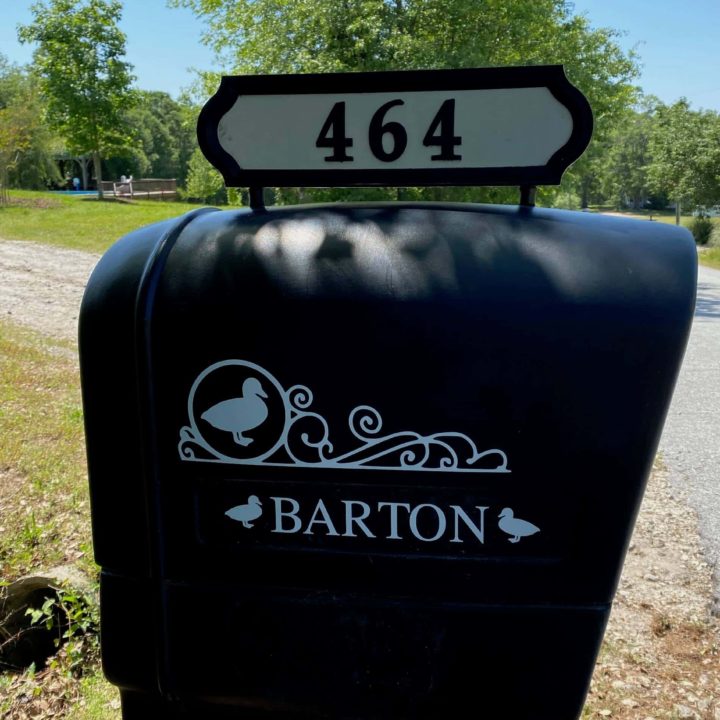
For this tutorial I am going to walk you through the process of updating our mailbox that had horribly weathered stickers; they clearly didn’t use permanent vinyl! Check out the gross before picture, mid removal, and finally measuring the “clean” work surface.
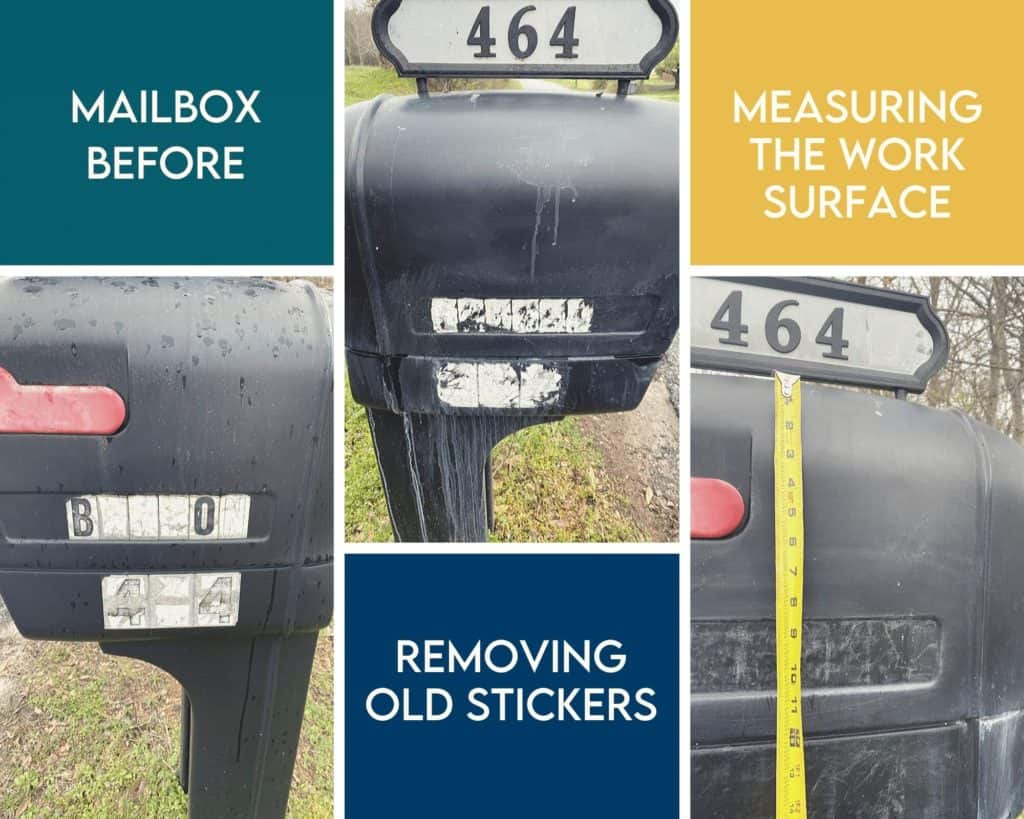
It took us forever, and many products, to get the old reflective stickers successfully off. We tried many products including our Norwex cleaning products, Dollar General’s Totally Awesome and finally the one that worked…drumroll please…UnDu! I had to buy it off of Amazon, but it was worth the wait.
Materials Needed for Vinyl Decals:
- Smooth & Clean Object to Apply Vinyl (We needed Un-Du)
- Permanent Adhesive Vinyl
- Transfer Sheet
- SVG file with Design for Vinyl (find the circle & swirl SVG here)
- Cricut Maker or another method of cutting vinyl
- Cutting Mat
- Weeding tools or a needle
You can check out the tutorial in the following video and I’ll also have the steps typed below the video.
Vinyl Decal Tutorial
This tutorial walks through the process of updating an old black plastic mailbox that had horribly weathered stickers with cute and farm-appropriate vinyl decals. Find the circle & swirls in the free resource library.
Materials
Instructions
STEP 1: WORKING IN DESIGN SPACE WITH CUT IMAGE
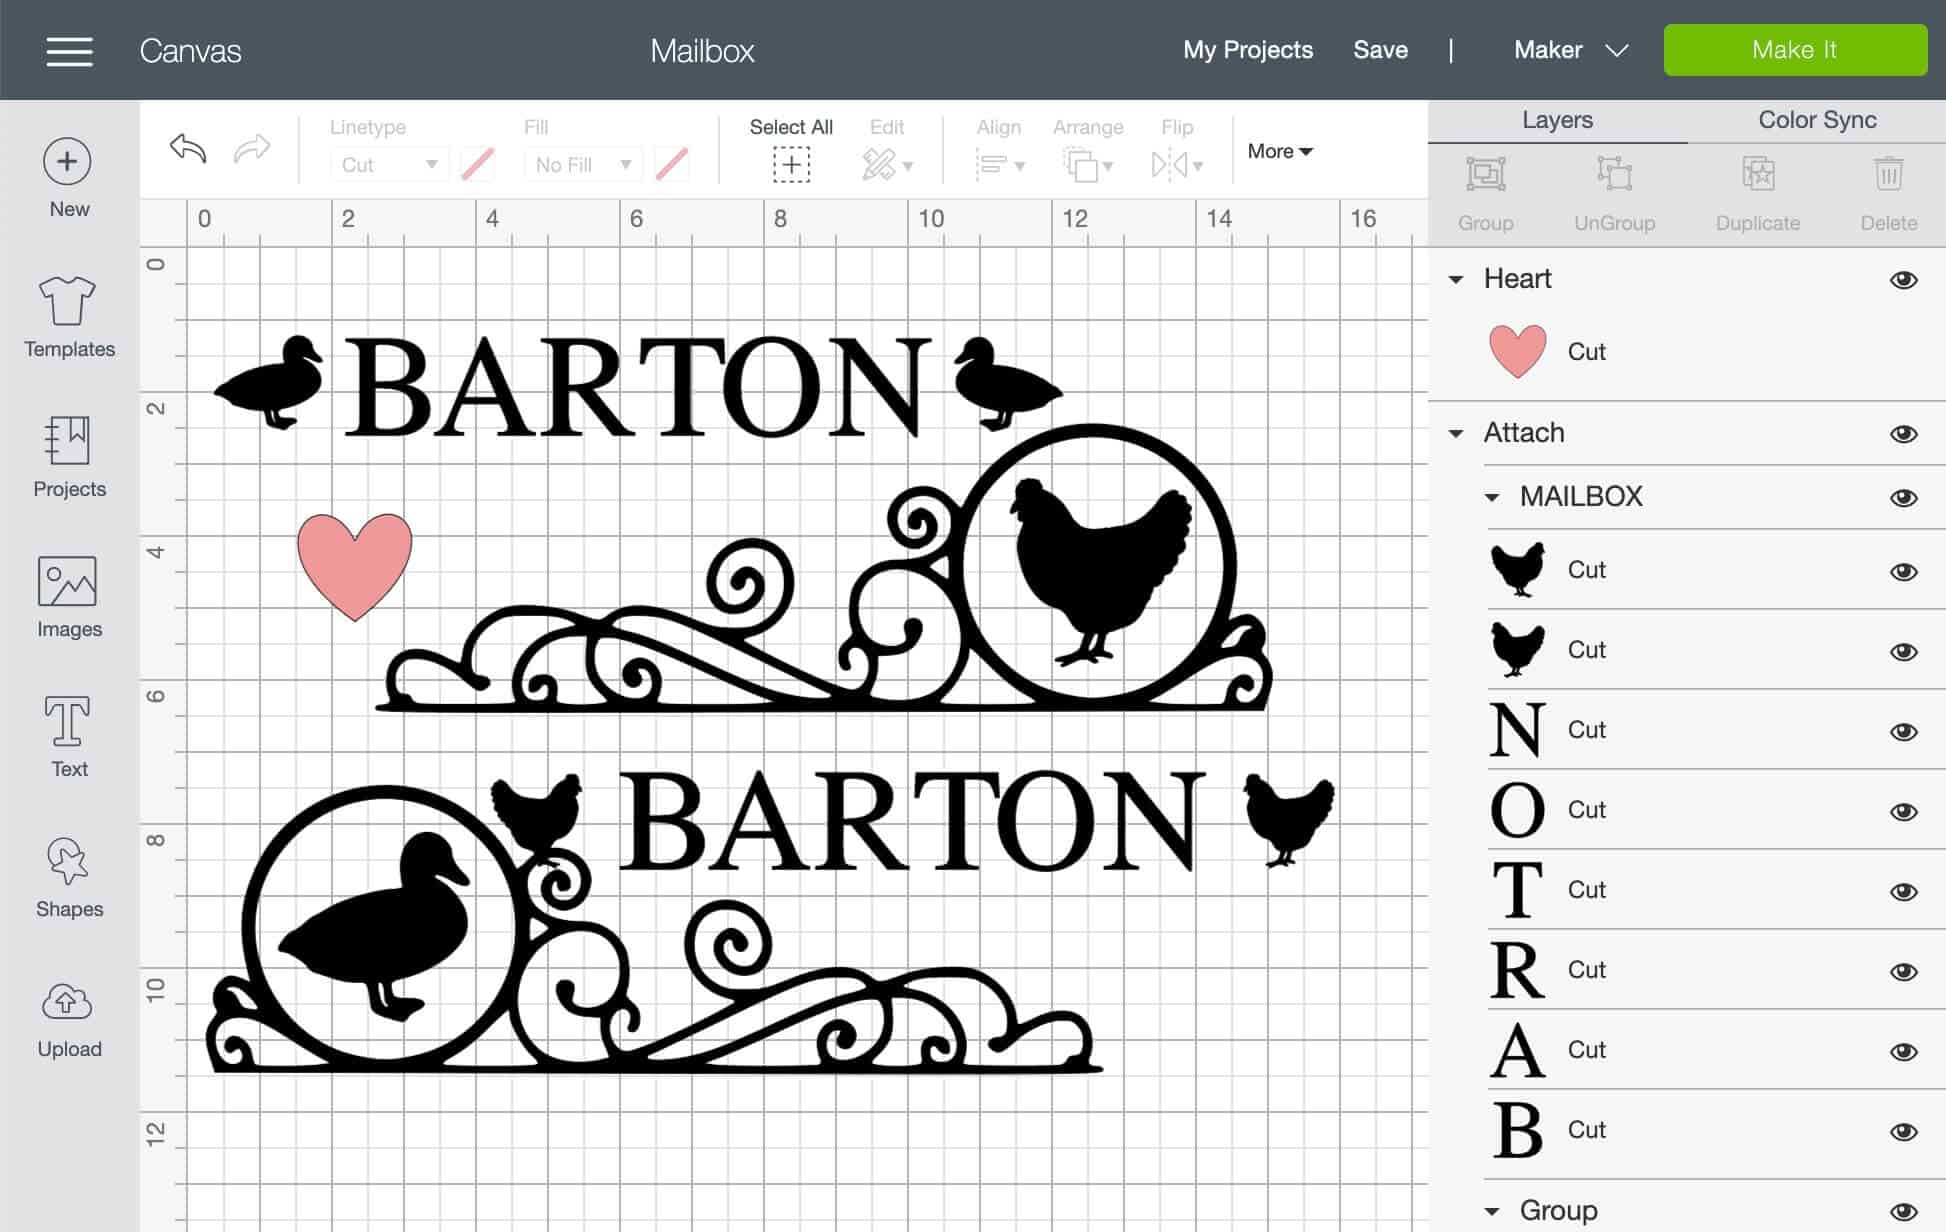
Upload an SVG, or create a cut file, in Cricut Design Space. If you would like to customize the circle & swirl design for the mailbox you can find the SVG file in the free resource library.
Size the image to fit the object for the vinyl adhesive application. If the design has many pieces you may have to select all the pieces and attach them in Design Space so that they cut out in the position you see on your screen.
I typically add a small shape to my file in a different color and use this as my test cut. There are all sorts of vinyl, many different vinyl cut settings, and adjustments in pressure settings within Design Space. There is no sense in skipping this step and ruining a big piece of vinyl if the setting you thought would work cut too deep or not deep enough. I learned this lesson too many times - now it's part of my standard practice.
STEP 2: CUT VINYL ON CRICUT
When you are ready to cut, place the adhesive vinyl color side up on the cutting mat and make sure the fine-point blade is installed in the Cricut. First, cut your test shape by clicking the Make It in the upper right-hand corner.
You may need to toggle the cutting mats to have the mat with the small shape selected. Do this by clicking on the mat you would like to cut. This will show you what’s about to be cut, you can move the little shape around to cut in a position that will not overlap the final design. Click Continue in the lower right corner, then select your cut setting.
Typically the vinyl manufacturer will have suggestions for the cut setting to use in Design Space. I used the Premium Outdoor Vinyl for this project because it will be exposed to all the elements. I simply selected "Premium Outdoor Vinyl for the material type.
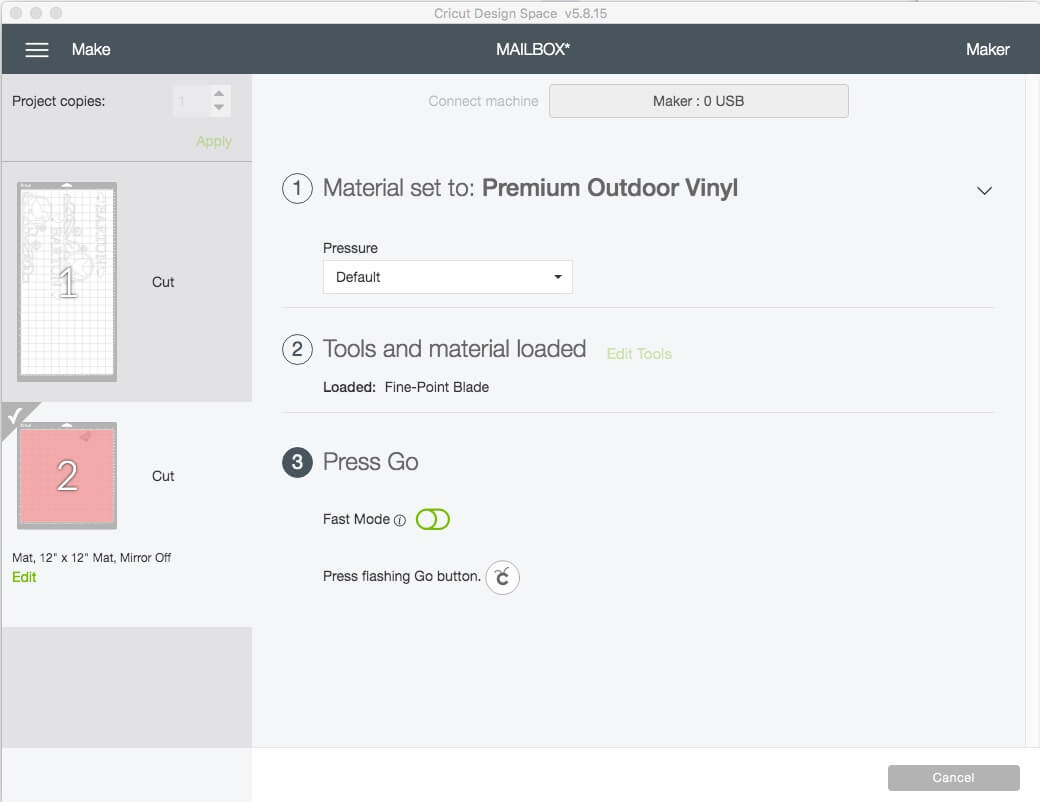
If you have an older blade you may need to select more pressure. There are so many variables when cutting, so this is why I suggest starting with a test cut.
Load the mat into the machine and press the flashing Cricut button to start cutting. When it’s done cutting, remove the mat from the machine & make sure the settings used cut all the way through the vinyl, but not through the backing paper. If it looks good, repeat the process with the final design.
STEP 3: WEED VINYL
After cutting you will need to weed the design on the vinyl. Weeding vinyl means removing all the extra bits that you don’t want on your decal. You may need weeding tools for this step but can sometimes get away with using a needle. 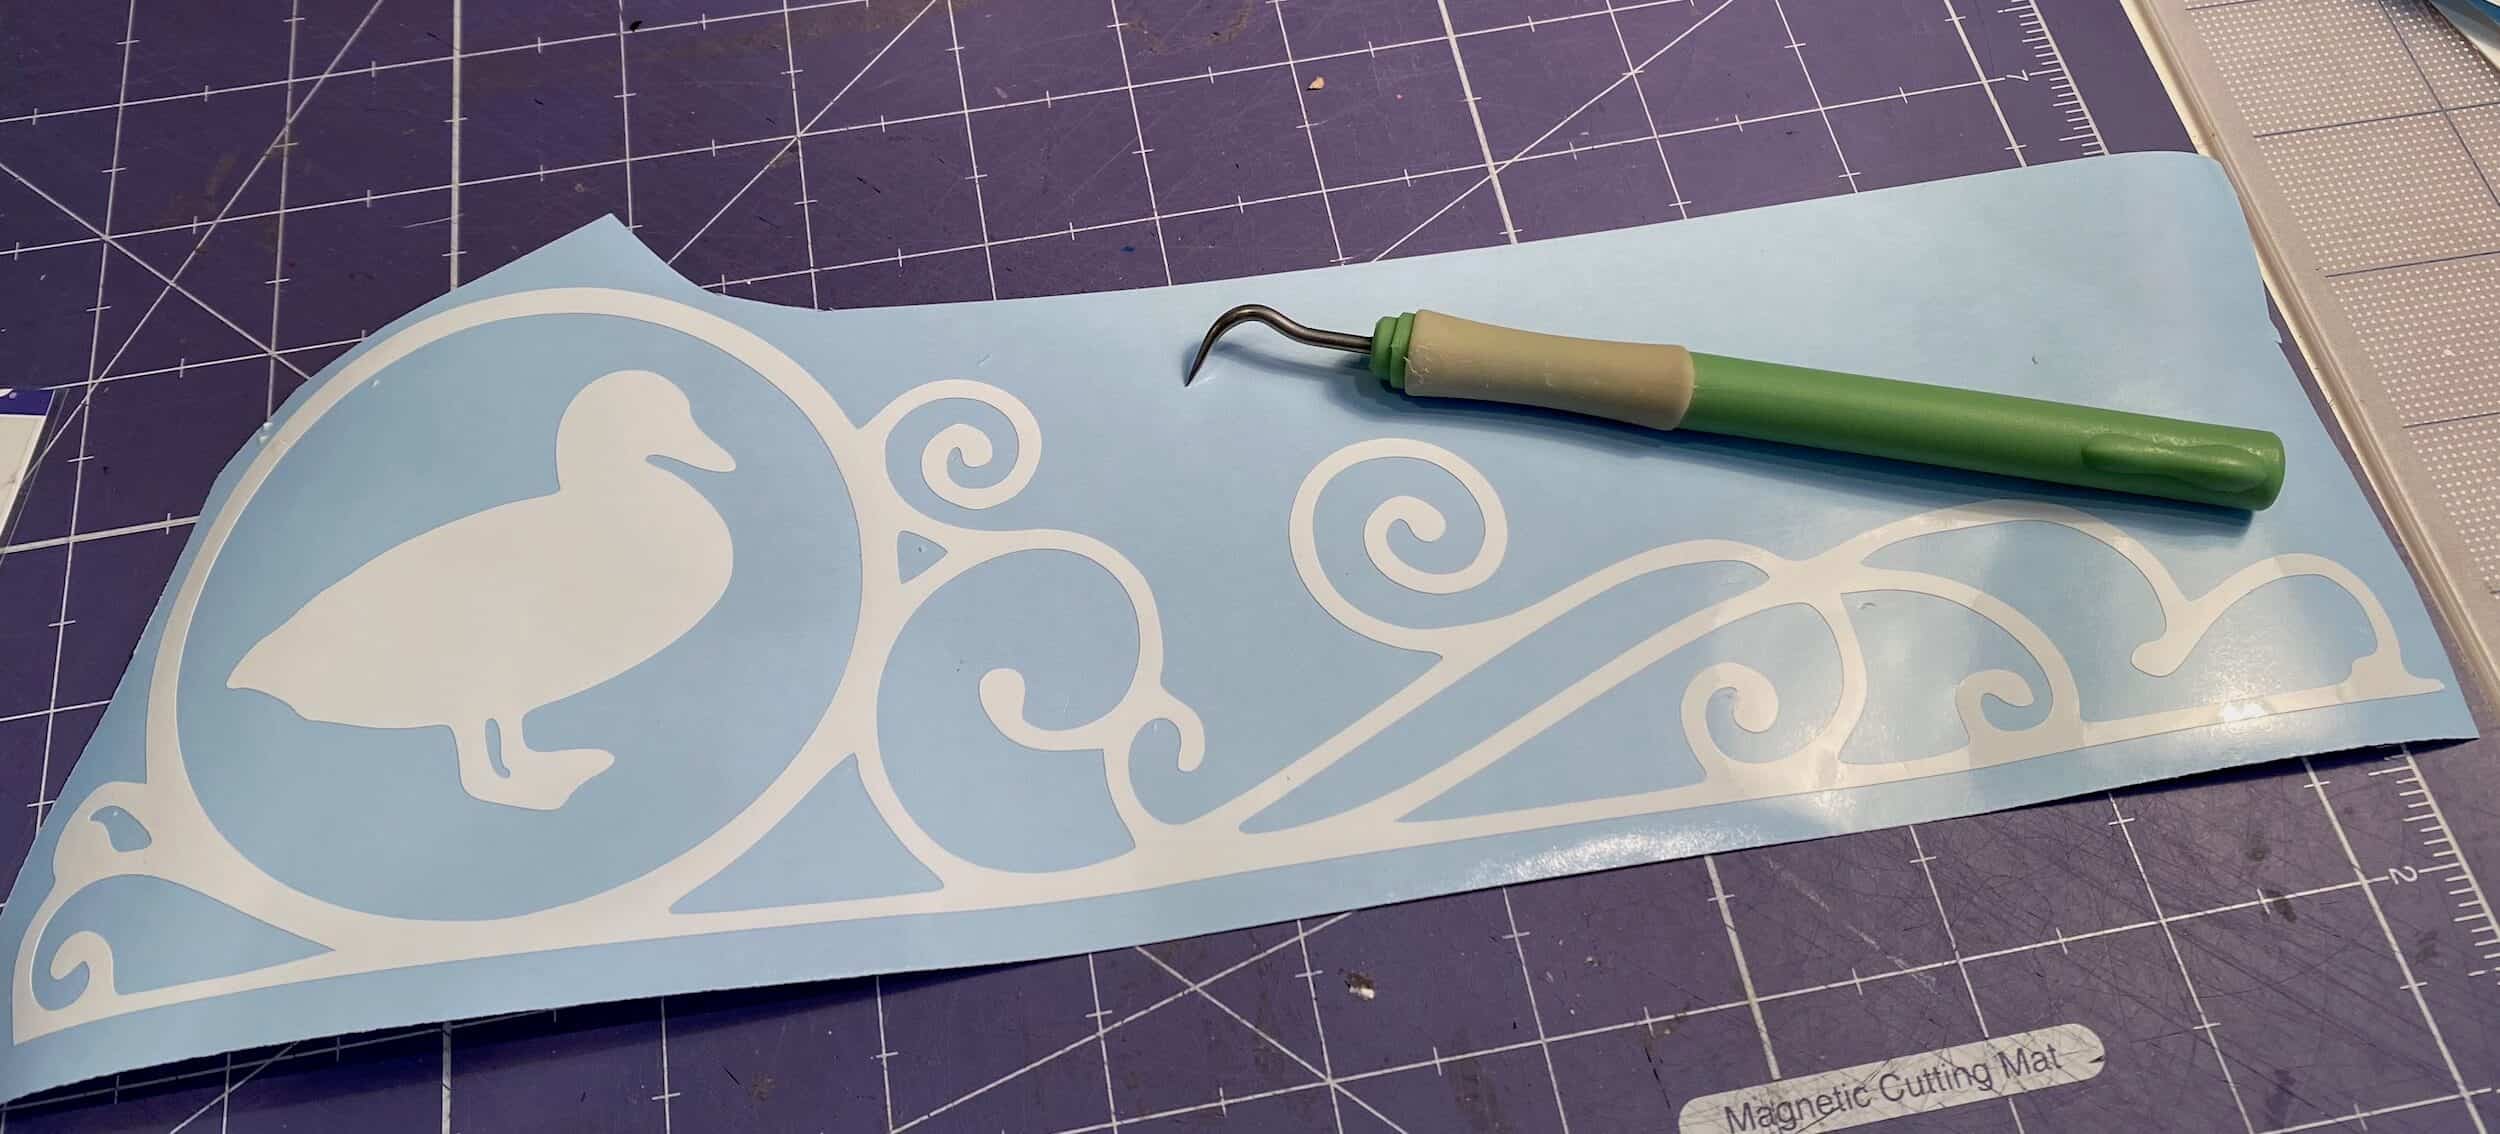
STEP 4: APPLY TRANSFER SHEET
Next, we apply a carrier sheet, or transfer sheet, to the weeded vinyl. If you have a simple image you may not need this step, but for intricate cuts with many pieces, a transfer sheet will help keep the pieces in their place and keep the design intact.
Cut a piece of the transfer sheet the same size as your design. Remove the backing and place it over the weeded vinyl. Usually, my transfer sheet is rolled up or moves around so I like to place the transfer sheet with the backing side up on my cutting mat. I remove the backing paper so that the sticky side of the transfer sheet is exposed and ready for the vinyl.
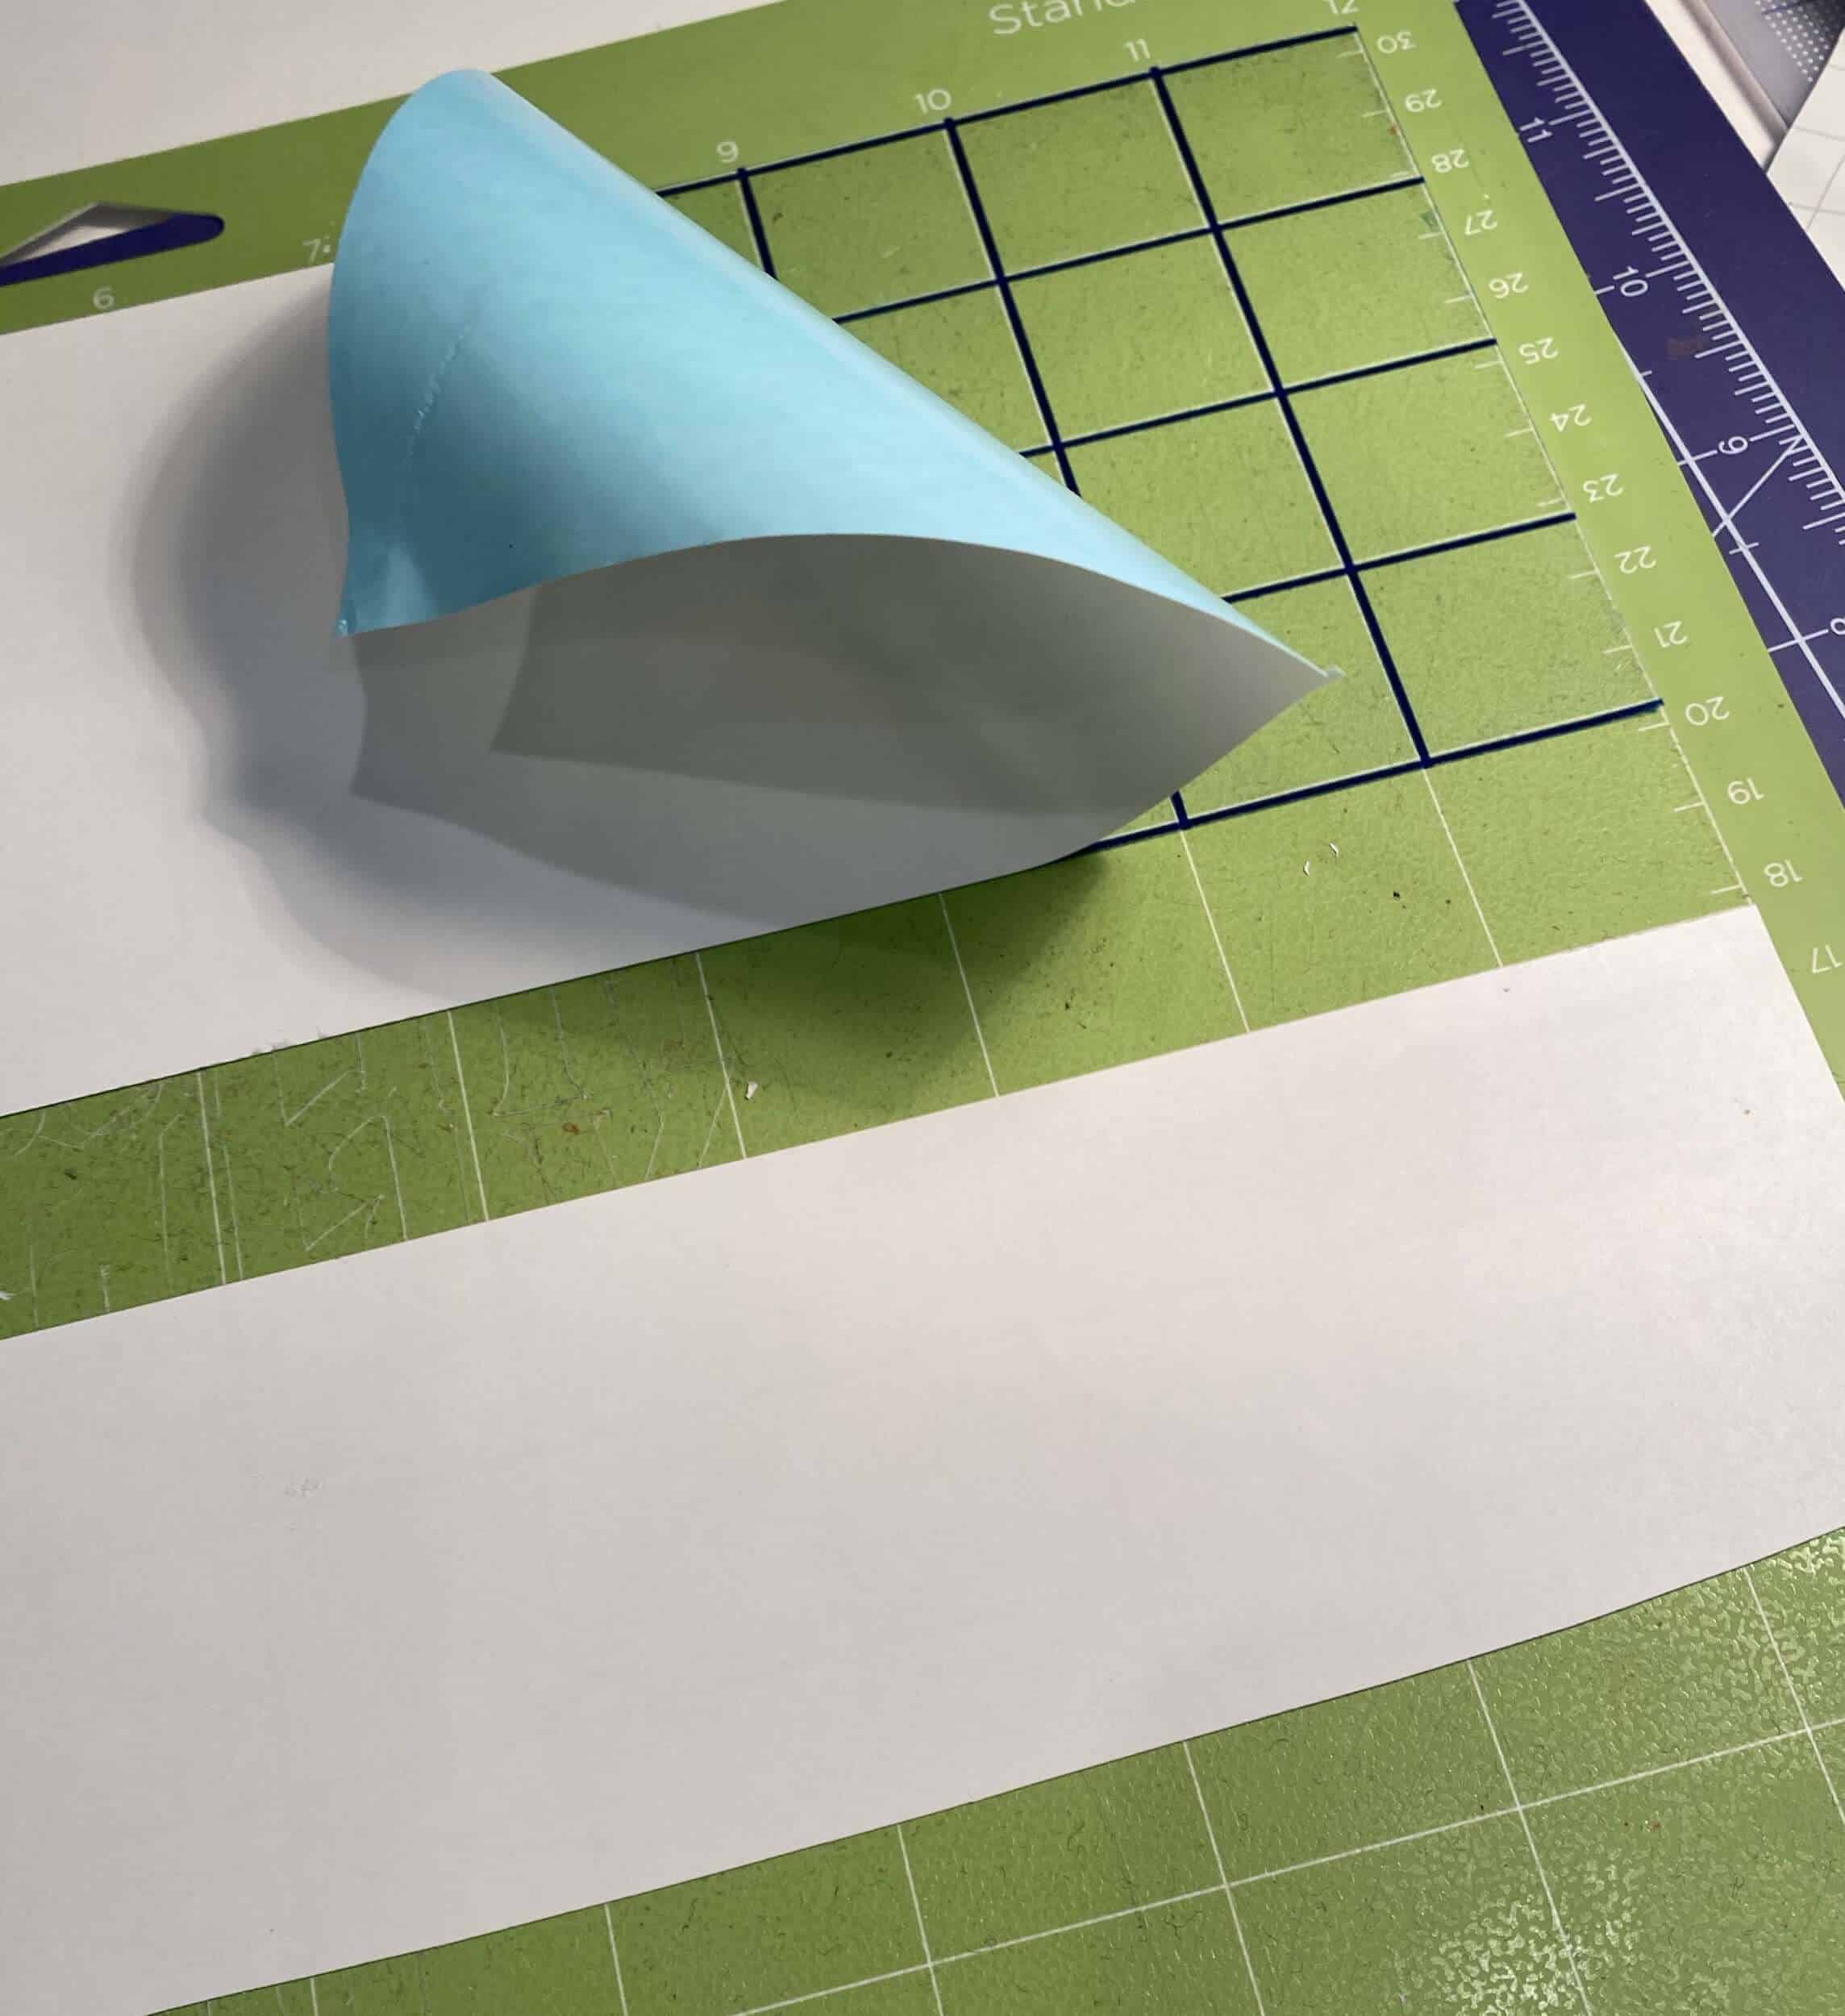
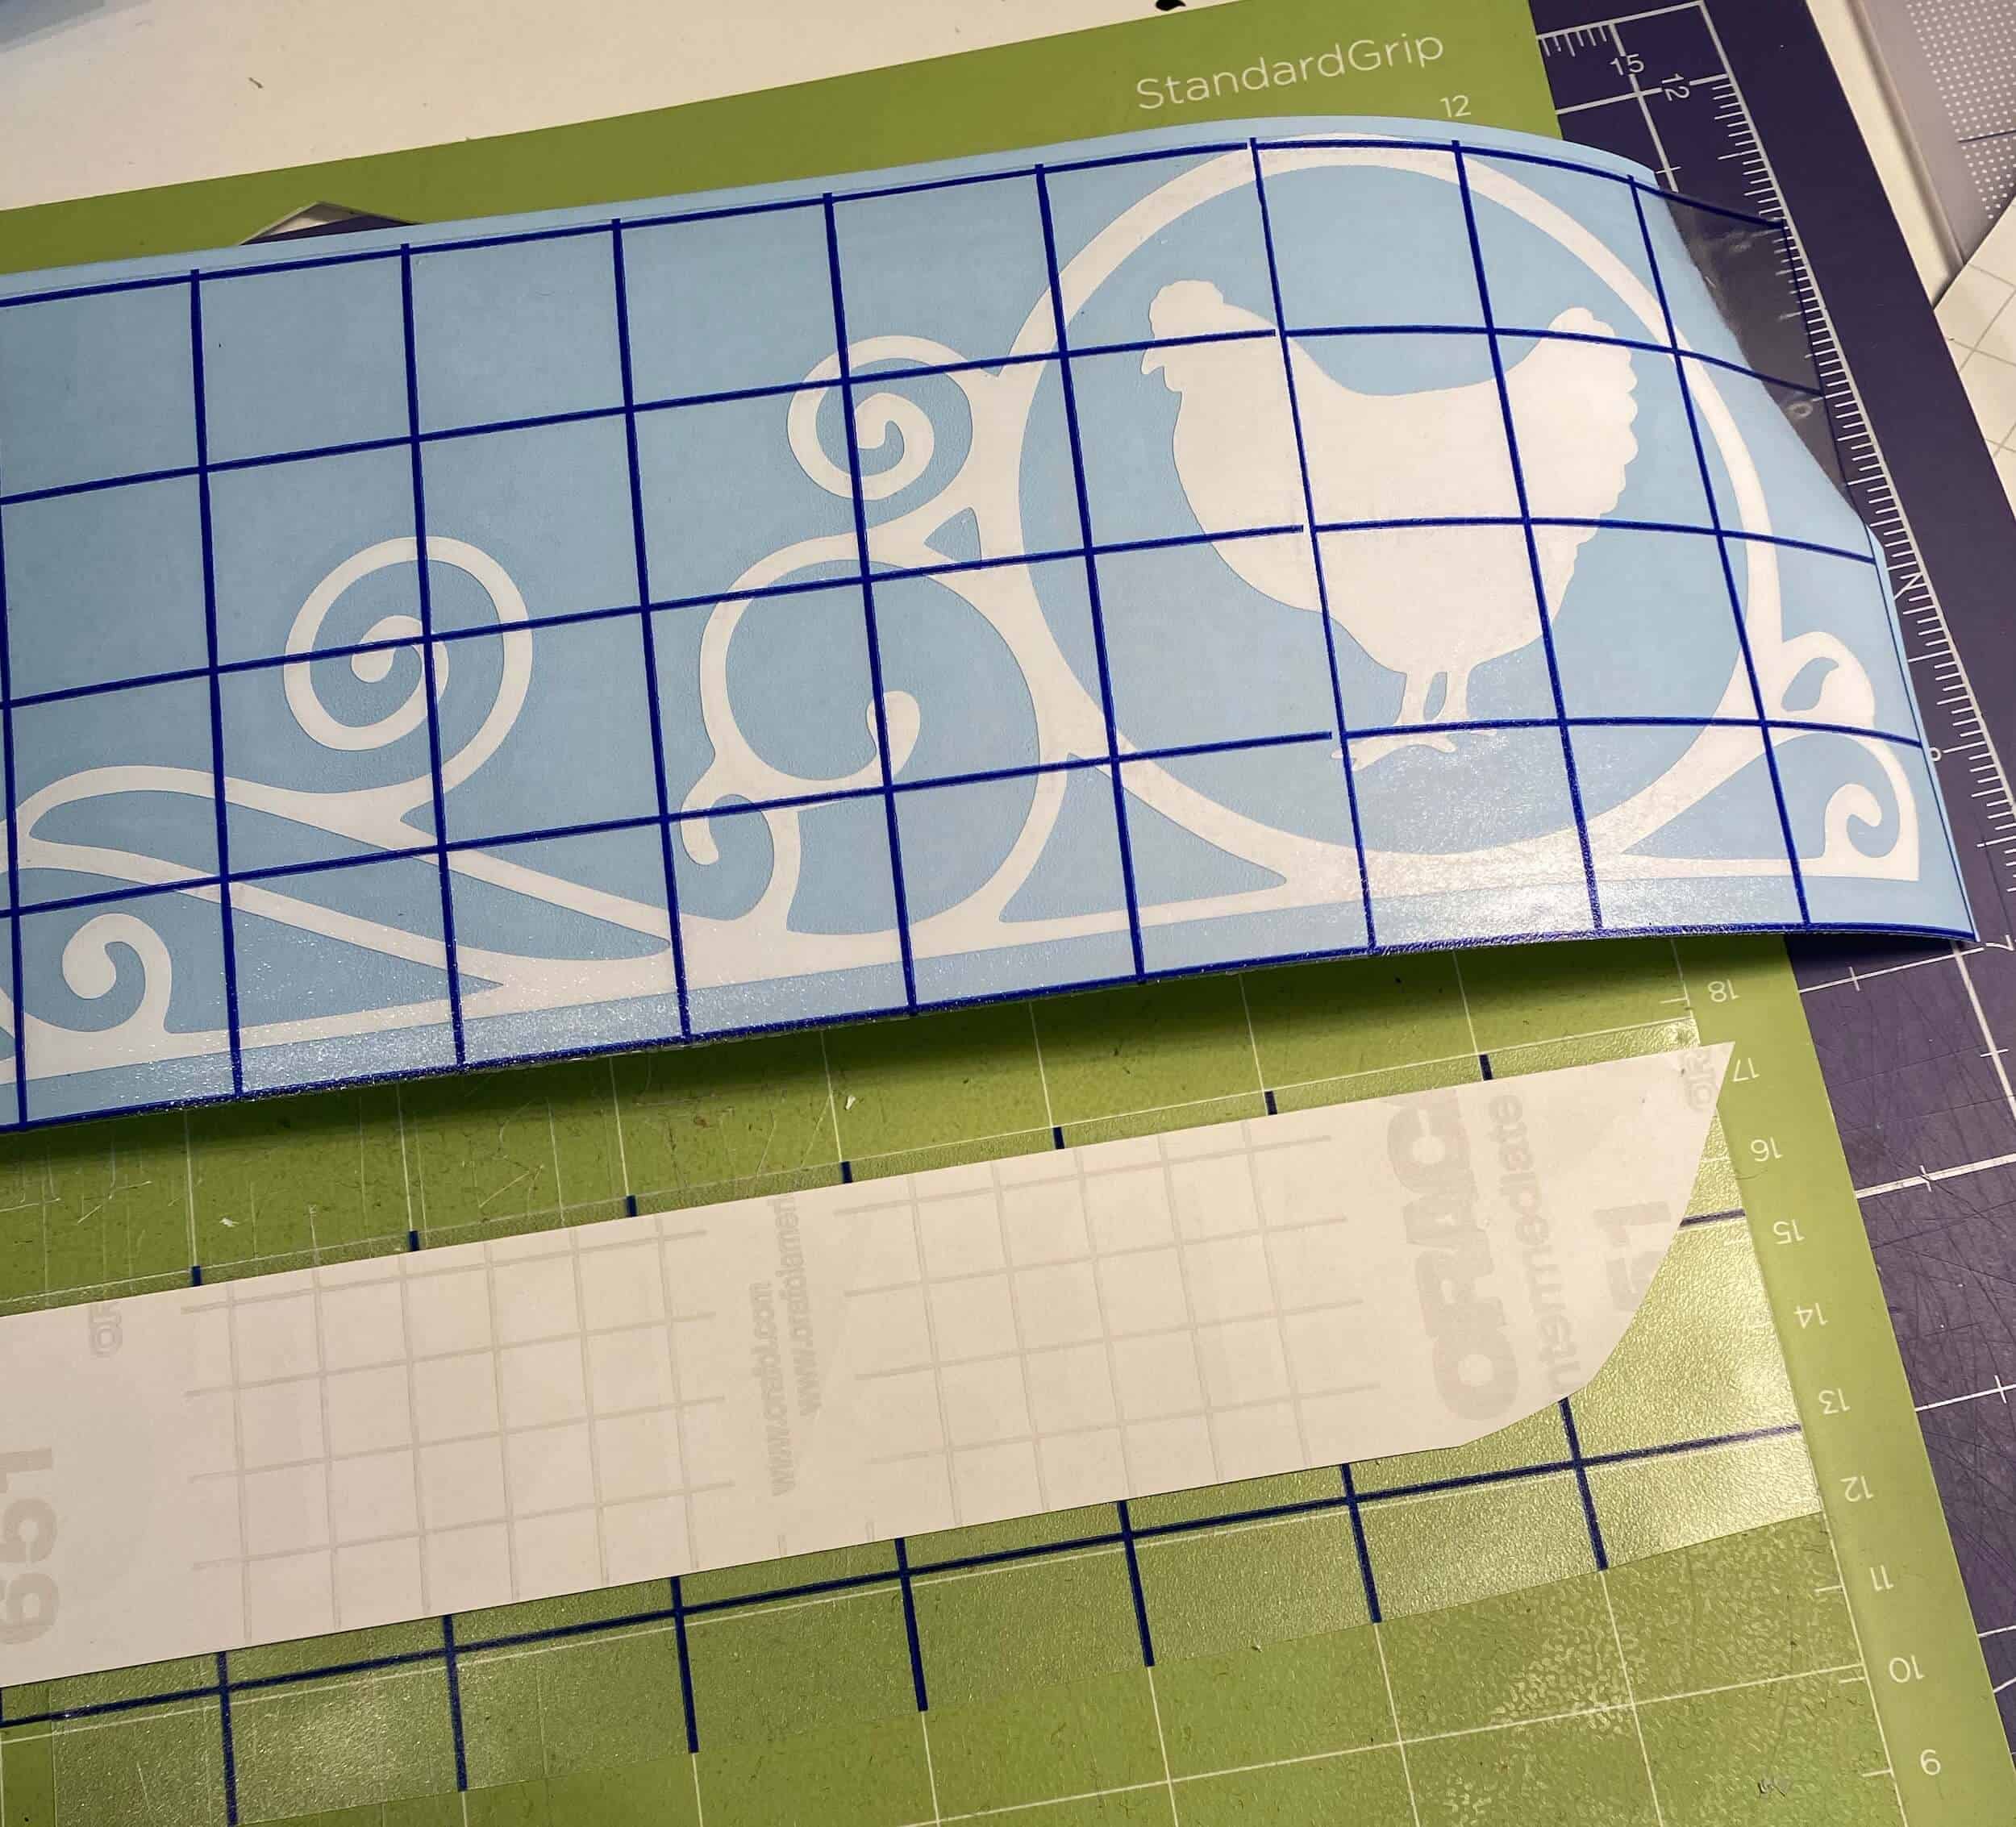
This just helps to hold the sticky paper in place so I can just place my weeded vinyl design face down on the sticky side of the transfer sheet. Start at the corner and move outwards so that there are no creases or bubbles.
I prefer the transfer sheets with a grid to help align the vinyl on its final destination. On a savings note, I have found you can reuse transfer sheets many times, so keep the backing for easy storage. Also, a cheap option for a transfer sheet is contact paper, but note that it will not be sticky enough for some textured vinyl such as the Cricut shimmer vinyl. Remove the transfer sheet with the vinyl decal attached and move on to the final step.
STEP 5: APPLY VINYL TO DESIRED SURFACE
First, you will need to clean the surface you are applying the vinyl to with rubbing alcohol. The mailbox we were updating needed a major cleaning, scraping and the only thing that work was a combination of elbow grease and a product called Un-Du.
If the object you are applying vinyl to is curved (like a wine glass) you may want to make small cuts around the design in the transfer tape to allow it to bend with the curve of the surface without creasing.
Remove the vinyl backing from the transfer sheet, place it on your object, and smooth out the vinyl. The last step is to remove the transfer sheet and you are done. One tip to remove the backing of the vinyl and the transfer sheet is to pull it at an angle. This helps the vinyl to stay where you need it.

Some people say that vinyl decals on mugs and glassware are dishwasher safe, but I recommend hand-washing items with vinyl...you can choose your own adventure there.
Adhesive vinyl does not need to be sealed after it’s applied. Sometimes it takes a day for the vinyl to adhere completely. Hope you enjoyed this tutorial. If you have any questions feel free to shoot me a message. Now let's get crafting!
To get a template similar to the one used in this tutorial, simply subscribe by using the form below for access to the free resource library.
Related Cricut crafts:
- Cricut Basics for Beginners
- Elephant Stuffy
- Reverse Canvas
- Waterslide Decals
- Etched Glass
- Free Resource Library
Make a Vinyl Decal Today!
